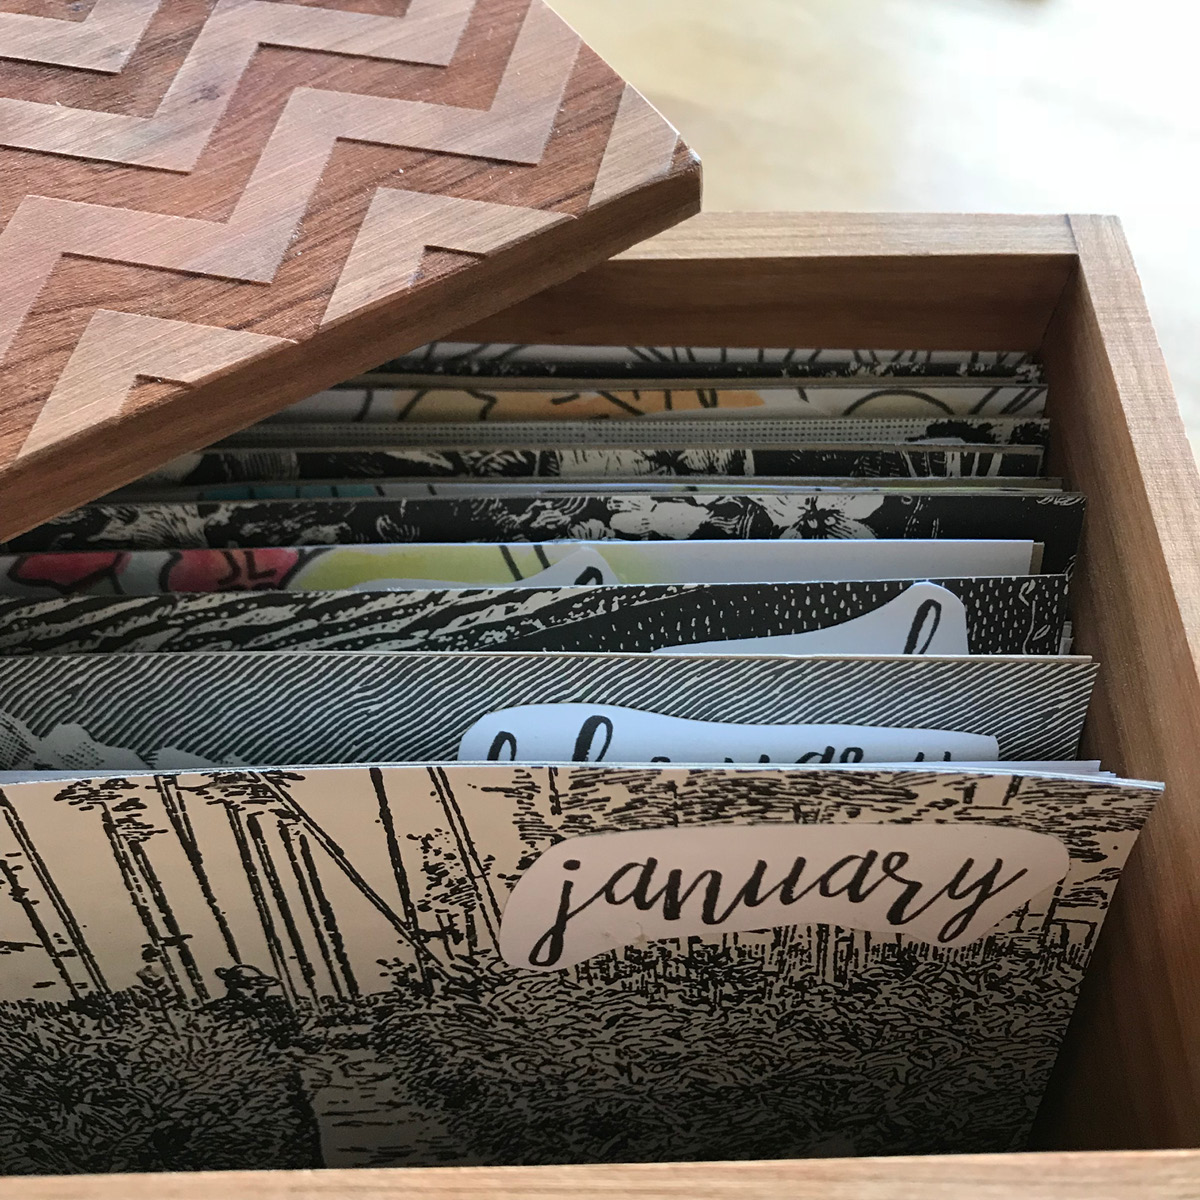
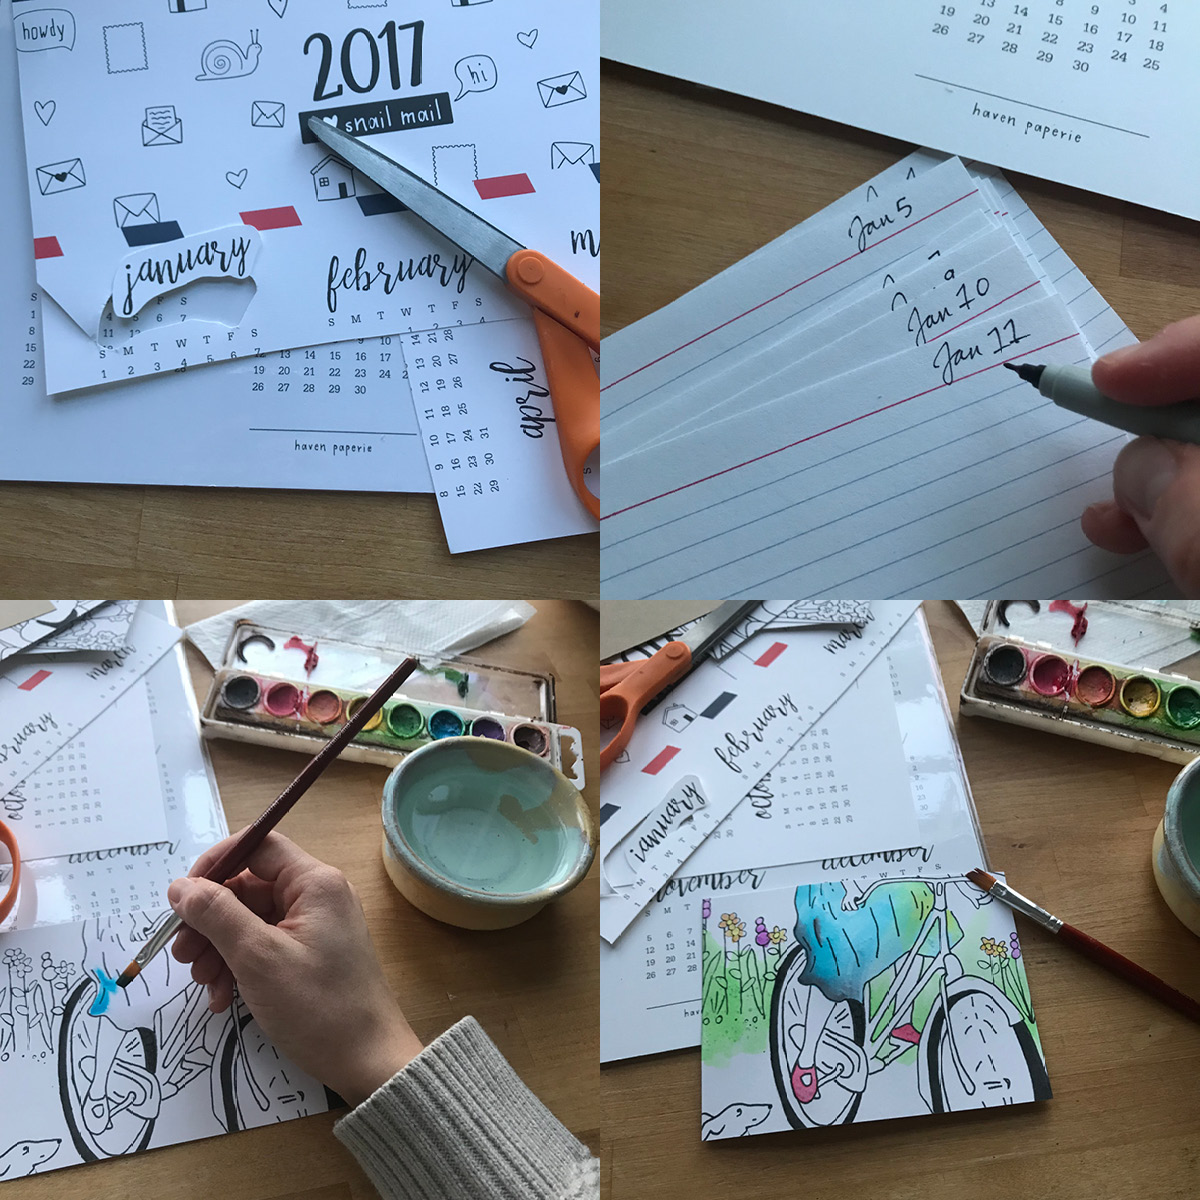
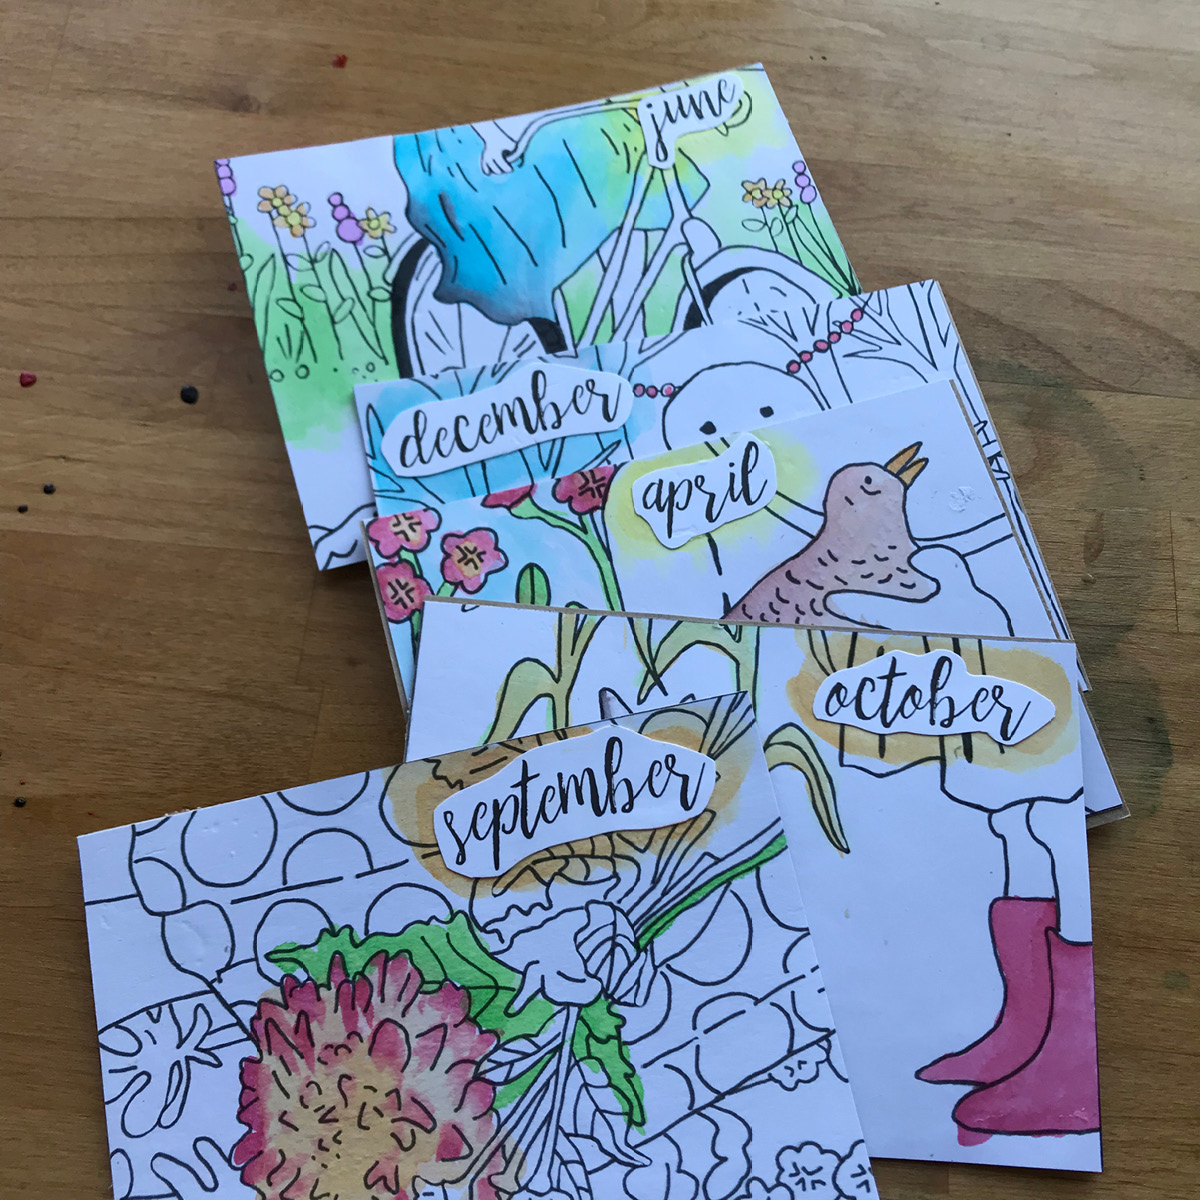
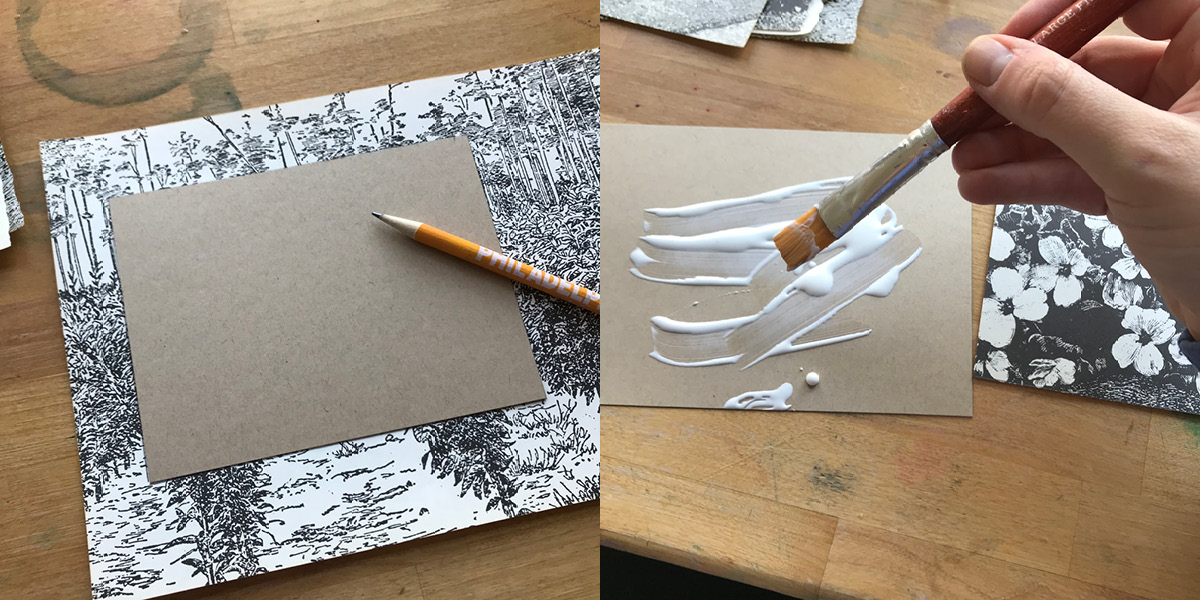
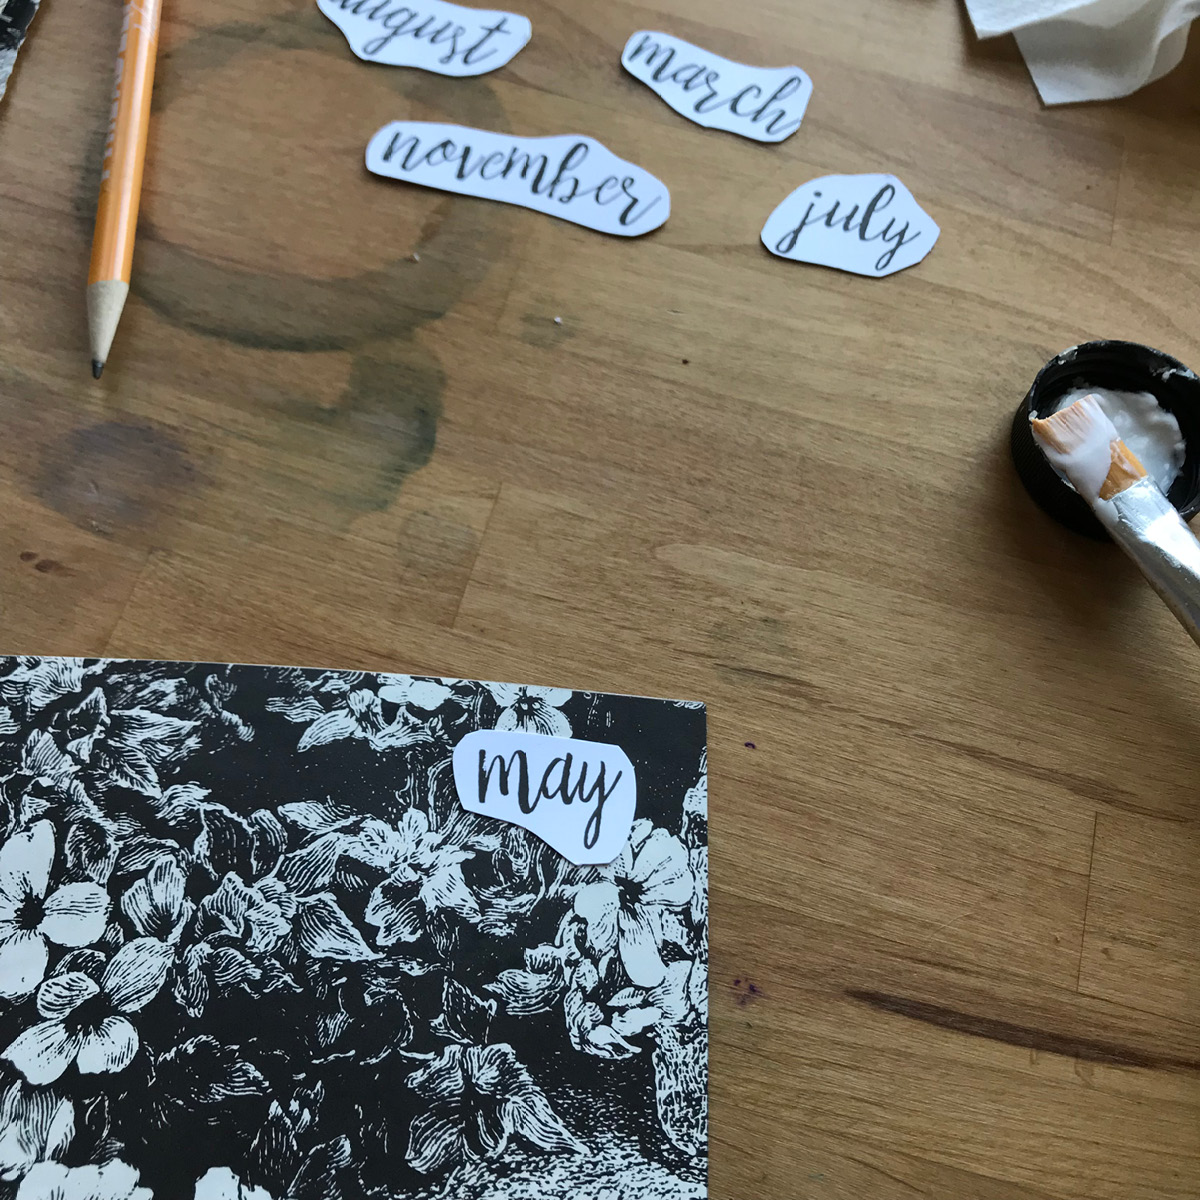
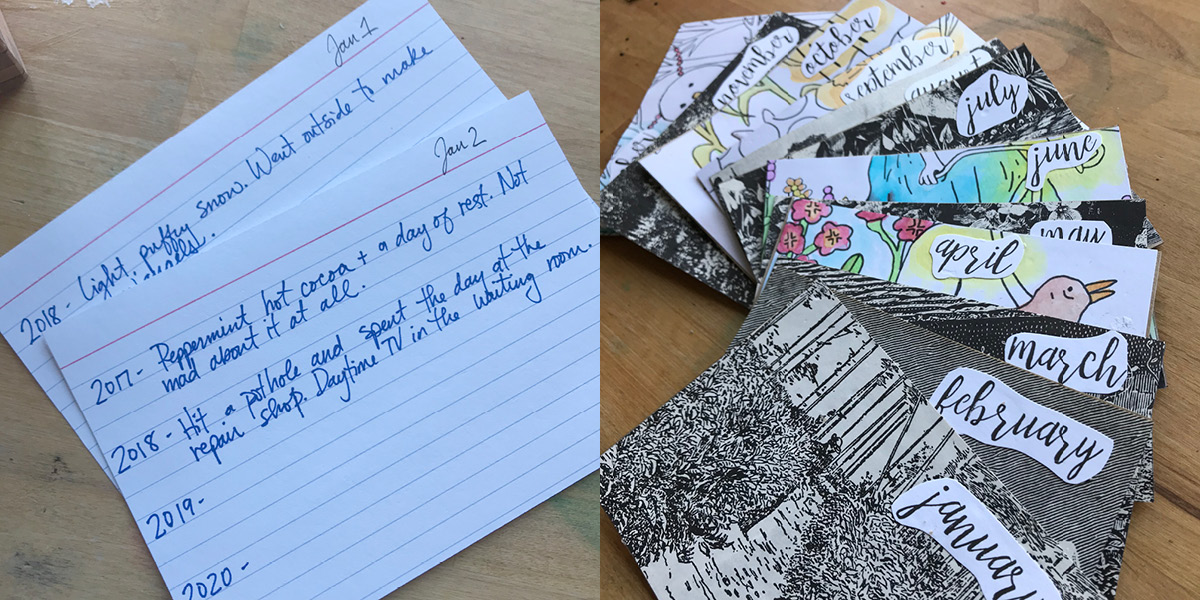
Alright, it’s the end of January. How are you doing on those resolutions? Or was your resolution to stop making resolutions and make changes for the better any darn time you want? That’s more my speed and when I found this idea for a recipe box journal I thought it was the perfect, low pressure way to start recording my family’s memories.
- 2023 ARCHIVES Jan Feb Mar Apr May Jun Jul Aug Sep Oct Nov Dec
- 2021 ARCHIVES Jan Feb Mar Apr May Jun Jul Aug Sep Oct Nov Dec
- 2020 ARCHIVES Jan Feb Mar Apr May Jun Jul Aug Sep Oct Nov Dec
- 2019 ARCHIVES Jan Feb Mar Apr May Jun Jul Aug Sep Oct Nov Dec
- 2018 ARCHIVES Jan Feb Mar Apr May Jun Jul Aug Sep Oct Nov Dec
- 2017 ARCHIVES Jan Feb Mar Apr May Jun Jul Aug Sep Oct Nov Dec
- 2016 ARCHIVES Jan Feb Mar Apr May Jun Jul Aug Sep Oct Nov Dec
- 2015 ARCHIVES Jan Feb Mar Apr May Jun Jul Aug Sep Oct Nov Dec
- 2014 ARCHIVES Jan Feb Mar Apr May Jun Jul Aug Sep Oct Nov Dec
- 2013 ARCHIVES Jan Feb Mar Apr May Jun Jul Aug Sep Oct Nov Dec
- 2012 ARCHIVES Jan Feb Mar Apr May Jun Jul Aug Sep Oct Nov Dec
- 2011 ARCHIVES Jan Feb Mar Apr May Jun Jul Aug Sep Oct Nov Dec
Charcuterie: familiar with the term? Semantically it comes from the words “cooked meat” in French, practically it is the most delicious addition to your next meal time gathering (read: Thanksgiving). A scrumptious selection of meat, cheese, and other fixings to delight your culinary senses and, if you do your shopping at Indianapolis’ local Goose the Market, it will be a full-on conversation piece. Arranged on a beautiful handmade wooden board or ceramic serving dish from Homespun, and you’ve got a show-stopping appetizer and unforgettable hostess gift.
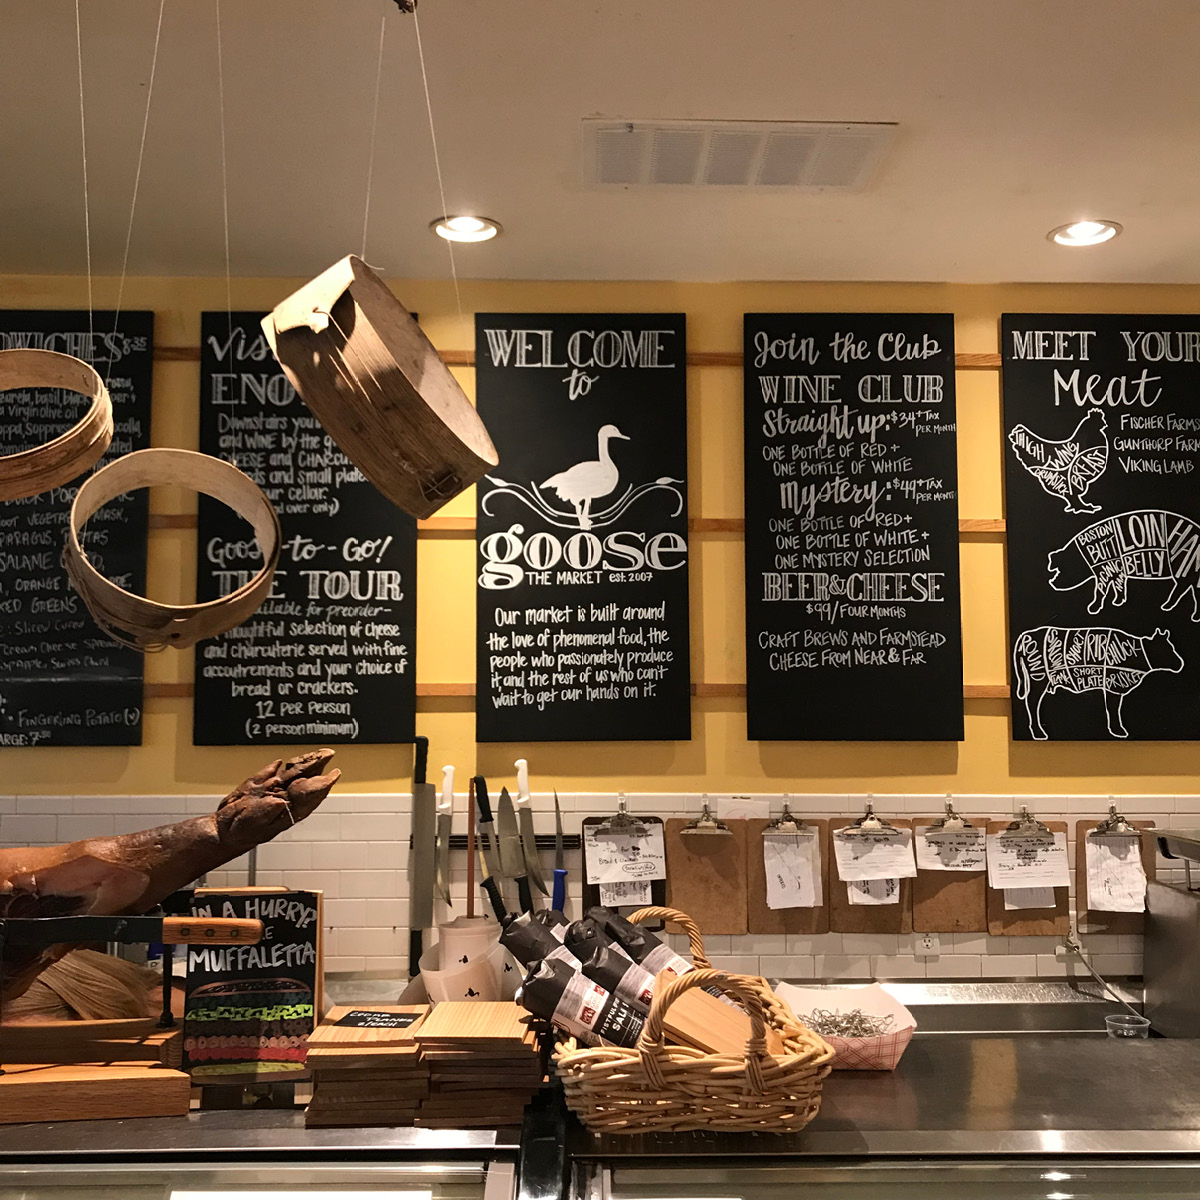
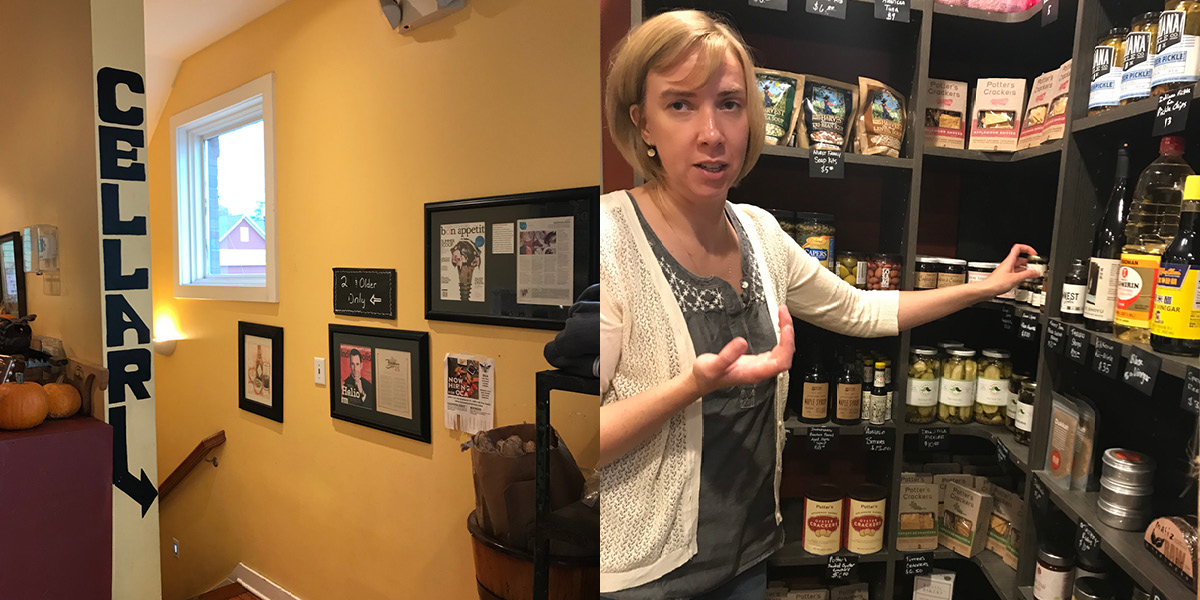
I’m well versed in the charcuterie board selection available at Homespun, but I was less informed about what to put on it (baloney? no?). Who better to consult than the amazing team at Goose the Market? I spent an incredibly fun afternoon with Corrie Quinn, Narration Libation Manager/ Keeper Of All Things Delicious and she told me everything I needed to know.
If you’re pressed for time, Goose will make the whole process very easy for you. Just drop off the board of your choice, give them a budget, and they will have your carefully selected board ready for you the day of your party. Easy-peasy. Show up to the party with your hands full and leave the board, too, as an extra special host or hostess gift.
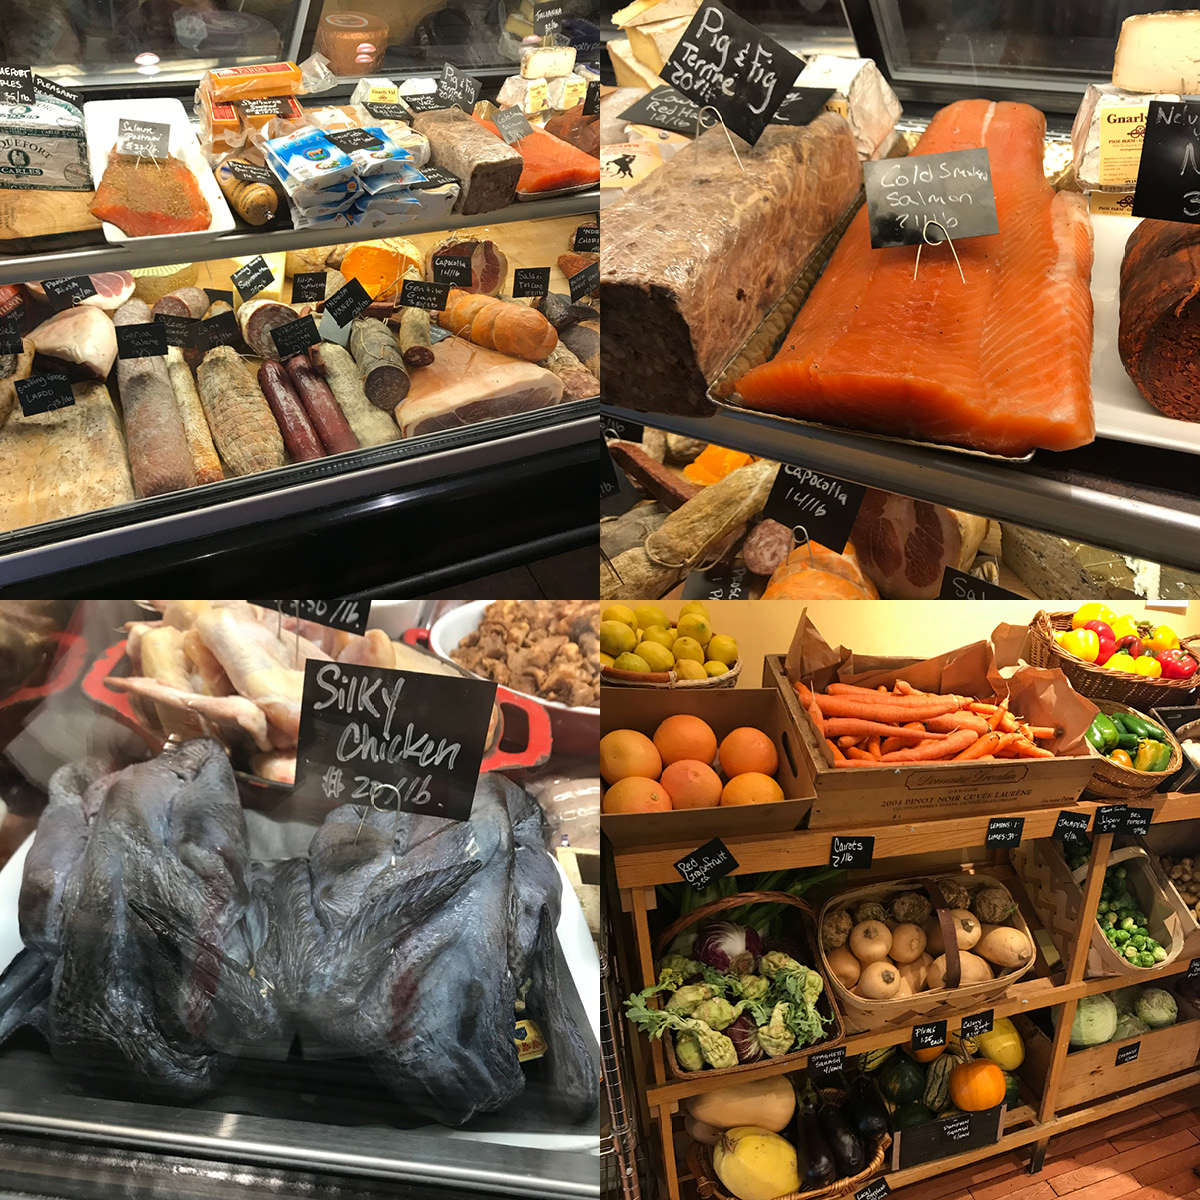
If you’d rather do a customized board (and have lots of fun learning in the process), Corrie gave me some general guidelines for making your selections. Before you start, I suggest you grab a drink from the Enoteca in the cellar of Goose; enjoy a hot spiked cider or wine while you shop- just another great reason to do your shopping here. First pointer to keep in mind: “You eat with your eyes first,” Corrie advises, so pick out what looks delicious to you, and what will really pop on your board. Having a variety of textures and flavors to choose from will keep your guests coming back for more. For cheeses this will mean hard, aged cheeses with an almost crunchy texture served with something young and creamy, soft and oozy. You can also try a variety of milks, too; cow, sheep or goat which provide a range of flavors. For meat you can choose from lamb, elk, duck, pork, or beef. Try a hard aged salami, a soft, layered tourrine or a thinly sliced ham.
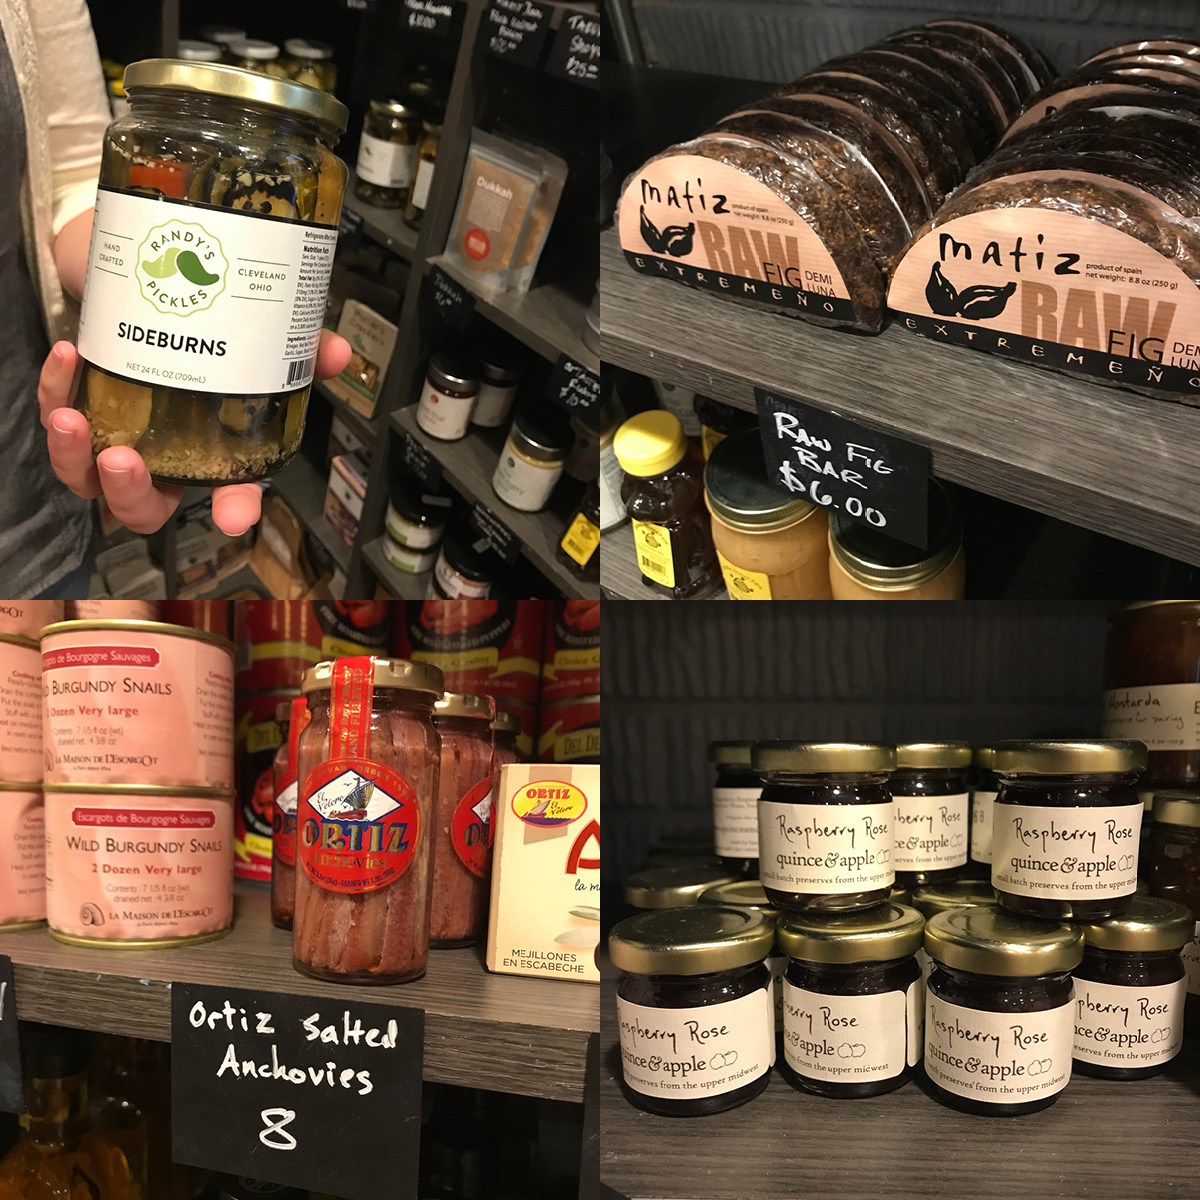
It’s also nice to keep seasonality in mind. If we’re talking fall/winter: quince and apple jams, preserves like pickles are great, too. The sharp vinegar flavor of pickles will help to cut the fat in the meat and cheese choices. Fresh fruits are a great complement to cheese, cut them on a bias for an extra professional look. Nuts and peanut butter bring out the nuttiness in aged cheeses. Olives are great for that salty fix and give your guests a thirst for those fancy drinks you have on hand. Goose, of course, has house brined olives on rotation.
And don’t forget fish! Goose carries the most incredible smoked salmons, anchovies (now stay with me! smash some of these babies up with butter and garlic, spread on bread and commence drooling), and smoked white fishes, too. Light, unique, delicious.
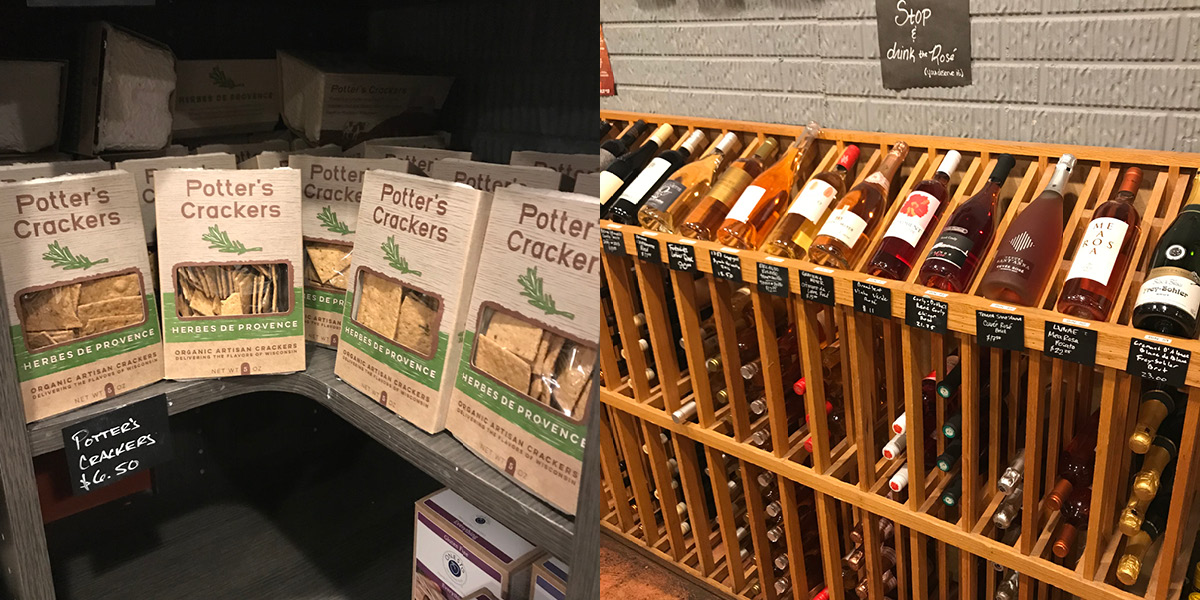
You’ll also need the vehicle on which to load these delicious delicacies: a.k.a crackers. Choose from Amelia’s local fresh made breads or a range of boxed crackers, and don’t forget to have at least one gluten-free option for those who abstain.
Also located in the cellar: canned and bottled drinks. Beer, wine, and the party-starting, cork-popping sparkling varieties. Corrie suggests something rose-colored that sparkles, always a crowd-pleaser!
The selections at Goose are constantly changing, so be sure to ask anyone on staff for the low down on what’s in stock and what is limited. They will happily provide you with samples before you buy and recommend pairings. Everyone there was extremely welcoming and knowledgeable, guiding me through a variety of mispronunciations without judgement.
So what does a charcuterie board chosen by the pros at Goose really look like? They gave me a selection of delicious meats, cheeses, and more to take home and try myself.
*Cue romantic Barry White music*
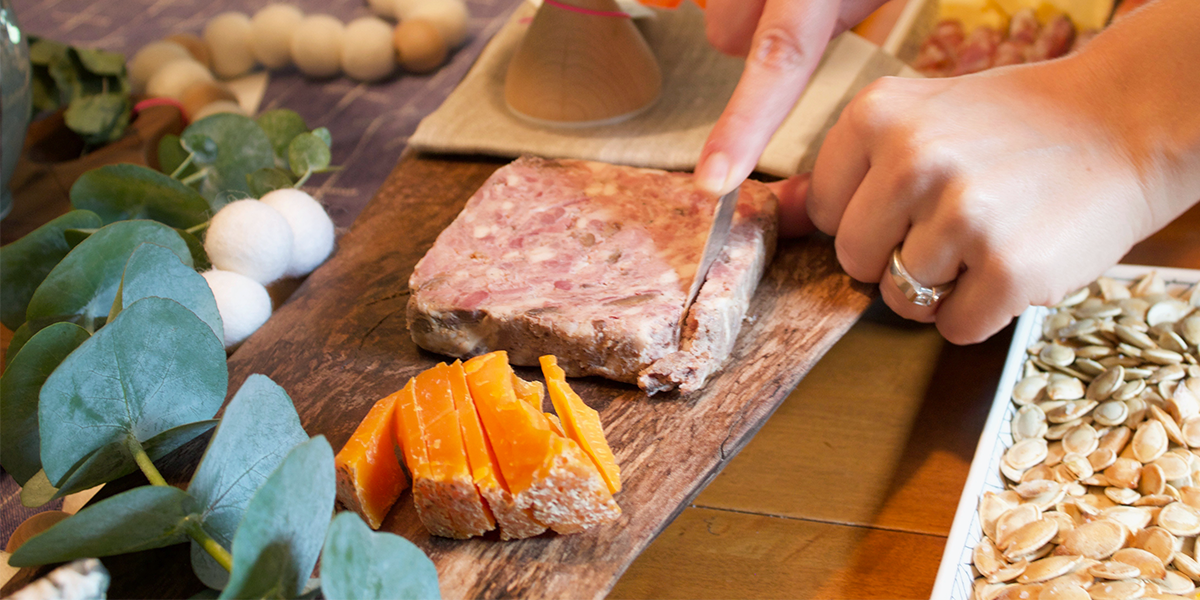
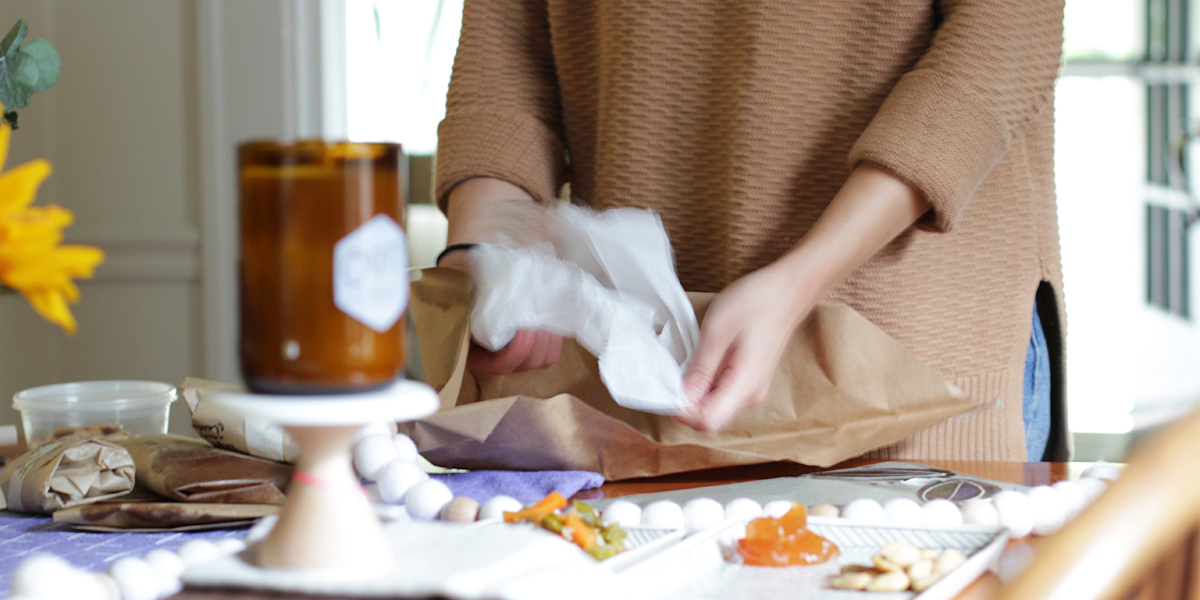
Awwwww yeah. I really couldn’t wait to unwrap the surprises in my bag! I brought home with me lots of items from Homespun to use on my tablescape, too. Honestly, with just a small selection from Goose paired with some sliced apples, home roasted pumpkin seeds I had just made (look at me go!), and crackers, I had a significantly impressive spread. It really won’t take much to add a whole lot of interest and flavor to your next gathering.
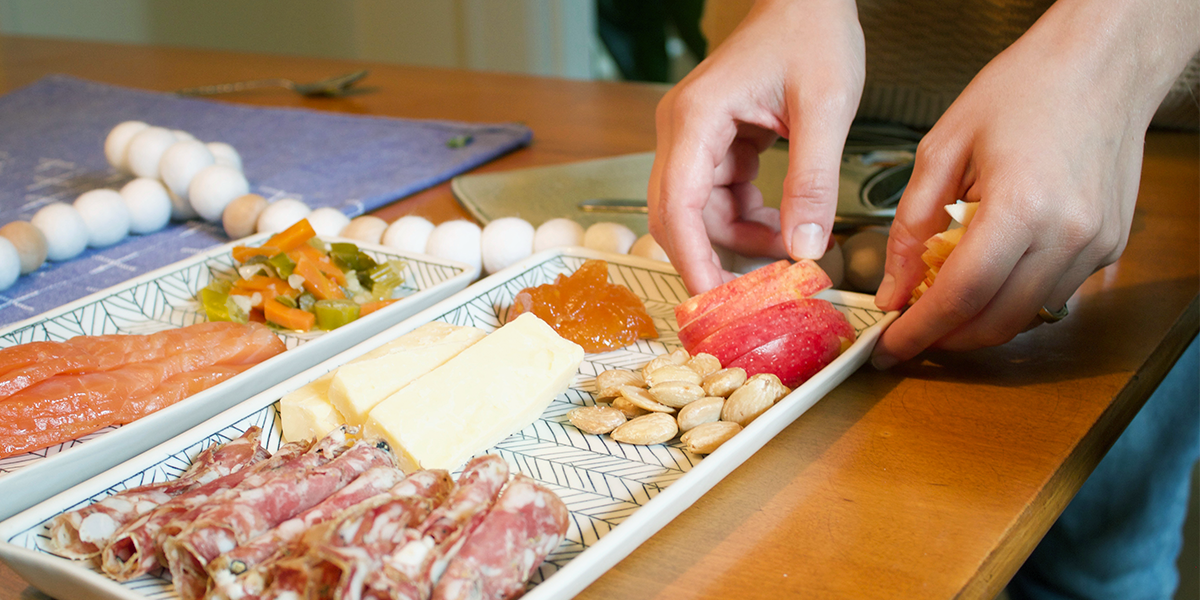
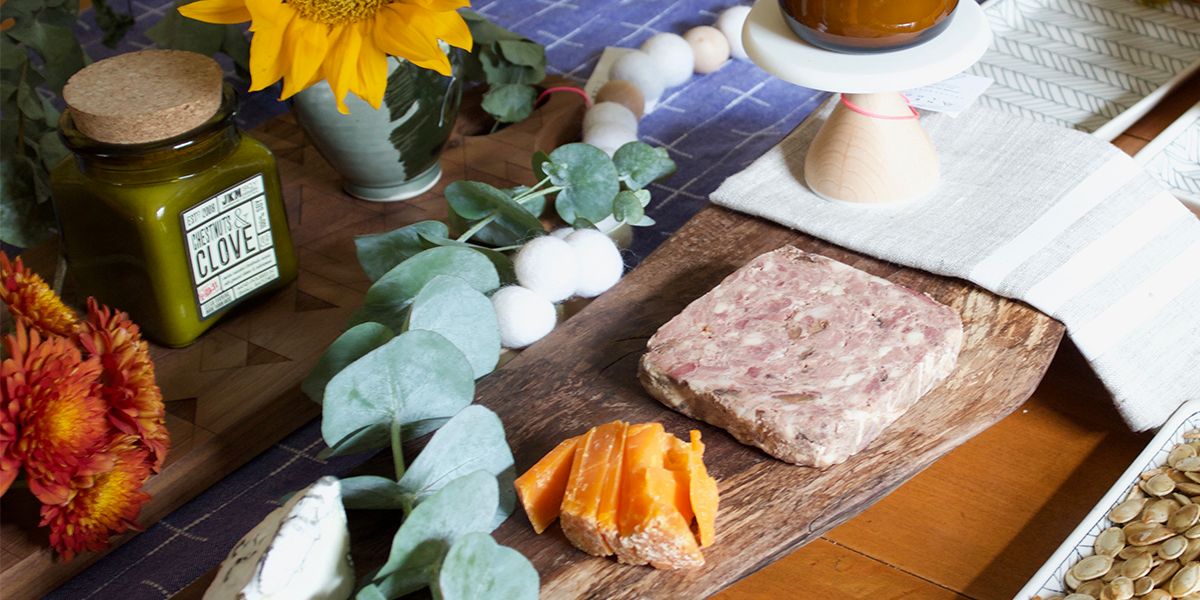
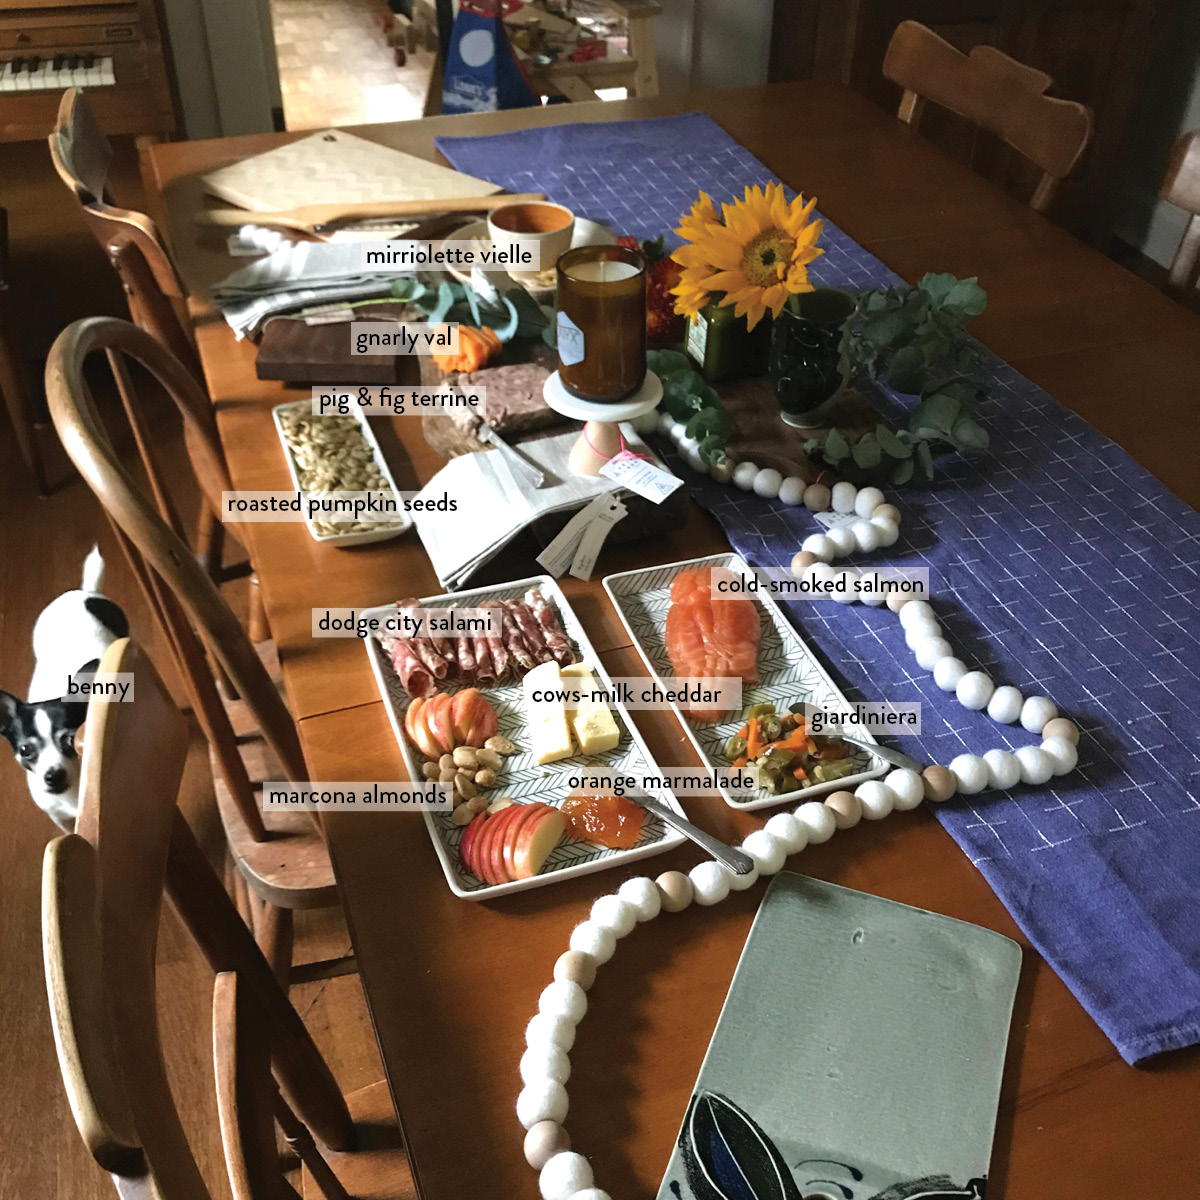
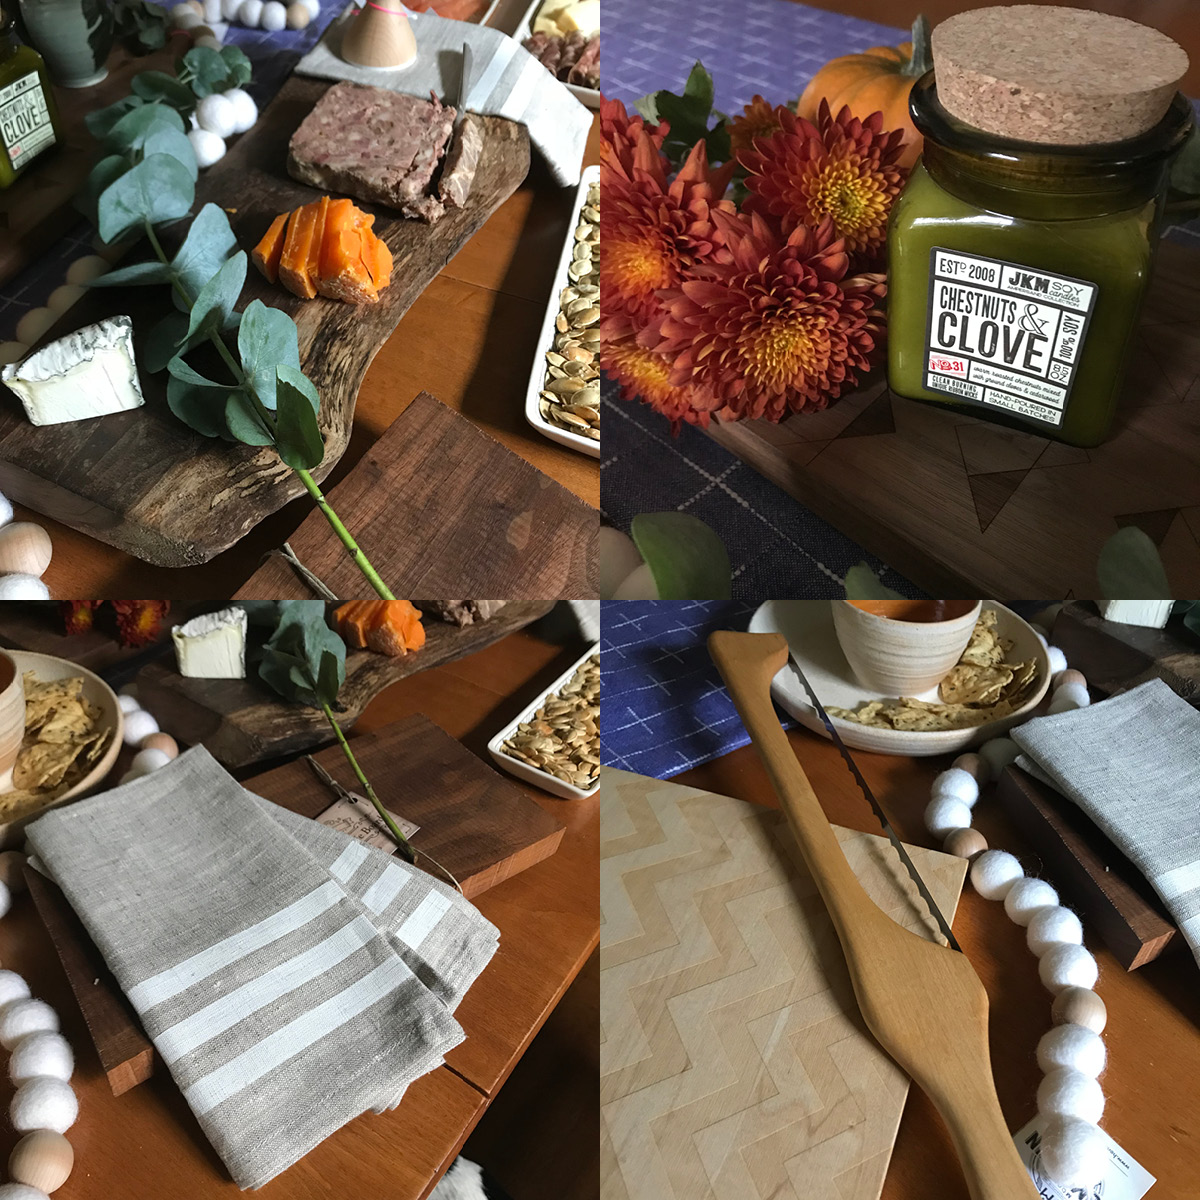
Ready for some mouth watering descriptions? First there’s the orange marmalade- the most intensely orange, deliciously sweet thing you’ve ever tasted. Pair that with the buttery, sightly salty crunch of the Marcona almonds (on or off a cracker). Pair that with a crumbly, sharp, bright, crunchy cheddar. Pair that with a stinky gym sock and I bet you’d eat it. Honestly this stuff would be amazing paired with so many things and I won’t deny I had several bites of it solo just to savor the flavor. The salami was peppery and salty, made from pork, fennel pollen, and pink peppercorns, I can imagine this going perfectly with some creamy mild brie. I paired it with the “mirriolette vielle”, a soft, earthy, mild goats milk cheese that was light as a feather and almost fluffy. The cold smoked salmon is made in-house and is perfectly rich and fatty, silky smooth and subtly smokey. Topped with a bit of tangy, spicy, crunchy giardiniera- yes. Do it. The pig & fig terrine may be an unfamiliar sight to some, but the flavor is a definite crowd pleaser. It’s smooth, creamy, spreadable, and the perfect combination of sweetness and richness. And last but not least- my favorite part of the whole spread- that shockingly bright orange cheese. Called “gnarly val” it’s a French style, aged, cows milk cheese. Hard and crumbly, sweet and yolky, its not too rich, so you can eat your weight in it and still feel great (I did). Its so, so delicious and really all of this together was heaven on a plate- ahem- heaven on a charcuterie board.
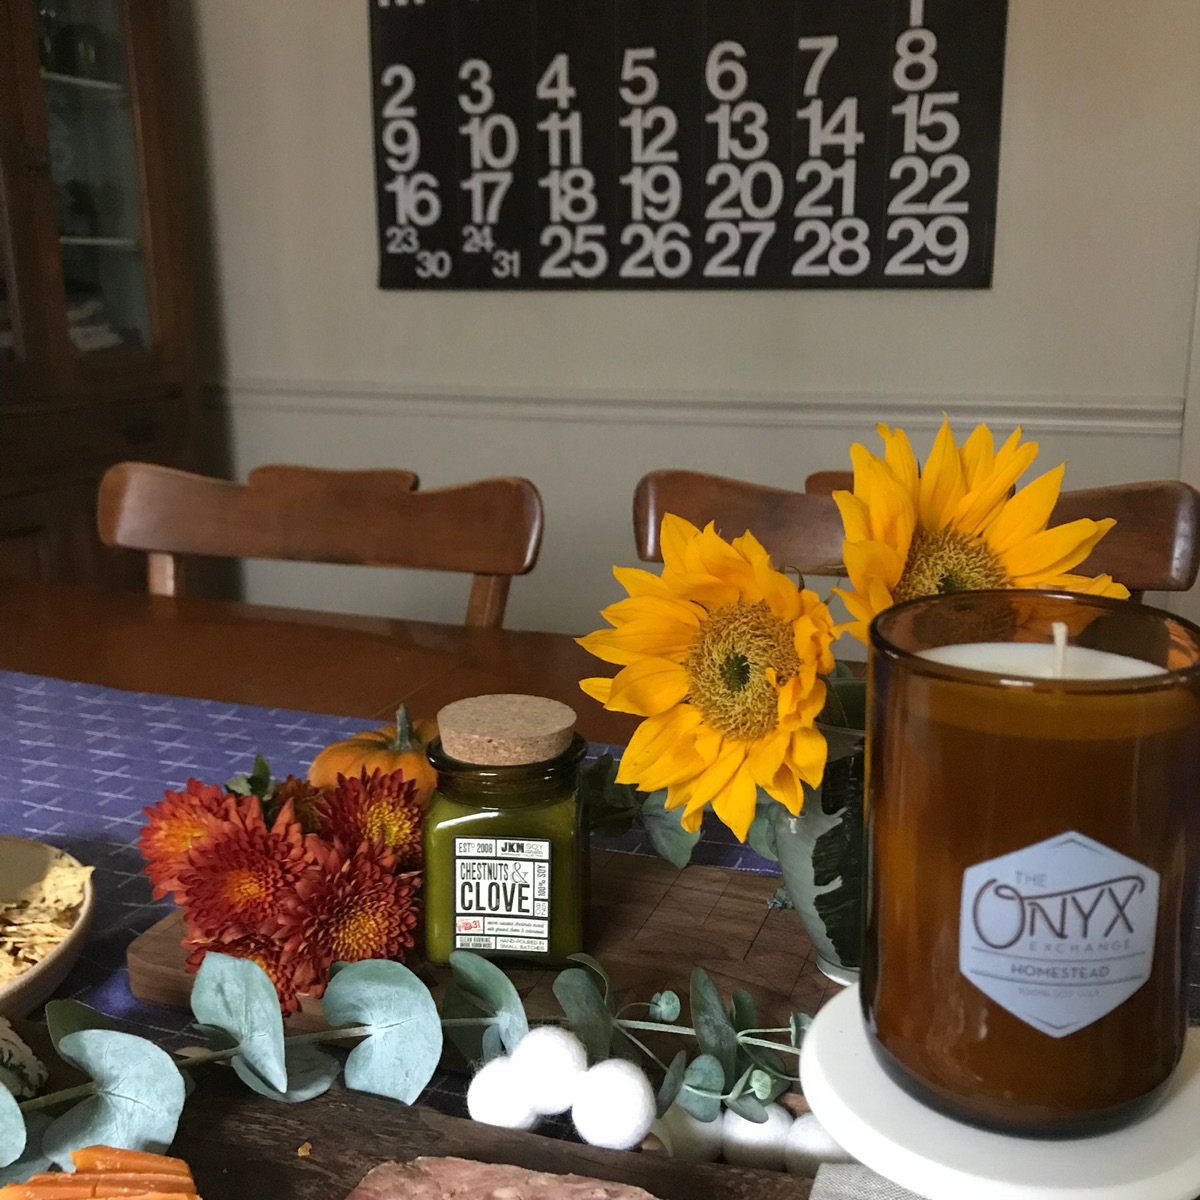
Here at Homespun you’ll find the most gorgeous and unique table-wear to serve and highlight your well thought-out selections. Pictured are wooden and ceramic charcuterie boards and plates, the perfect ceramic chip and dip, a locally made wooden bread knife, screen printed linen napkins, wool felted garland, fall scented hand-poured candles, and more. Everything is hand-made, some locally. We have this in common with Goose the Market. We both love serving carefully made and unique selections of quality goods, and we both love to help our customers find just what they’re looking for.
A big thanks to Goose and Corrie for all their help and awesome information. We hope you’ll have a chance to stop in to either of our shops this season, but most of all we hope you have a lot of friends and family gathered around this Thanksgiving, enjoying each other. ‘Cause it’s really all about the people, isn’t it? People… and cheese.
Happy Thanksgiving!
Concord grapes are a special fall-time treat. This is the first year ever the vine in my backyard yielded an appetizing looking crop, so I gave jam making a go. You probably don’t want to eat this kind of grape raw- they are not very sweet, have seeds, and the texture may -ahem- not suit you. My first batch of jam came out tasty, but it wasn’t until the second batch, the one I will share with you today, that I feel I got some amazingly delicious results. My vine didn’t give me enough grapes for a second batch, I think it’s given up for the season, so I gave Wildwood Market in Fountain Square a call and sure enough, they had the goods. If you haven’t checked them out yet, they’ll soon become your go-to spot for seasonal and local foods.
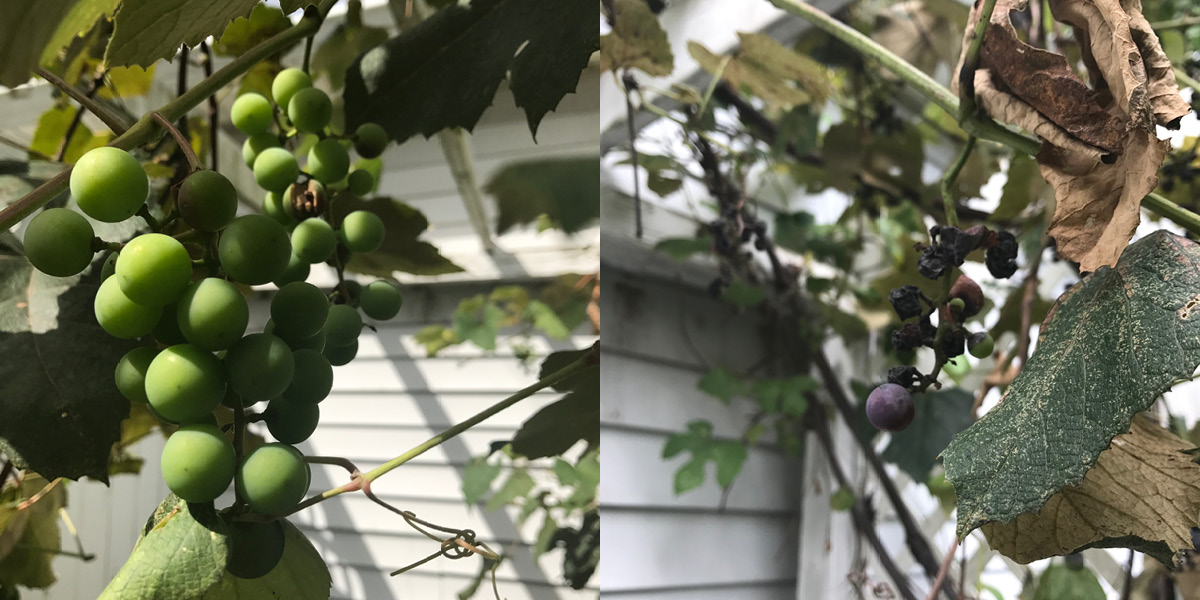
My vine at home. For some reason, they like to go from looking beautiful but green (left) to shriveled and dead (right) without warning.
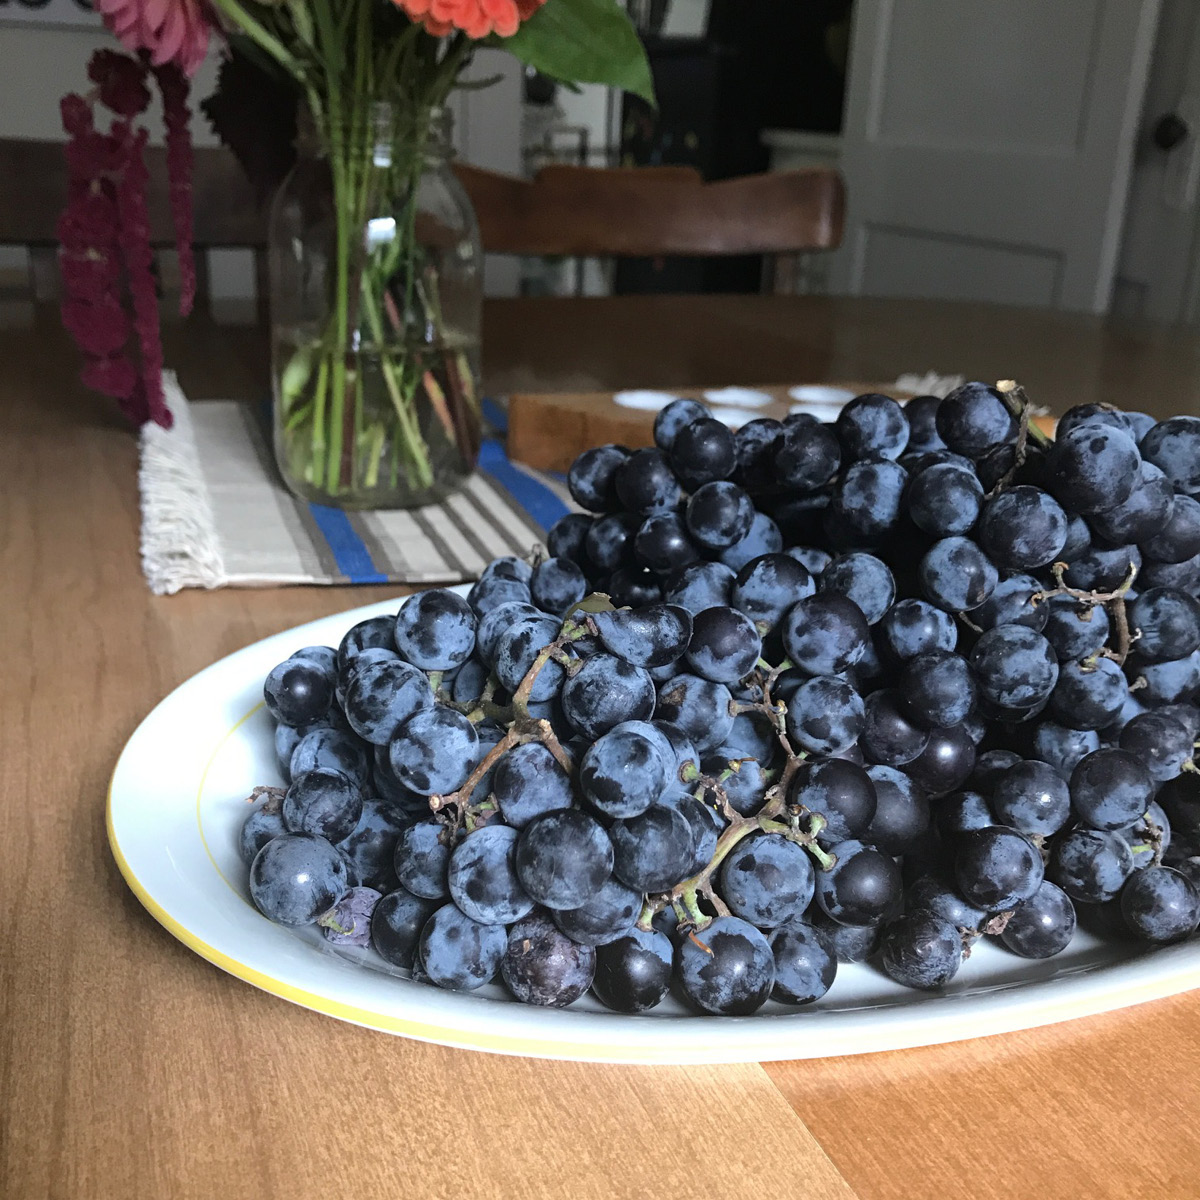
And then there’s THESE beauties. These are so jam-able. When they’re sun-ripened they smell absolutely amazing, like the grapey-est grape you can imagine. Like grape soda, like grape skittles. But without the corn syrup.
I used about 3 pounds of grapes, which I think is a manageable amount and I’ll base this recipe and process off of that quantity.
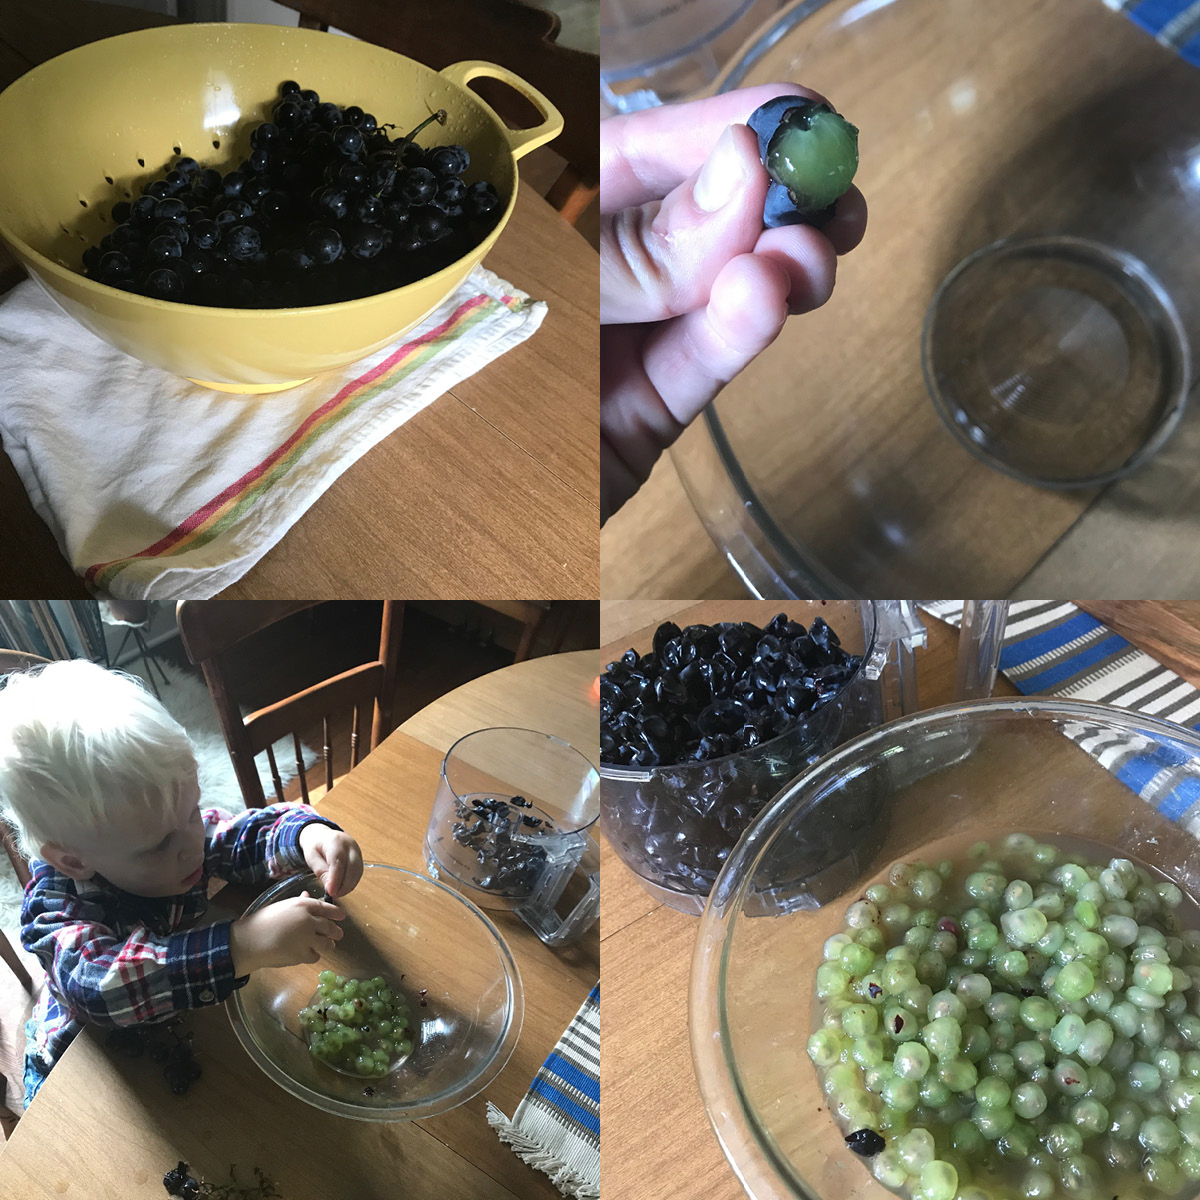
First give your grapes a good rinse. Grab a bowl and the bowl to your food processor (or mixer). Then, SQUEEZE! That’s right. Just give these grapes a little squeeze and the inside pops right out like a slippery little eyeball. Throw the skins in the processor and the insides and juices into the bowl. This is the perfect job for little hands, too! The more help the merrier; this took me and a couple helpers about 30 minutes to finish.
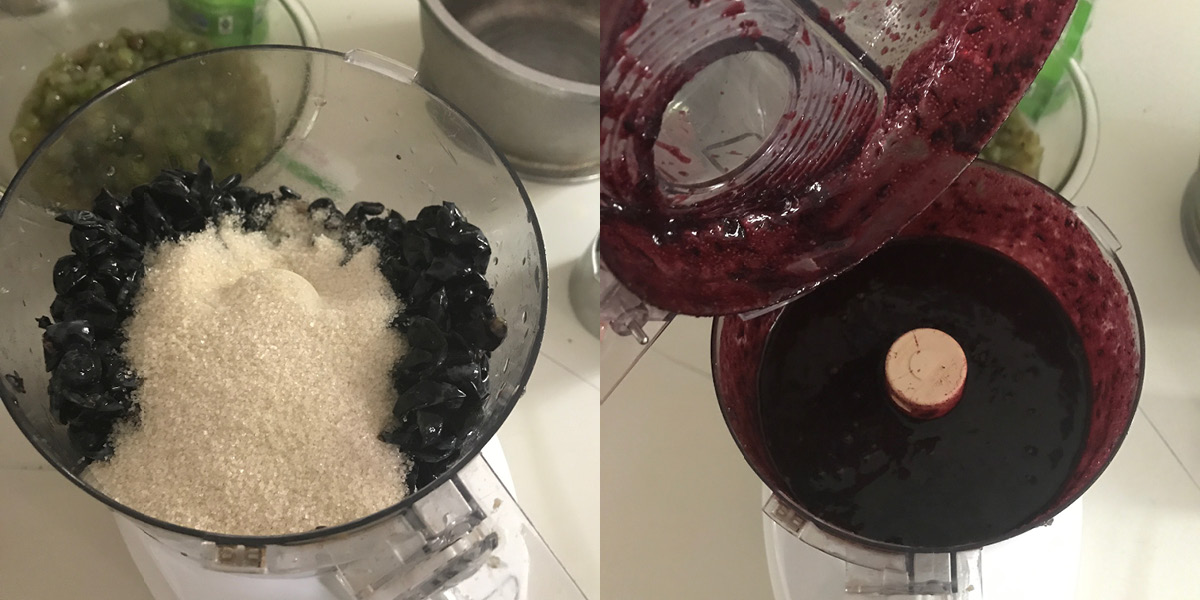
Blend all the skins in the food processor with 1 cup of sugar until liquid. Then, get your finger and taste this amazing, bright, incredibly delicious concoction and you will have no doubt all that time you just spent skinning grapes was not in vein.
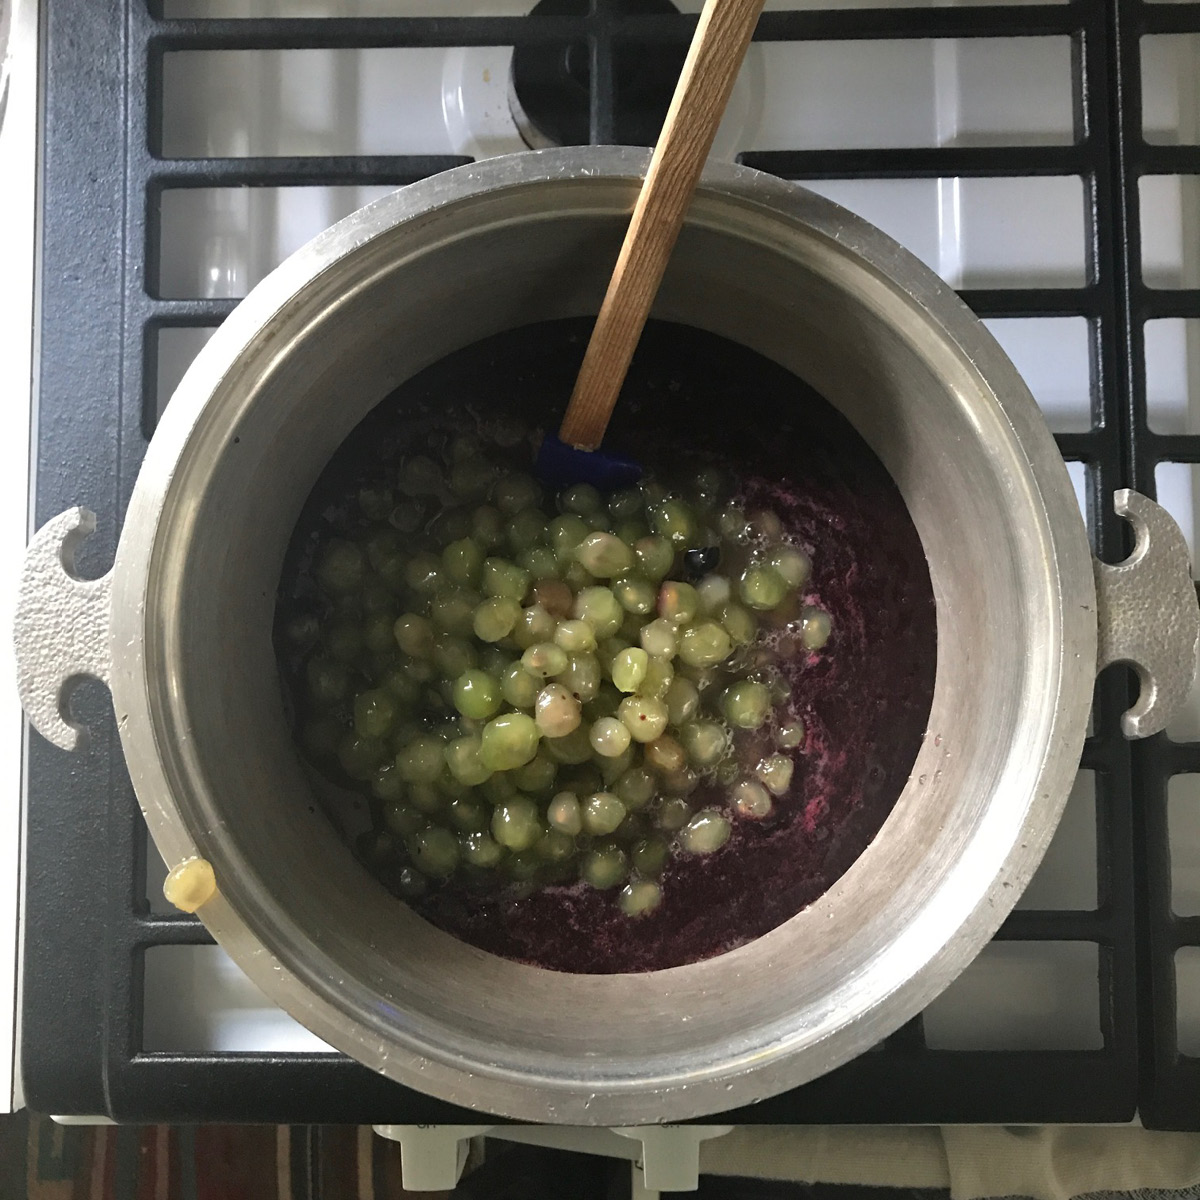
Add the mixture and peeled grapes to a pot and bring it up to a boil, then turn down to a simmer. Try not to let any escape.
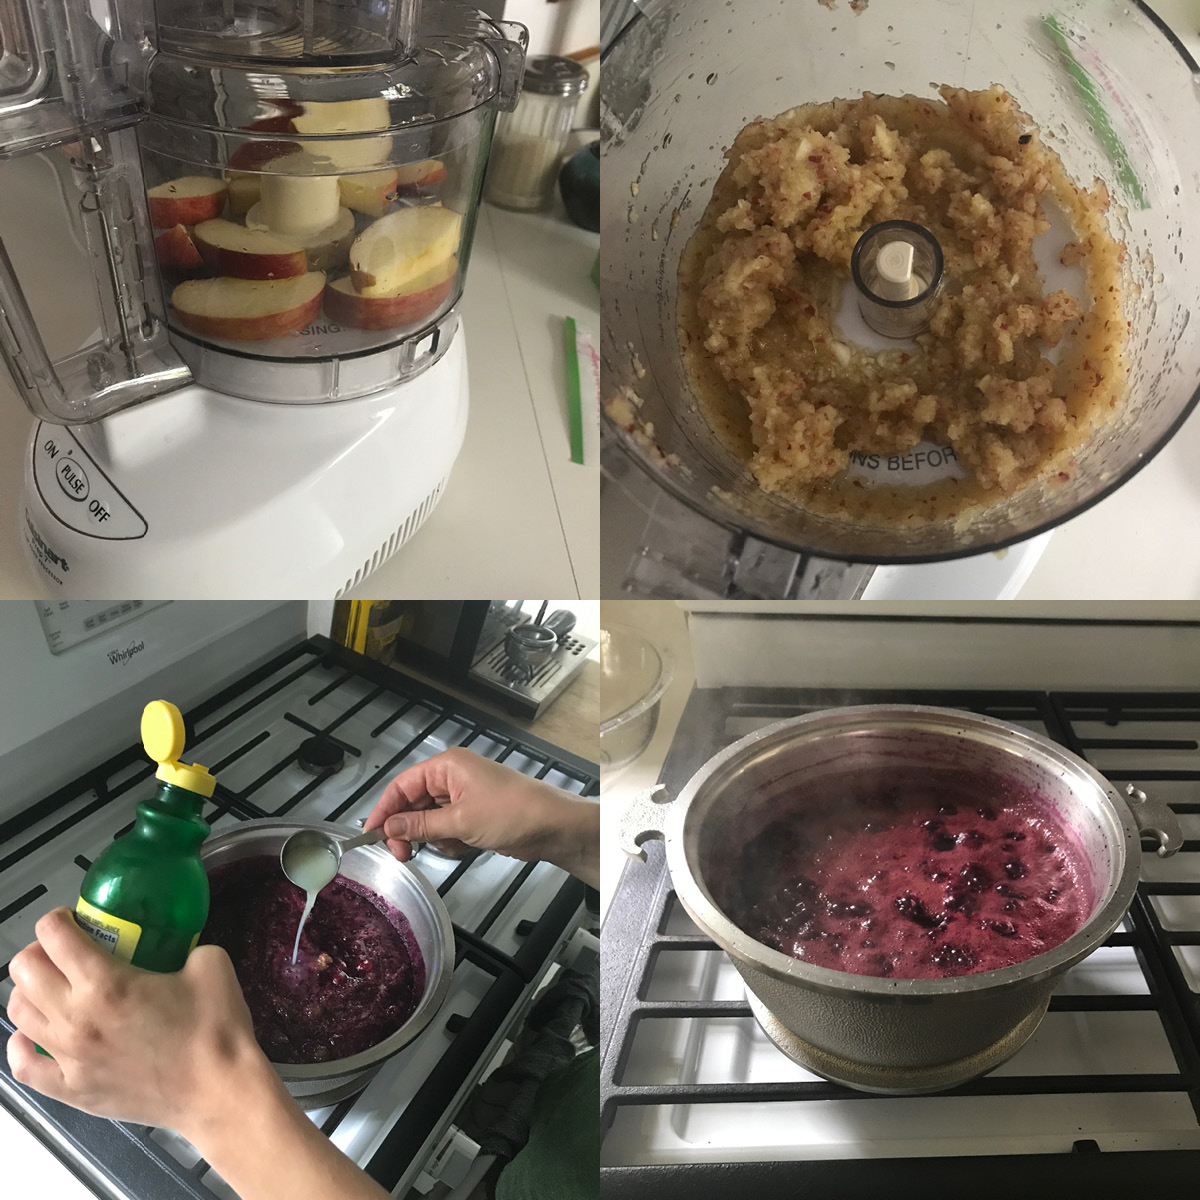
Science: grapes do not contain a large amount of natural pectin, which is the traditional jelling agent for jellies. You can buy store bought pectin, but I was suspicious of this notion and with a little internet (read: highly reliable) research I was confirmed. The great thing is, you totally don’t need it. Apples just so happen to have a lot of natural pectin, so I chopped one up in the processor and added it to the pot. It worked perfectly. Also add one tablespoon of lemon juice and another cup of sugar. I know, that sounds like a lot of sugar. If I make this again I would try using honey instead. The first time I made it I used just one cup of sugar and I have to admit it was a bit tangy and this second batch turned out much tastier.
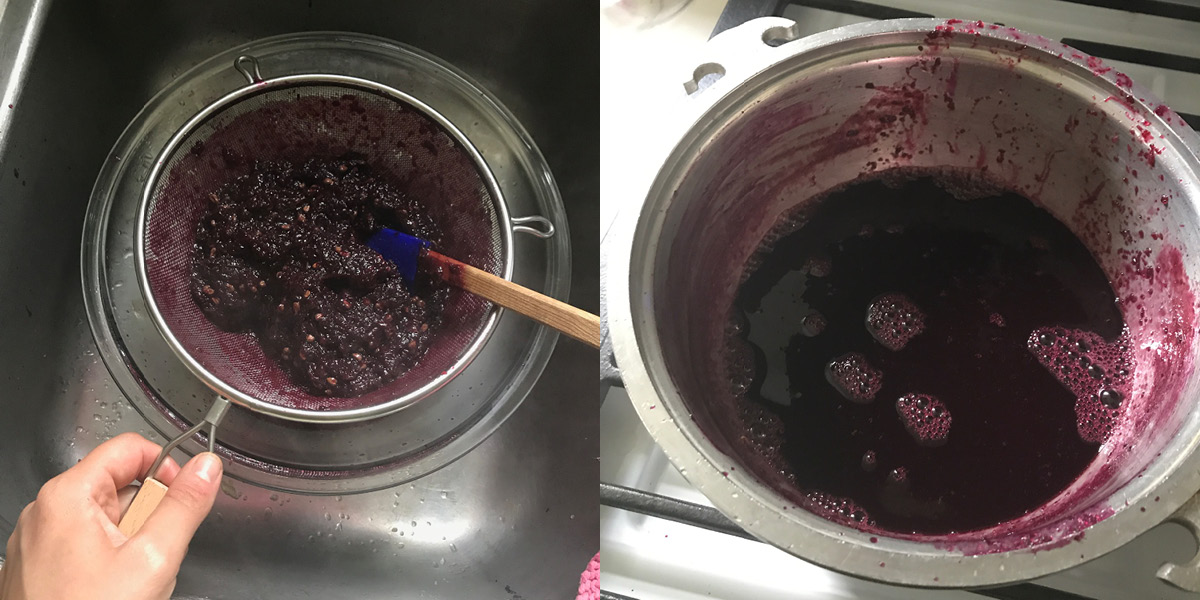
After simmering for about 20 minutes, strain everything into a bowl. You’ll have to spend some time moving it around and pushing it through with a spatula. When you’ve had about enough of that, pour the strained liquid back into the pot and continue simmering.
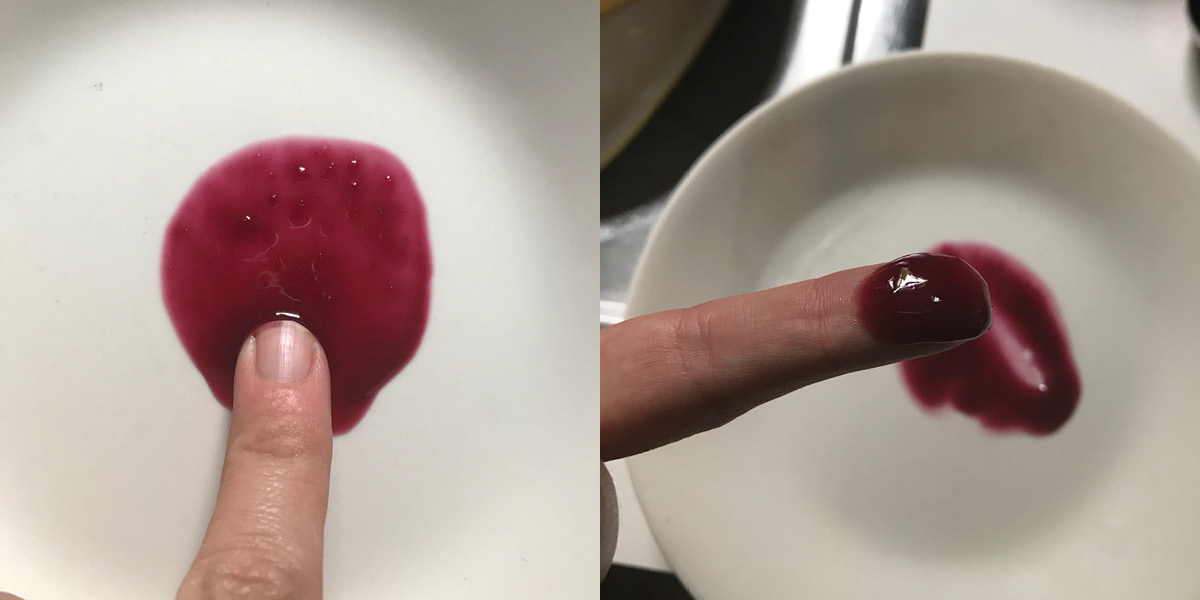
So here’s a funny little trick. Stick a plate in the freezer and let it get nice and cold. To determine if your jam has jammed, drop a little dot onto the cold plate, replace it in the freezer, and wait one minute. When you slide your finger across it, it should feel rubbery and have a bit of a film on it. On the left you can see that it’s not ready. The photo on the right is how it looked when I decided it was ready. Its nice and thick and built up on my finger. This took about 30 minutes of simmering after the straining.
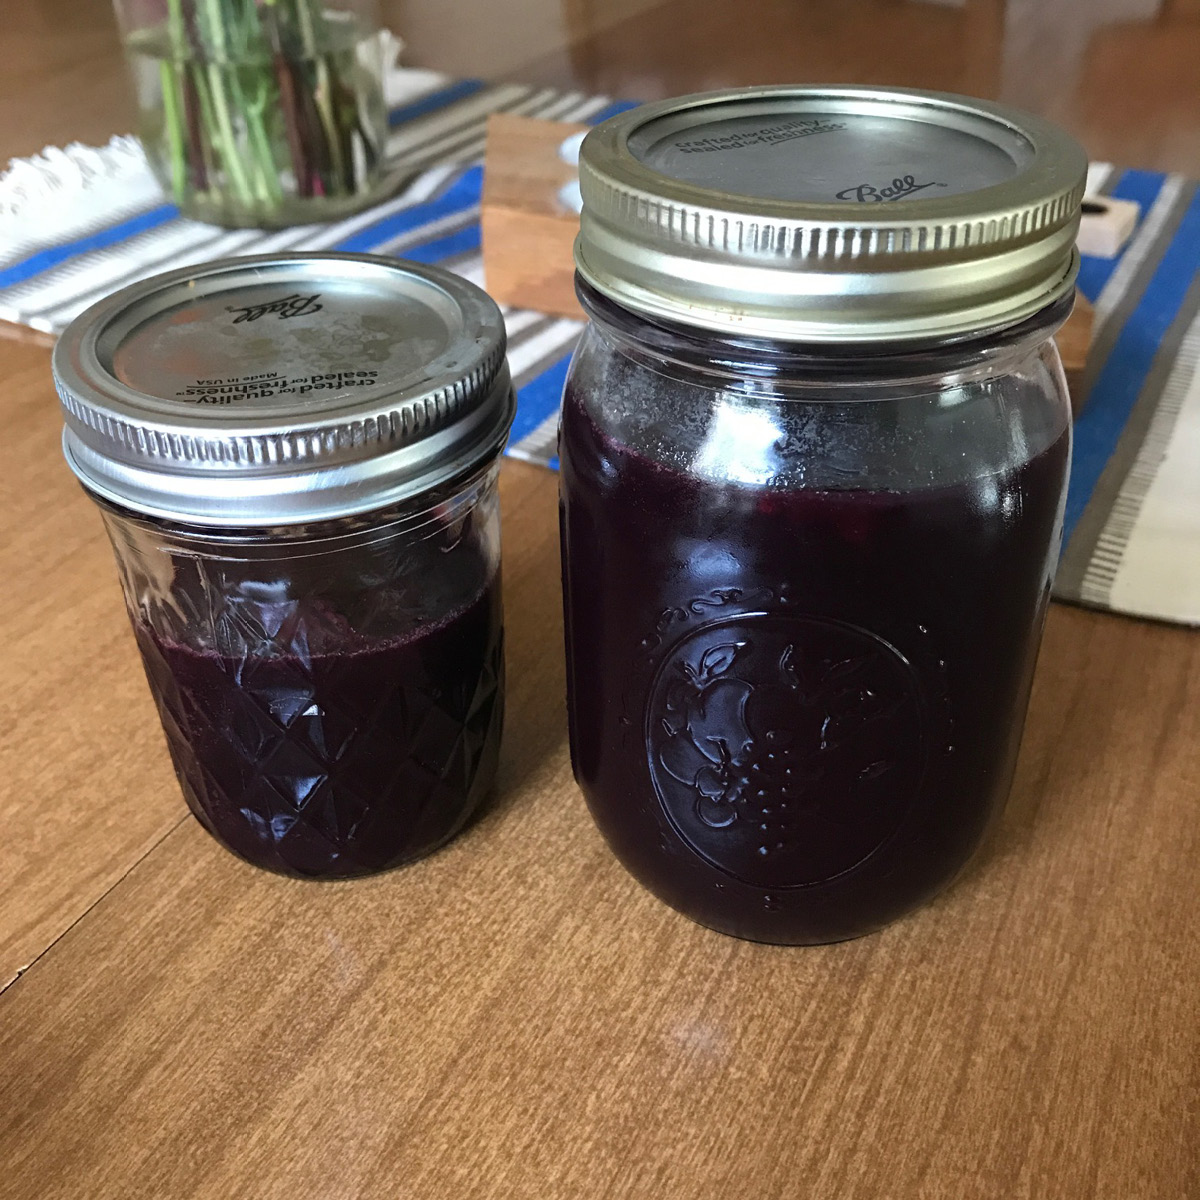
Pour the liquid into jars and refrigerate overnight. I’m not going through the canning process with these, so they will need to stay in the fridge at all times. I’ve had mine in the fridge several weeks and it’s still delicious.
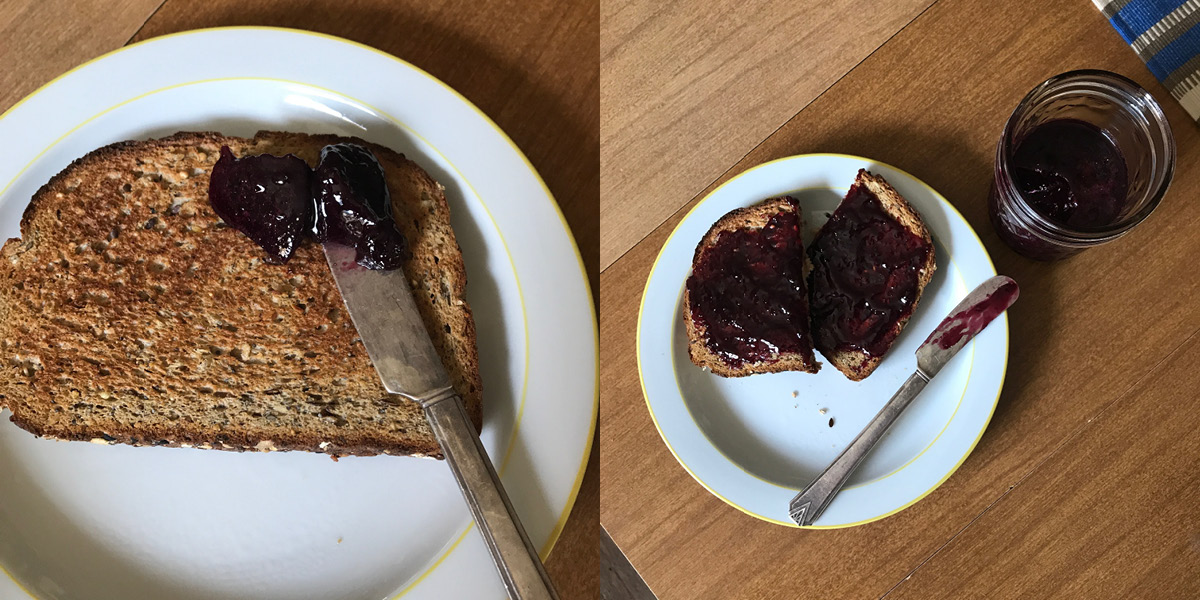
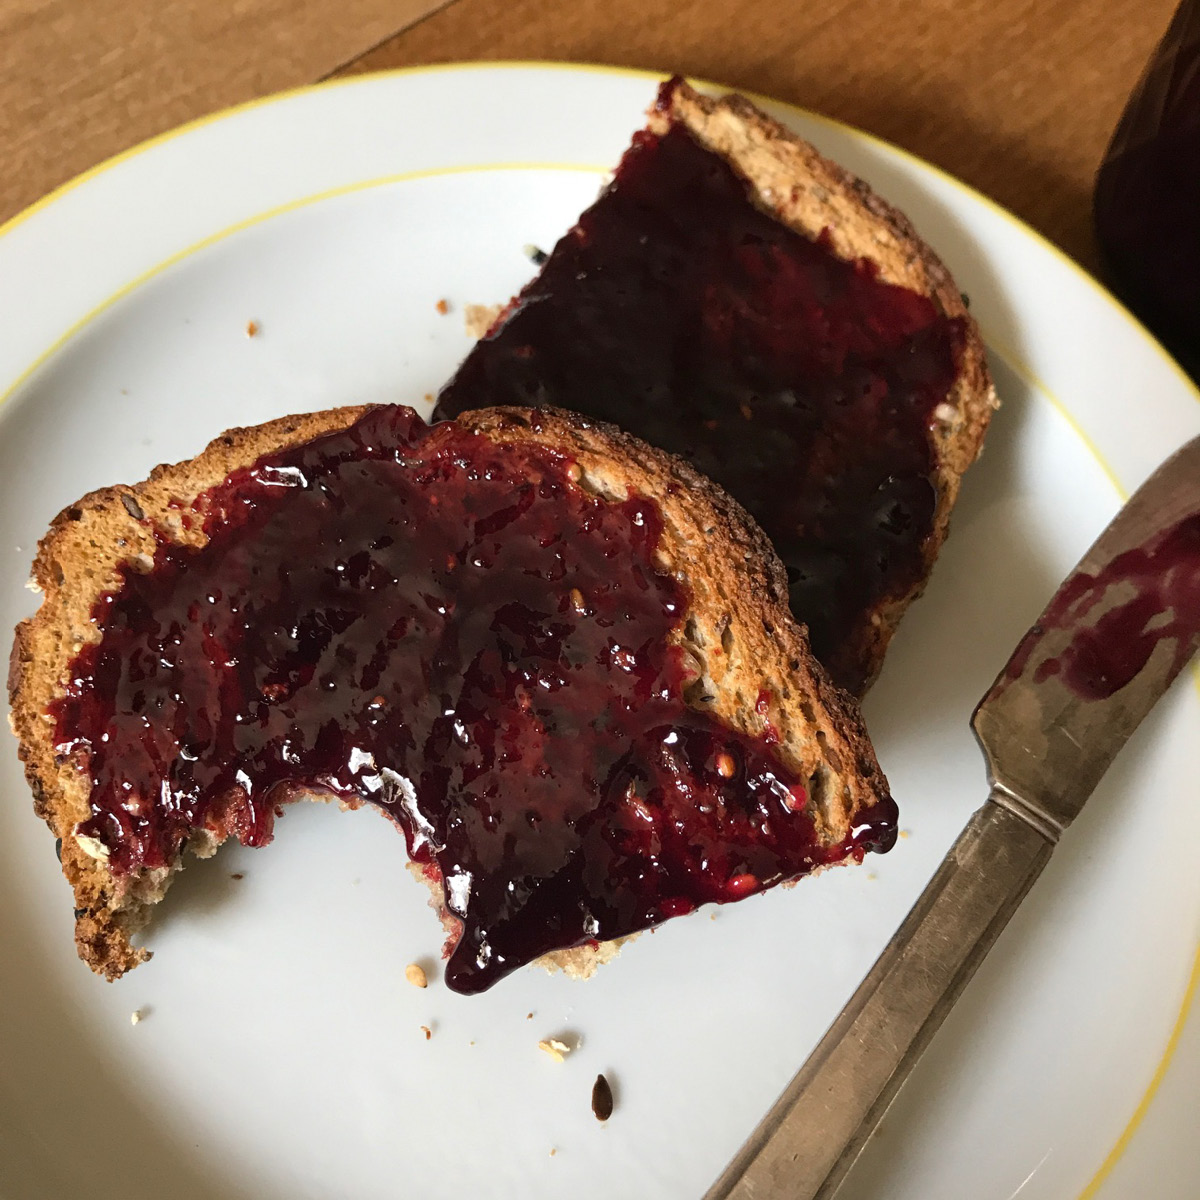
You can see the beautiful texture I achieved (ribbon please) using just the apple. This stuff tastes absolutely amazing! In fact you might like it so much you’ll start making PB&J’s again and feel the need to get yourself some jam-swag. You’ve come to the right blog. Please peruse the jam-flavored handmade items available at Homespun, and don’t forget to tag us in your jam-making adventures @homespunindy!
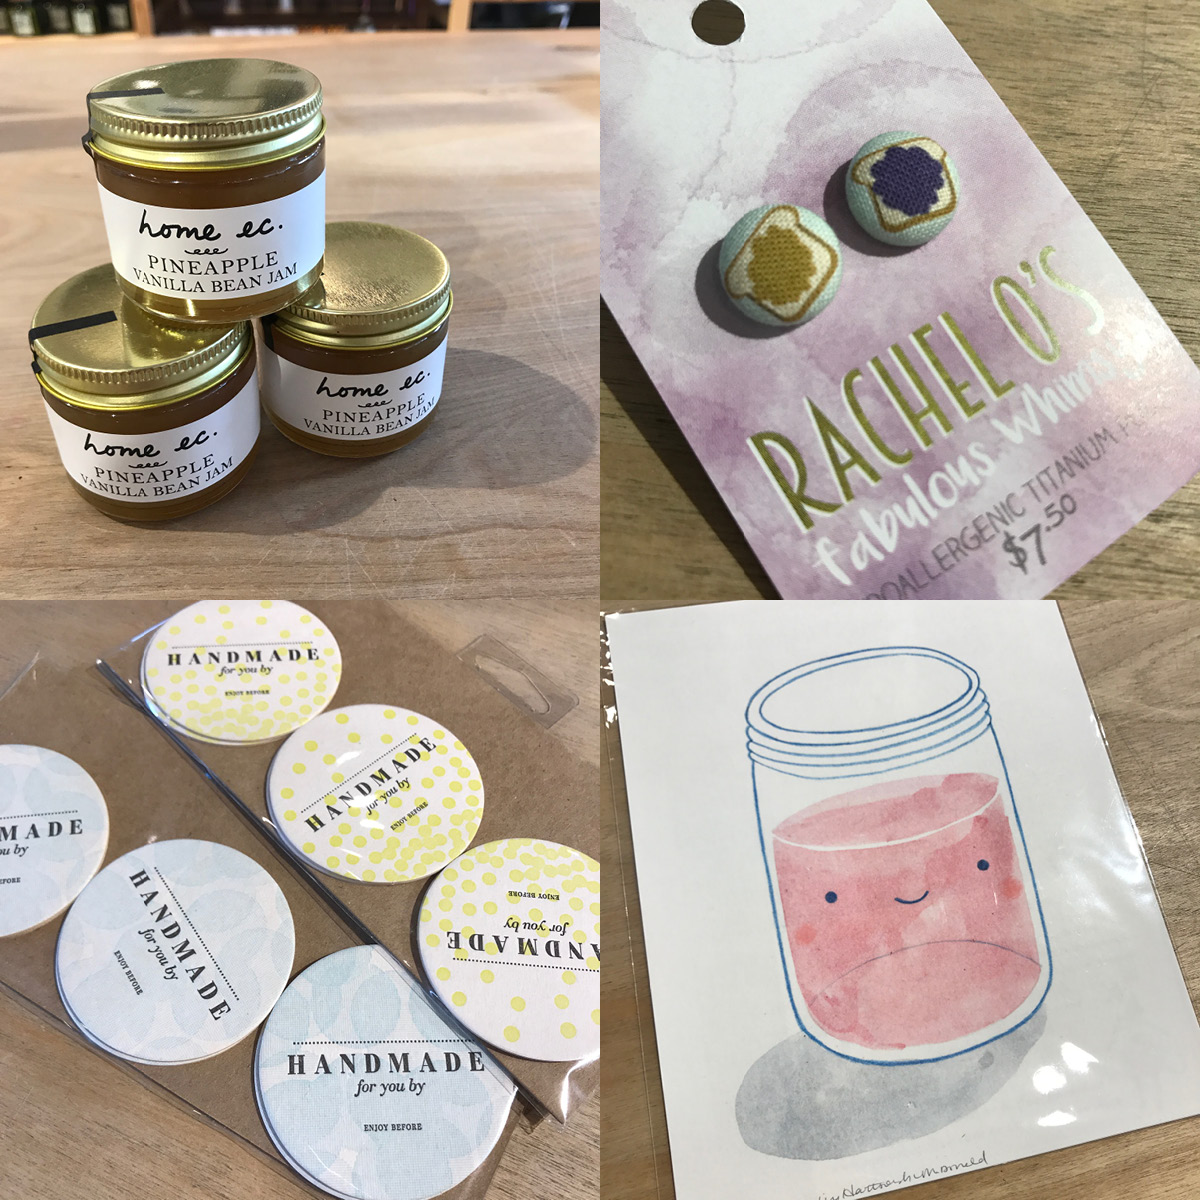
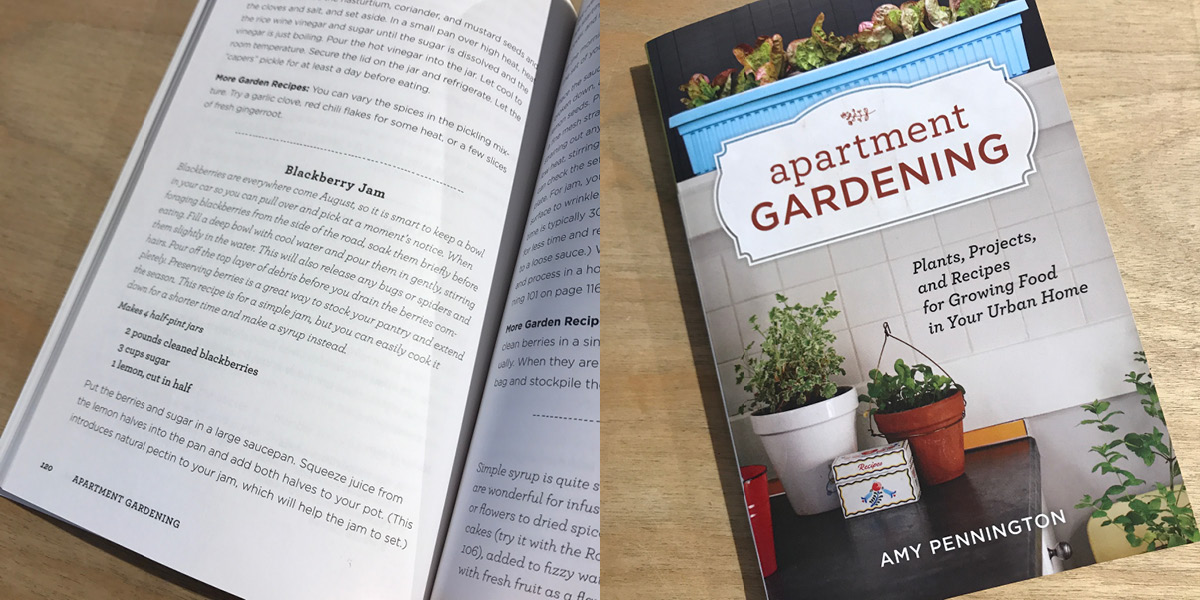
Jam locally jammed by Home Ec., PB&J earrings by Rachel O’s Fabulous Whimsy, letterpressed canning labels by Red Bird Ink, and little jar of jam (or juice) by Cordial Kitten. Lastly, there’s a recipe for blackberry jam in the book Apartment Gardening by Amy Pennington which is chuck full of useful stuff.
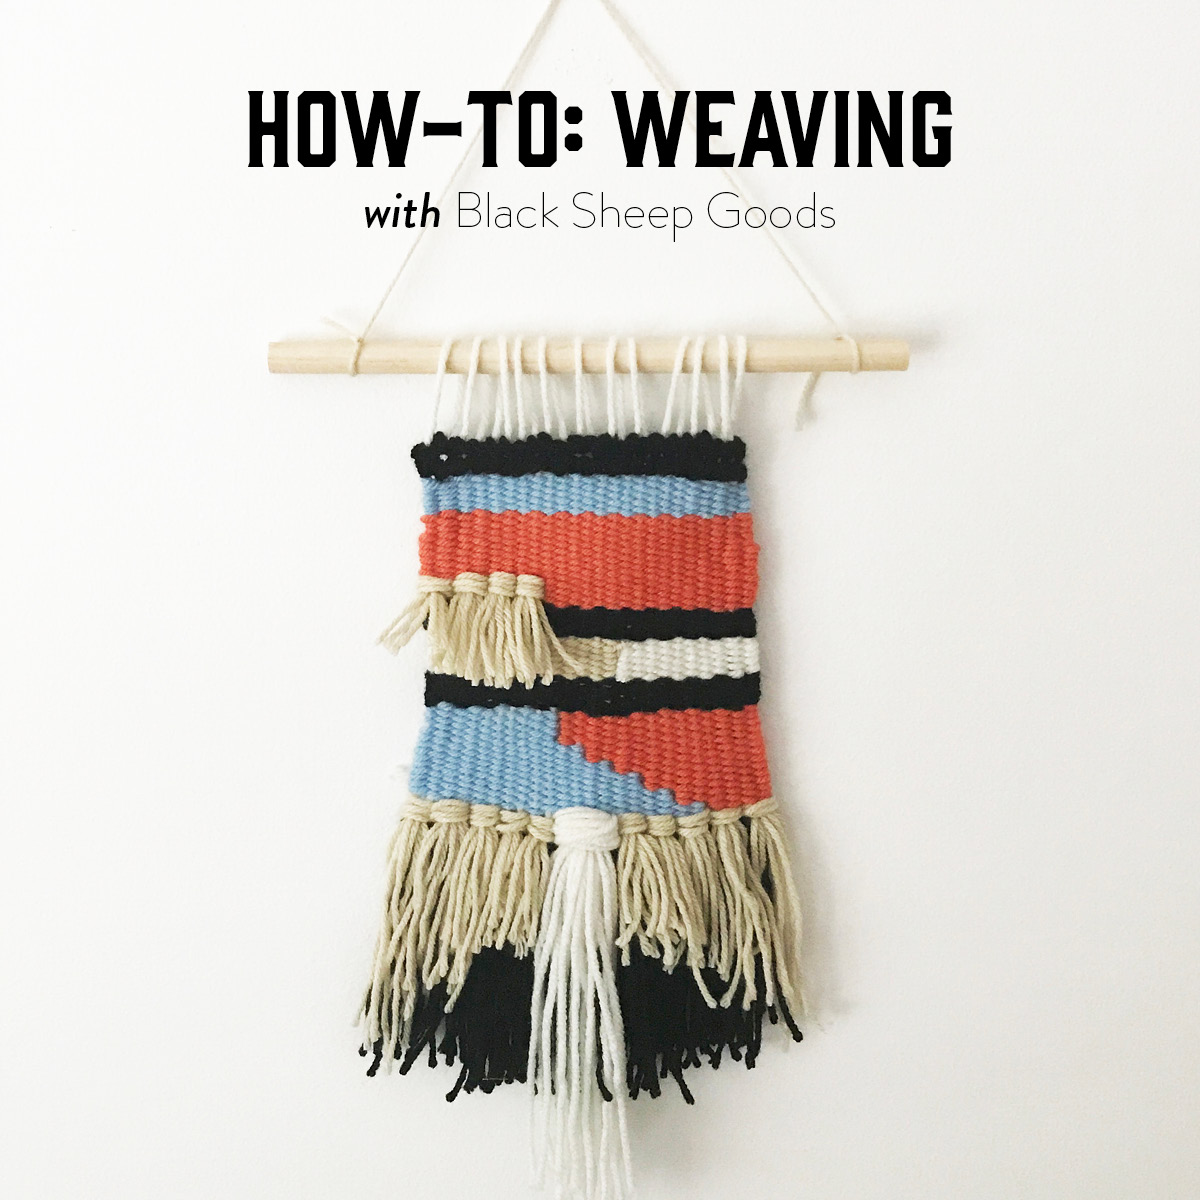
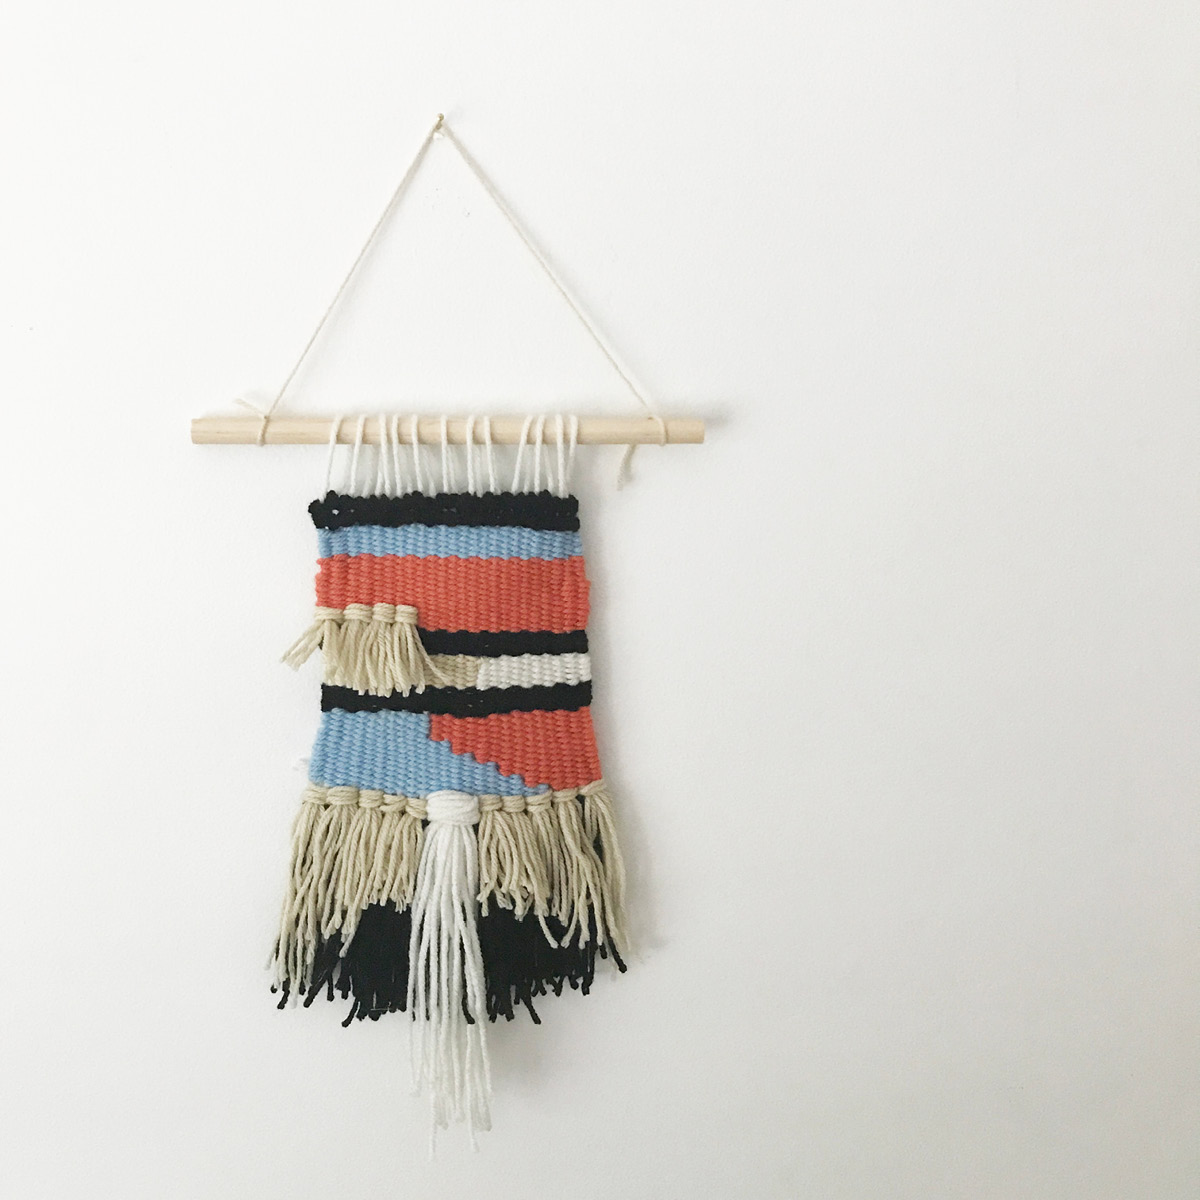
There is something wonderful about weaving. It’s quiet, repetitive. It’s a way to physically force yourself to be in the moment- a tangible mindfulness. This is true for many fiber arts. There’s also the history factor, people learned these techniques long, long ago and they have been passed down generation to generation. Black Sheep Goods has found the perfect way to continue passing on this tradition with their affordable at home weaving kits, instructions included!
Although these kits are meant for beginners, after taking a look at the instructions I knew it would be really helpful to have a more in-depth visual guide through the process. So that’s what I aim to do! And I’ll add that although I did some weaving on a loom in college, this is my first wall hanging and I won’t tell you how long ago college was.
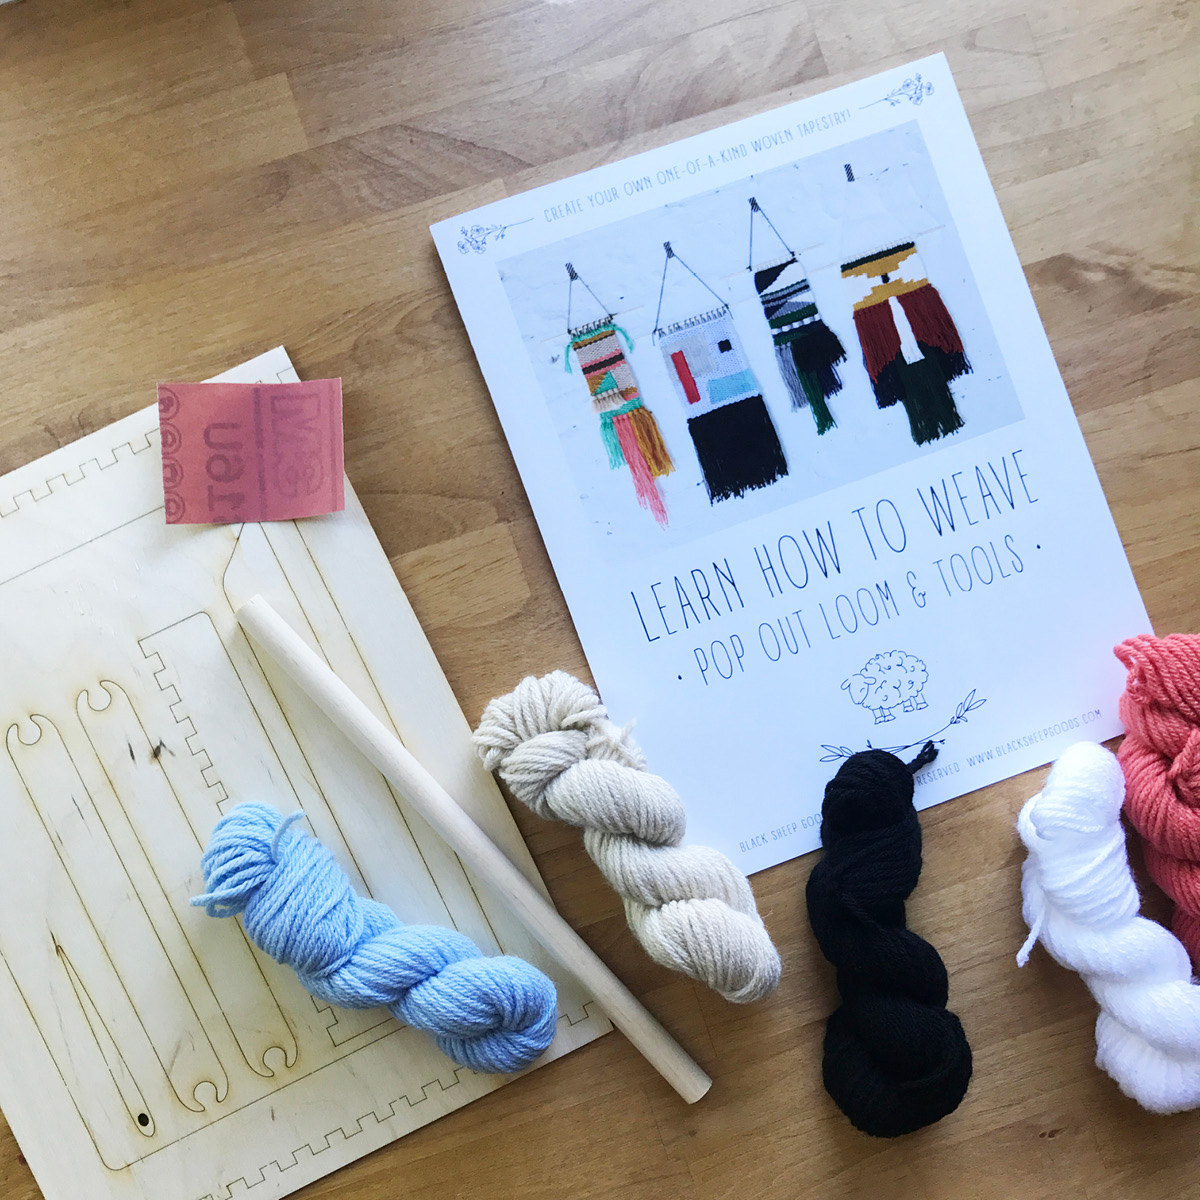
Here’s everything that comes in the kit.
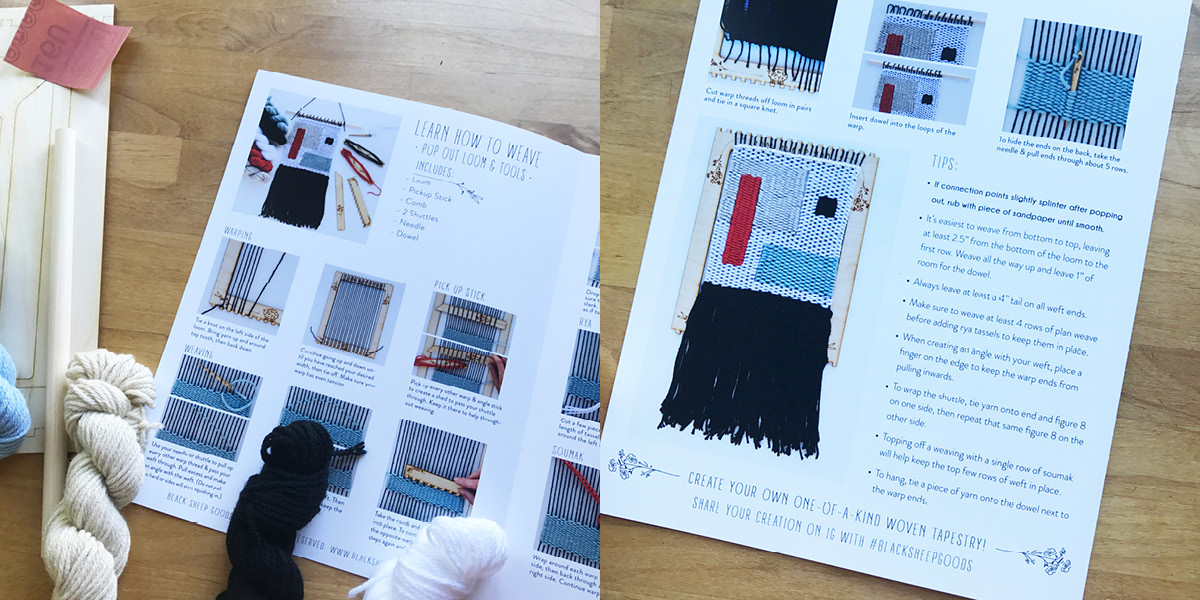
Here is peek at the instructions that come with it. Those “tips” on the right- are crucial! Read through them all CAREFULLY before you even begin.
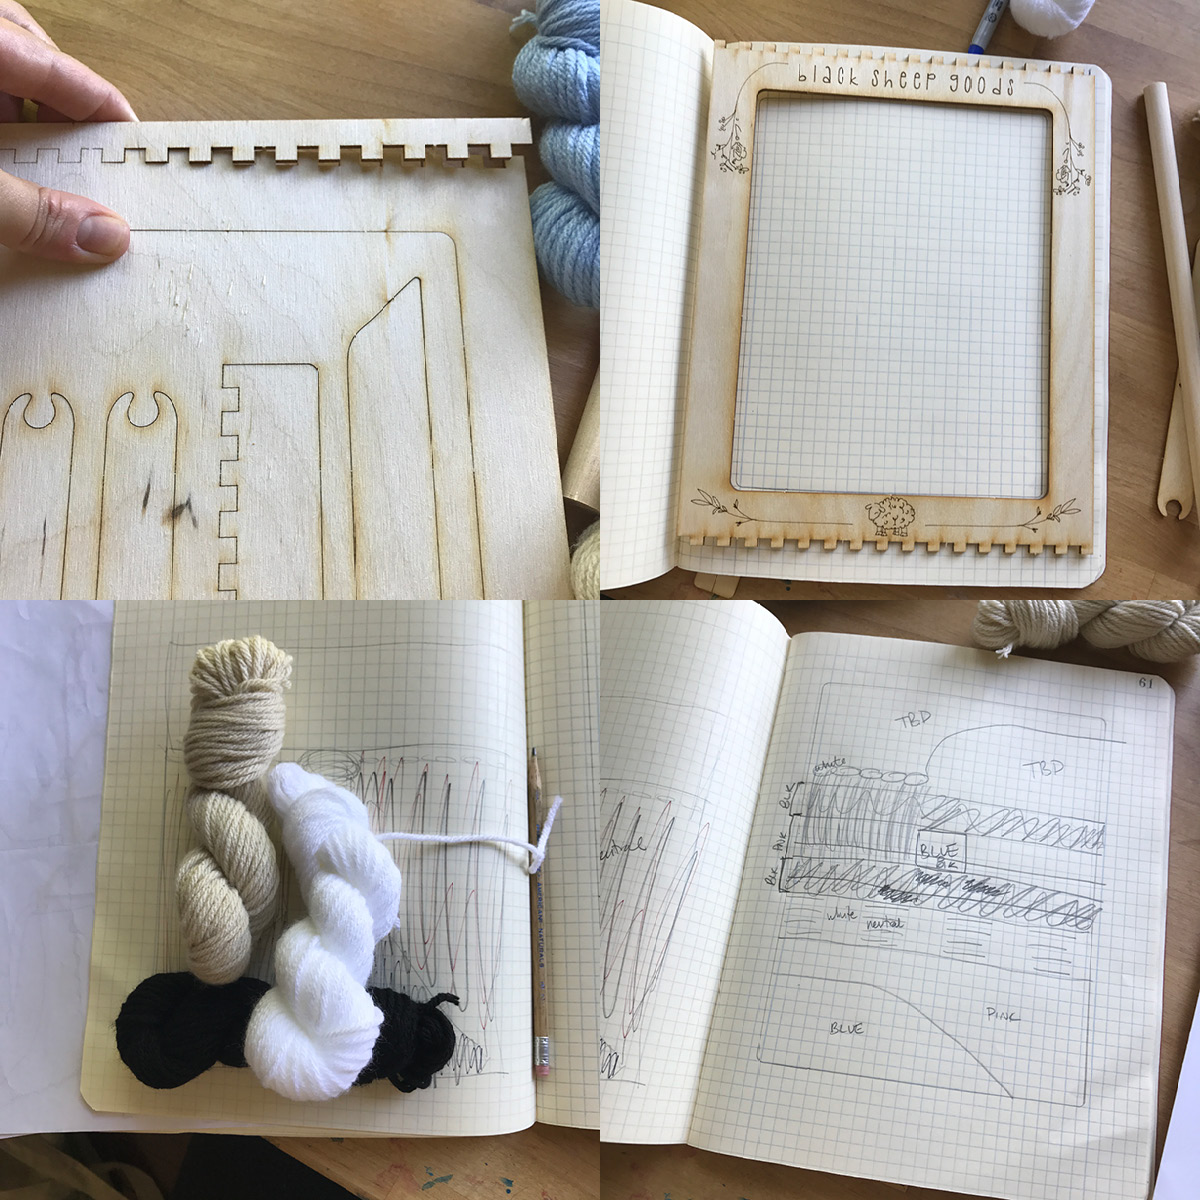
To start, I punched out all of the loom pieces from the main board. The kit comes with a piece of sand paper in case of any uneven breakage, but I found mine came apart easily and cleanly. Next, I made a plan in my handy-dandy gridded notebook. It was hard to do, and I had anxiety about running out of any given color, so I left it sort of unfinished. As I worked, I found I preferred to just go with the flow anyways. Also, I didn’t think of this at the time, but realized you could make your wall hanging any width, not just the entire width of the loom. If you wanted it more narrow, you would just use less threads.
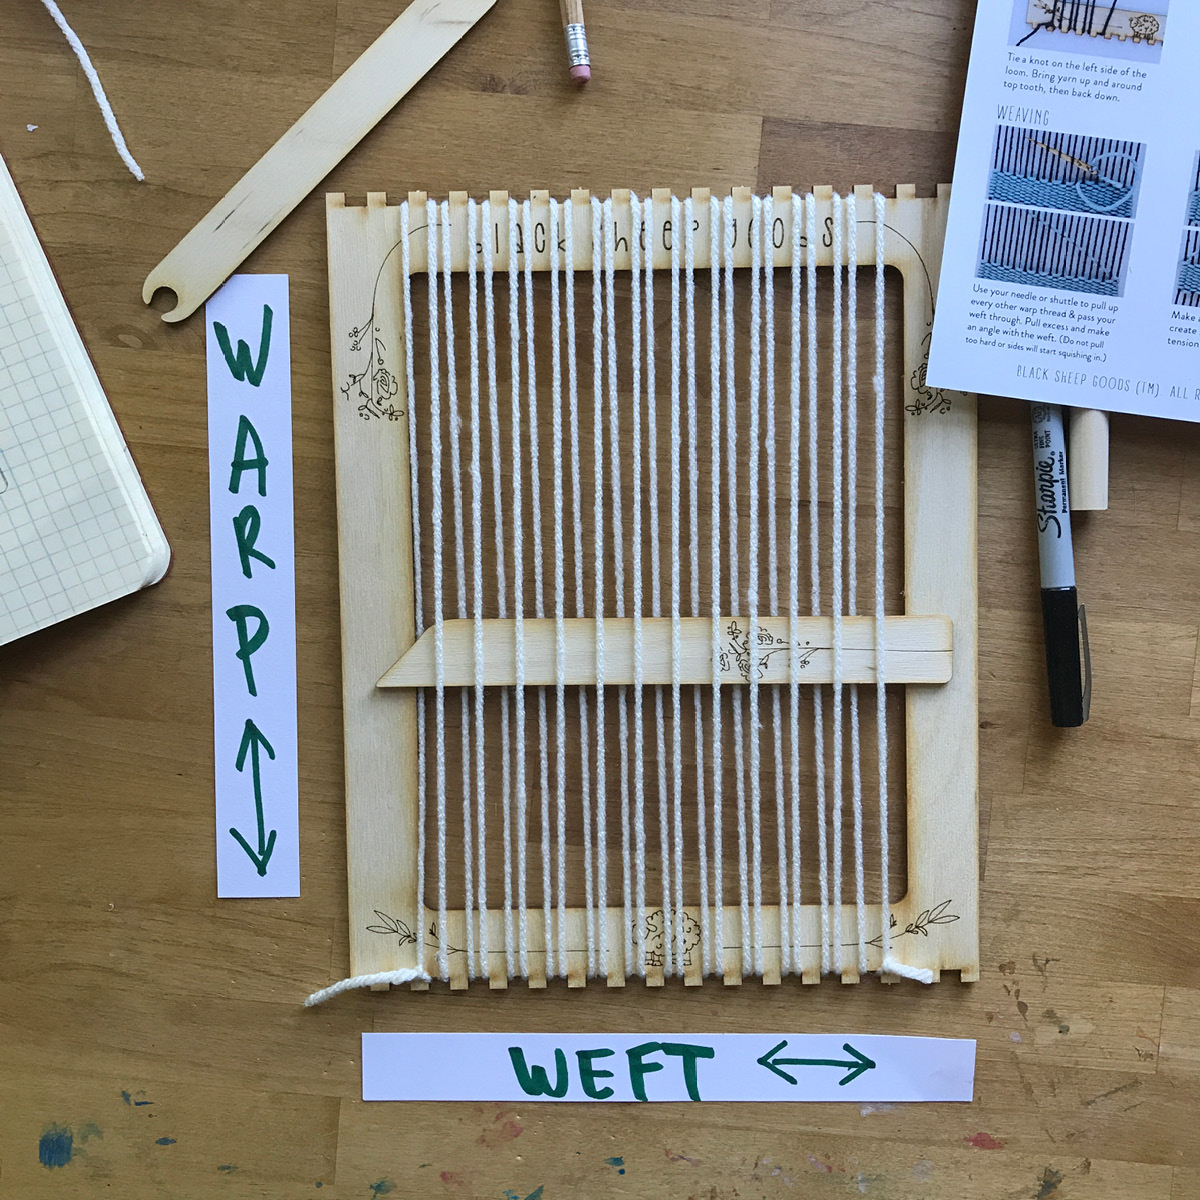
Also, it’s important to make these terms clear before starting. The warp threads are the original threads running N/S, the weft are the ones you are weaving into them, running E/W. I did not make these little signs for you, although they work well for this picture, I made them for myself and referenced them the whole time I was working. It was really helpful and I totally have it memorized now (maybe).
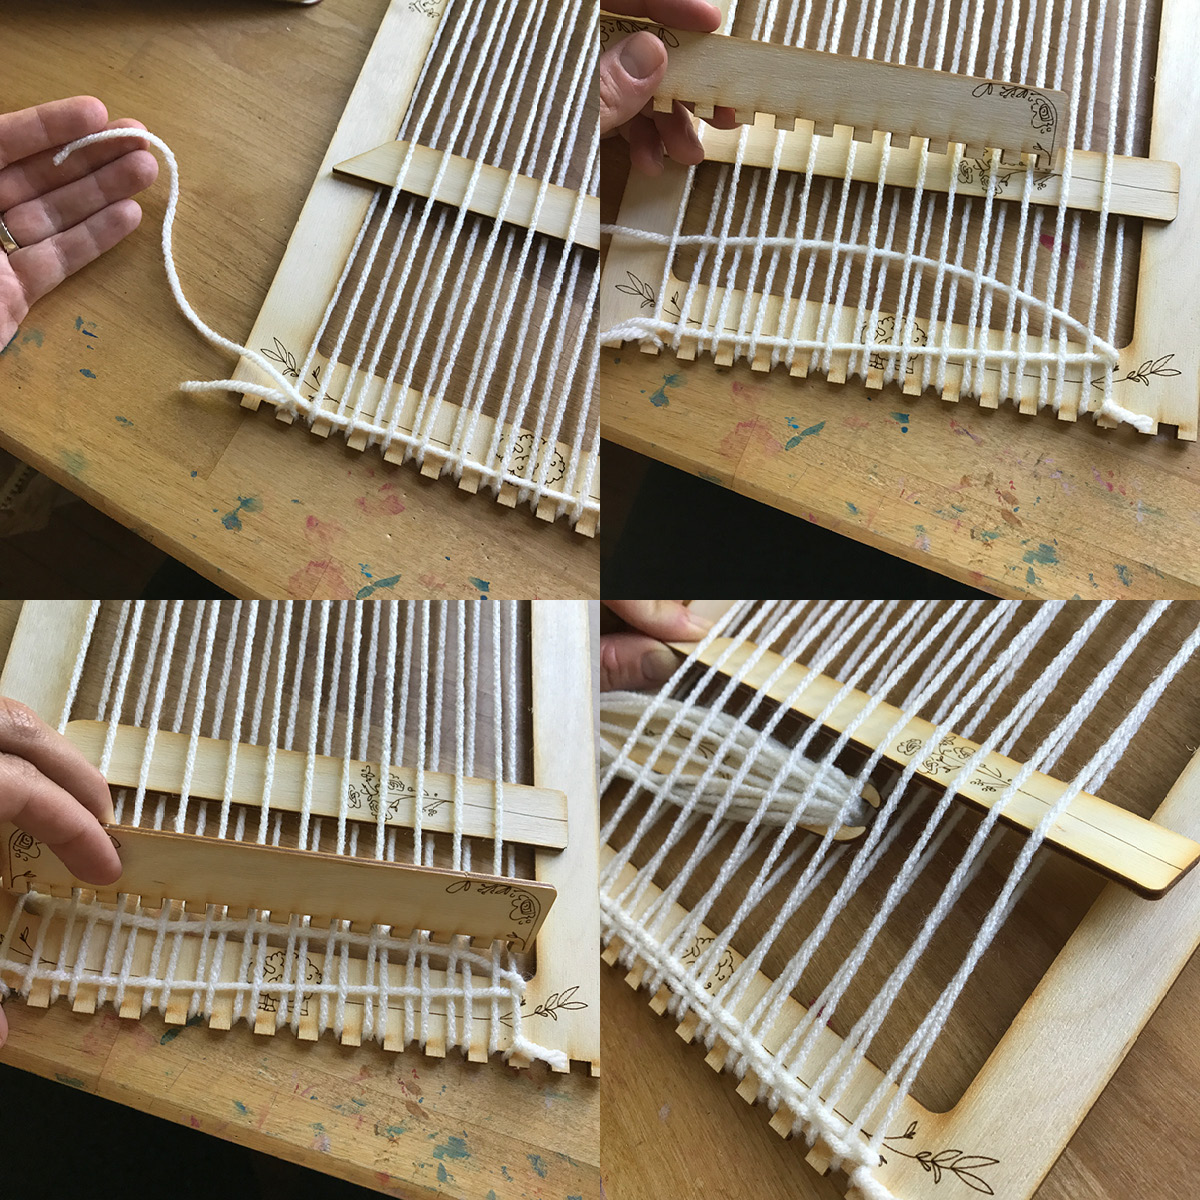
Weaving on the warp of the loom is pretty straightforward, up and down, up and down, tying off at the beginning and end.
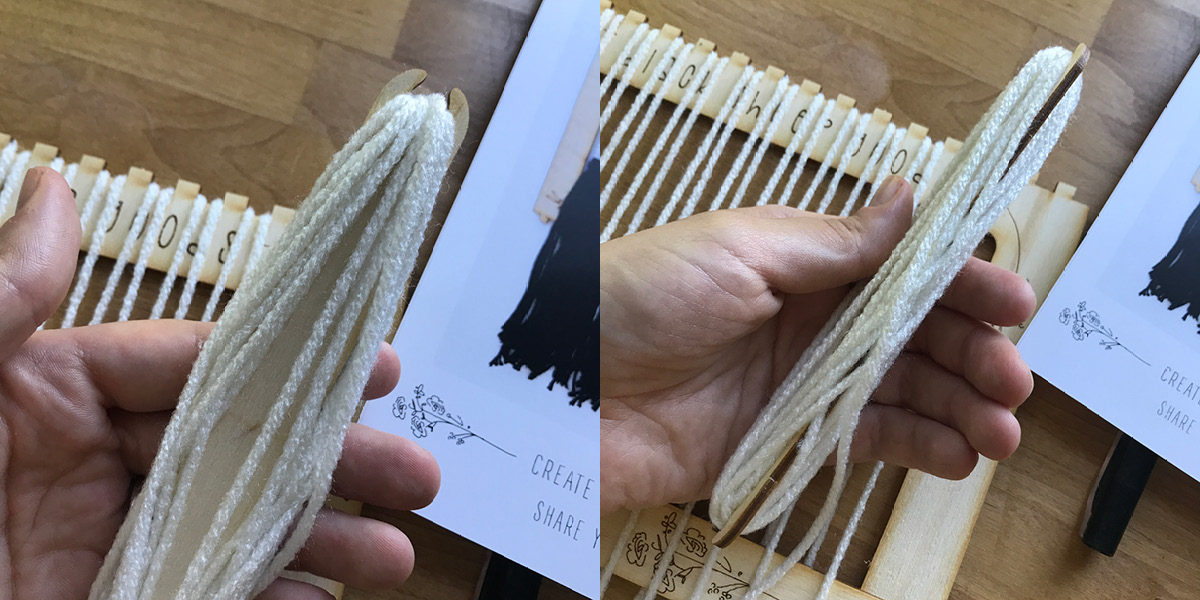
This little guy here is your shuttle. You’ll need to wind him up with the same color you used for the warp, because you’ll start your weaving with at least four rows of weaving before adding tassels (called rya) which are pretty much non-optional for the bottoms of decorative weavings. To wind the shuttle, tie the end of the yarn to the end, then make a figure 8 on the side, turn the shuttle and make another figure 8 on the other side, and so on. Do this several times, then cut ‘er loose.
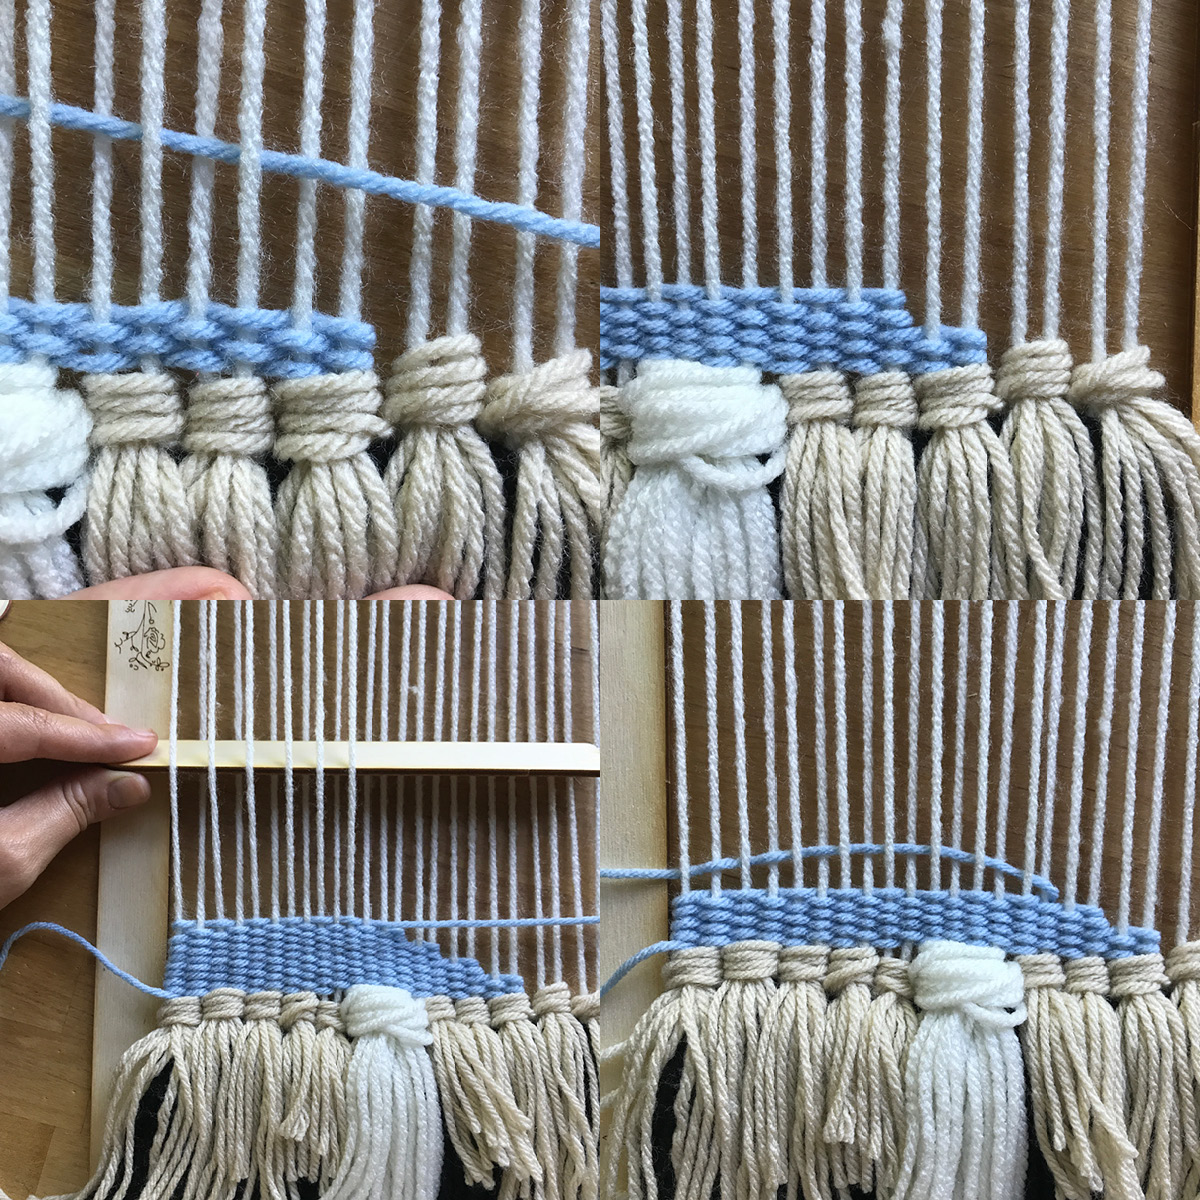
Next, pick up every other thread using the pickup stick. If you tilt the stick just a bit, you’ll have a little cave to pass the shuttle through. After your first pass (going either direction) leave a four inch tail at the end and remove the pickup stick. Pick up the alternate threads you did the first time, and pass the shuttle back through again. It’s okay to leave the thread in sort of an arc shape, this will help you leave enough slack, and you can use the comb to push the threads down so they lay evenly. I combed mine down after every pass, but I think you could probably go 2 or 3 passes before doing so, which would also help keep your warp threads from getting as fuzzy as mine did. You could also skip the pickup stick and just use the shuttle itself to weave back and forth through the threads if you find this easier. Just remember to pick up the alternate threads for each pass, or you’ll undo your work.
After you’ve done the first four rows, just cut off the thread leaving about 4 inches as you did in the beginning. This is what you’ll do as you start and end new sections. When the piece is finished, you’ll used the needle to tuck these threads into the back of the weaving.
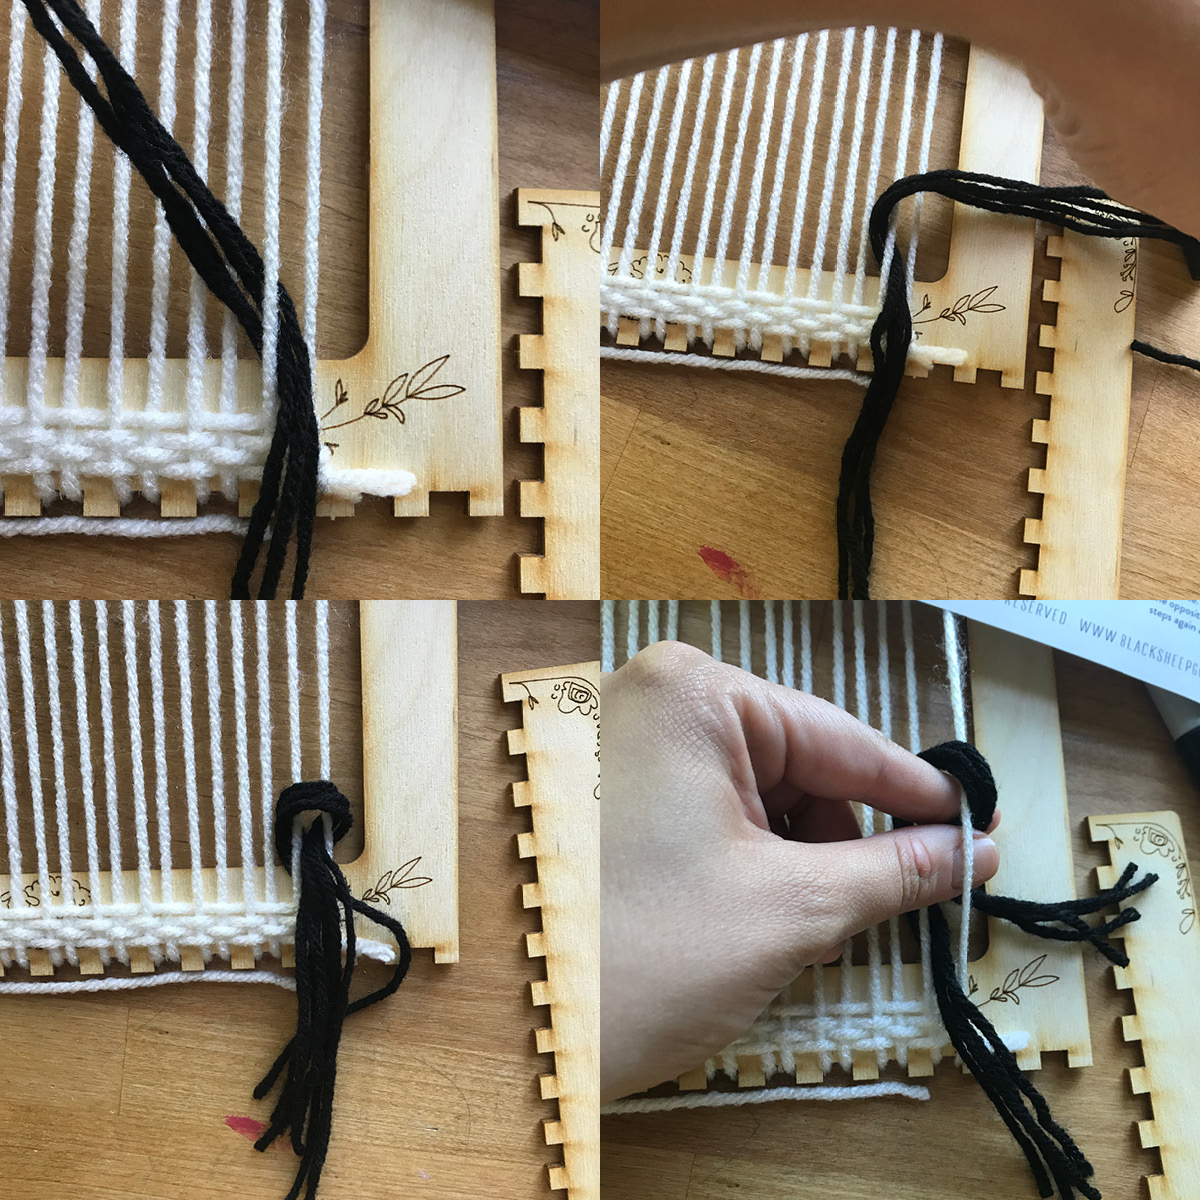
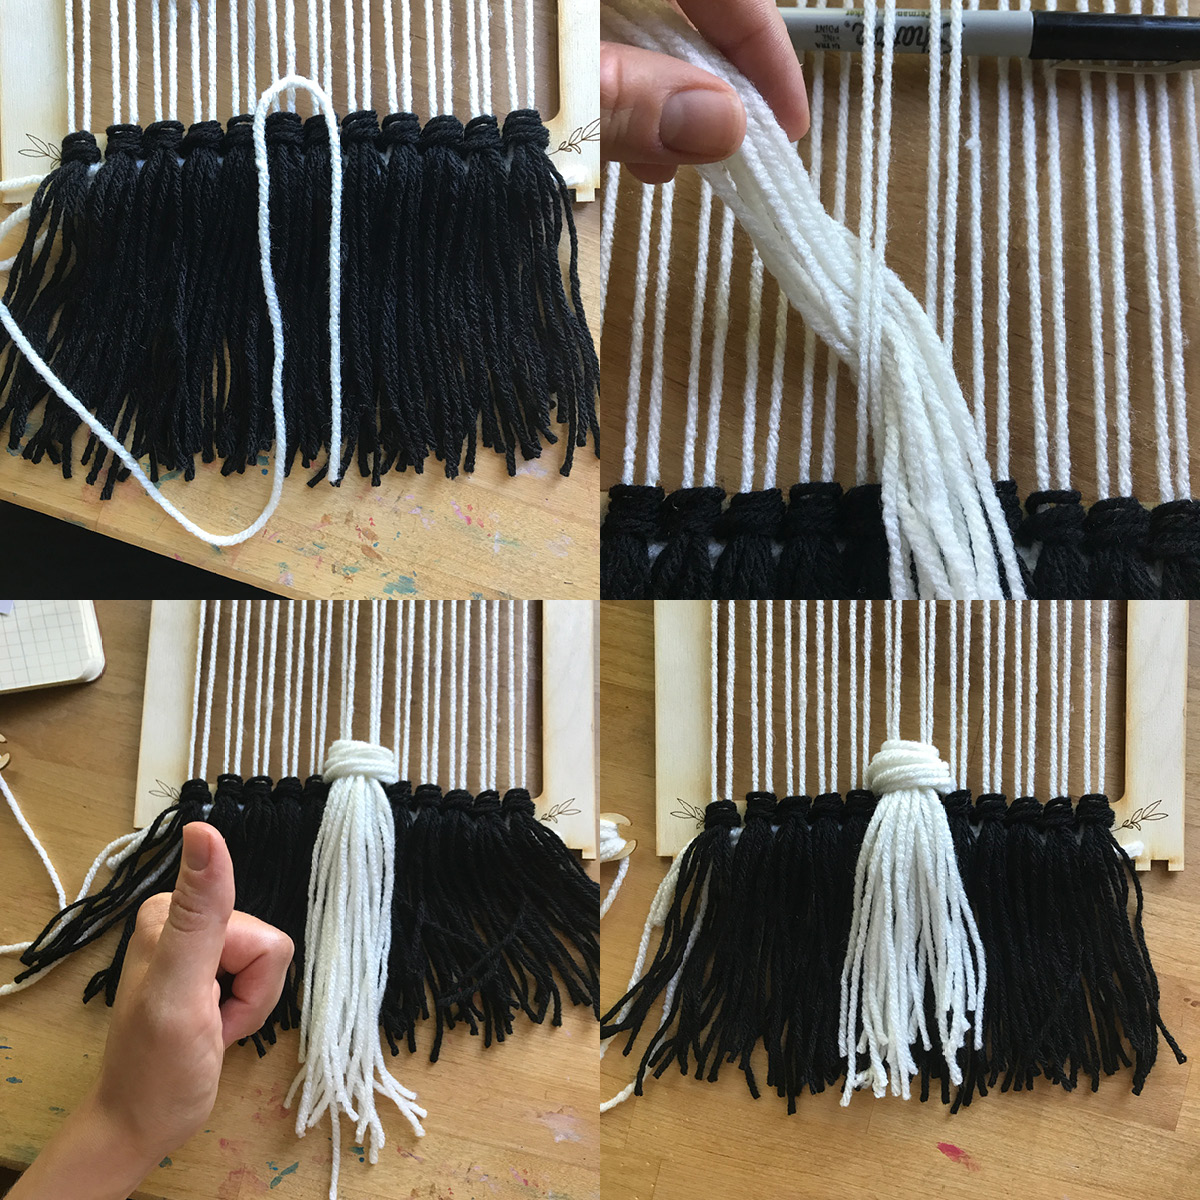
Now, tassel time! The tassels are really easy and fun (IMHO).
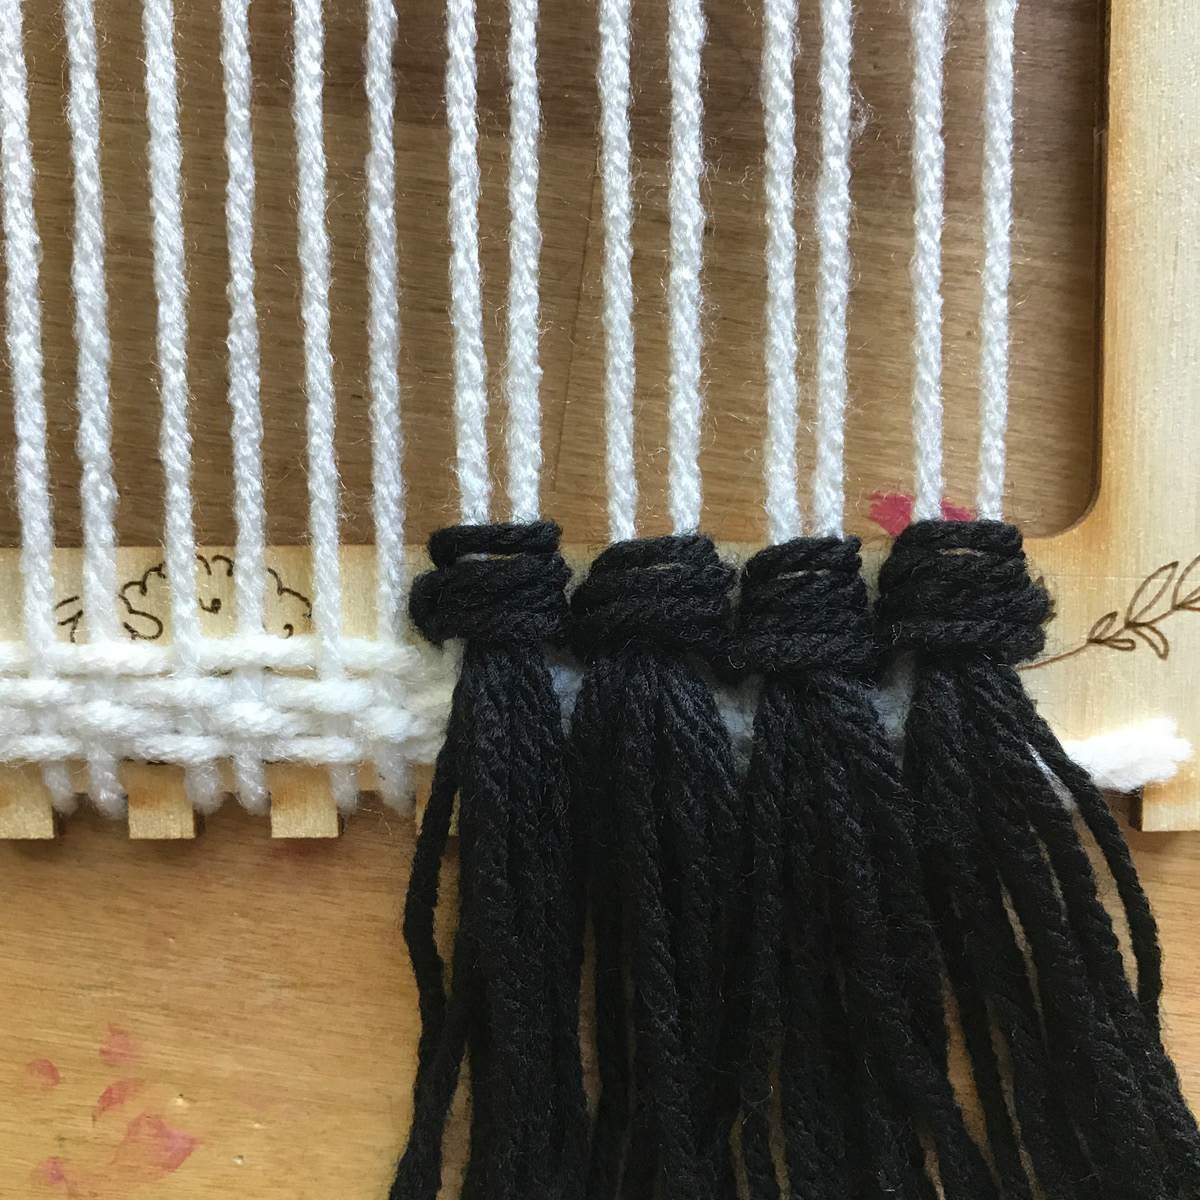
I used four threads for each tassel, which is what they show in their instruction photo. I went ahead and cut five of the same length so I would have one to measure from for the next tassel I made, since I want this row to be of even length. That being said, its okay if tassel ends aren’t even, or if they are too long. You can always trim them at the end. Follow the process pictured above, and in the last step be sure not to pull too tight, the two warp threads your tying onto shouldn’t pull together.
For the large center tassel, I measured out the length (first photo). I used twice as many threads as the small tassels (eight). The first tassel turned out too short (bottom right), so I made a much longer one.
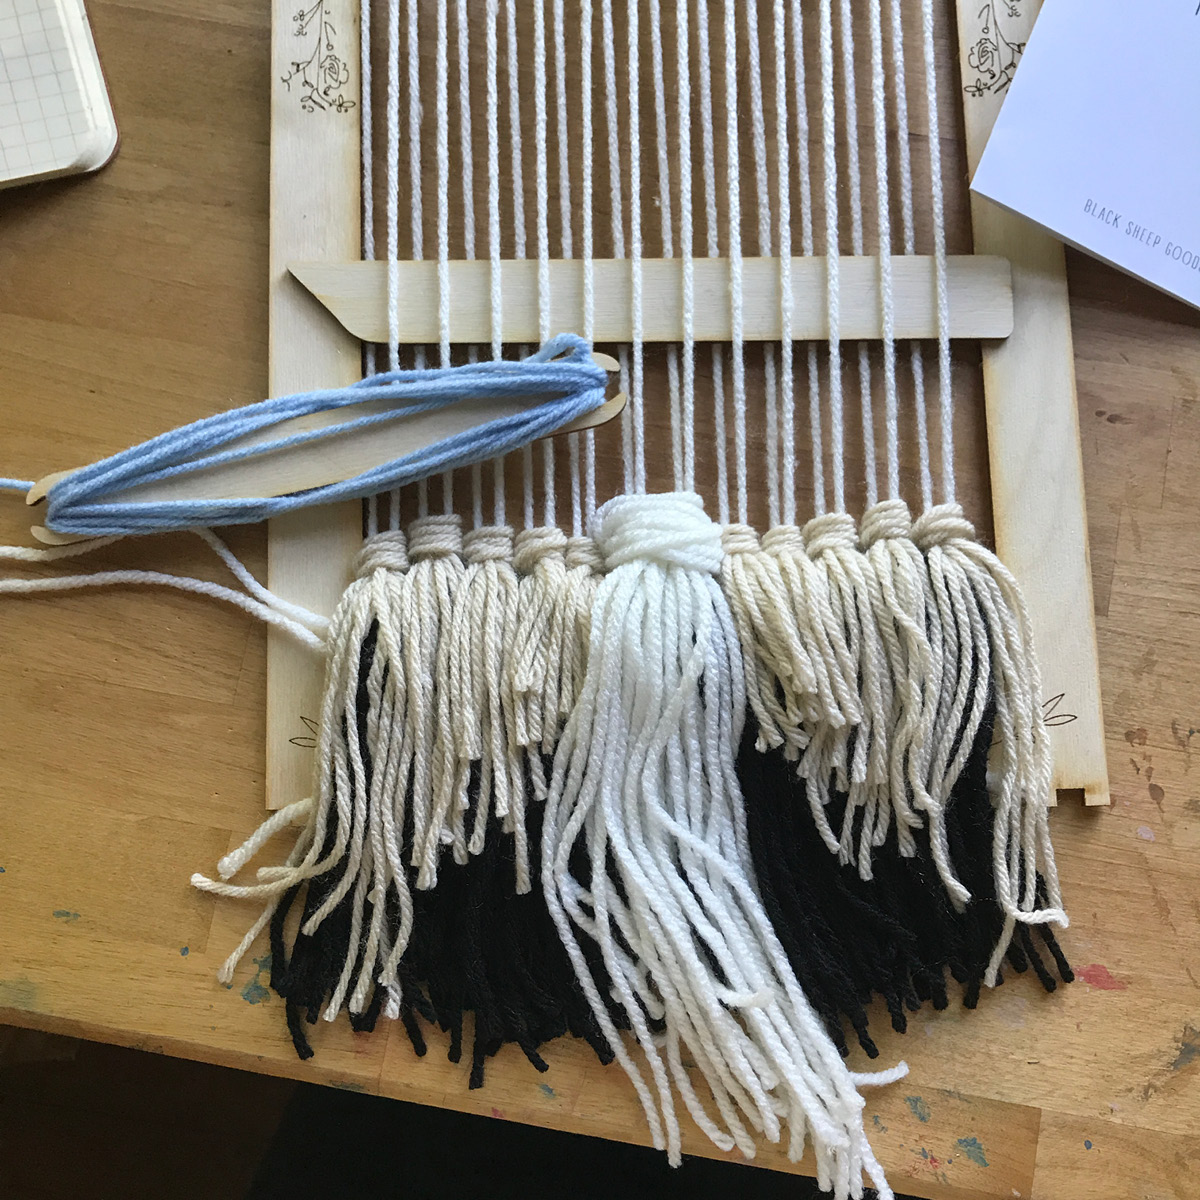
Now for MORE tassels. I started on the outer edges and moved into the middle, cutting an extra length of tassel thread for each set, then chopped off about an inch from that extra and measured out the next size of tassel. I did the two inner sets the same size. At this point I’m dying to trim the ends and even it all out, but I think this will be easier while its hanging, so I wait.
Now for some color. According to my pattern, I thread up the shuttle with some blue thread. I visualize how far across I want the blue to go, that’s how far I feed the shuttle through, and then I just turn it around. I go two rows, then decrease the warp threads by two and weave two more rows. I keep going until its as high as I like.
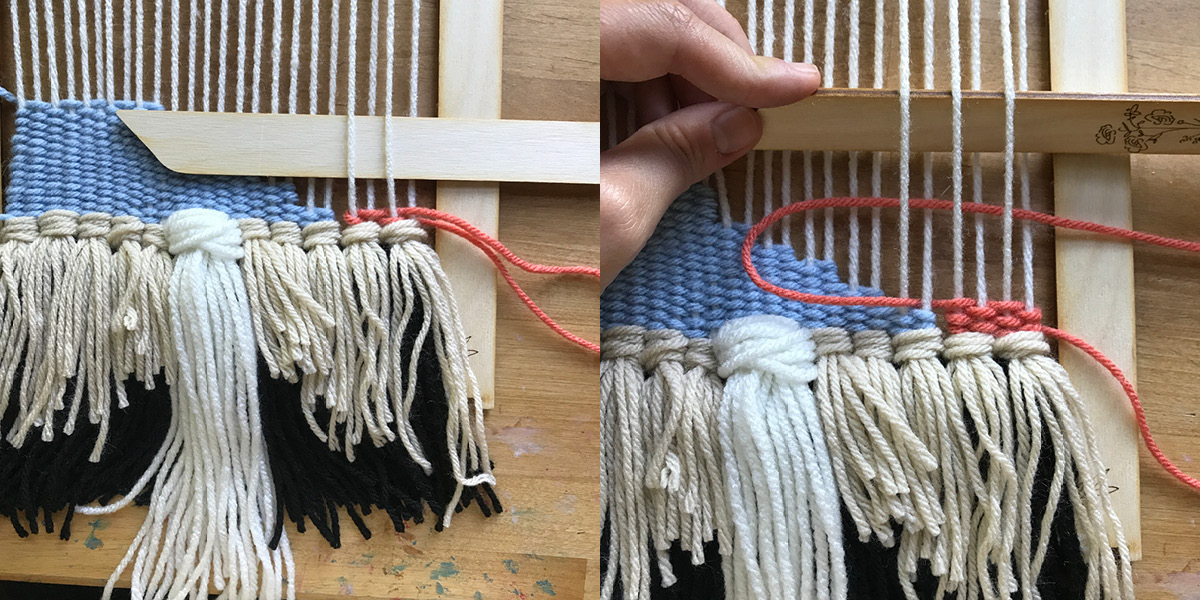
And now for the pink! As I mentioned before, be careful with thread tension. Don’t pull too tight! You don’t want the sides pulling in on you, and these two color blocks will pull away from each other if you weave too tight.
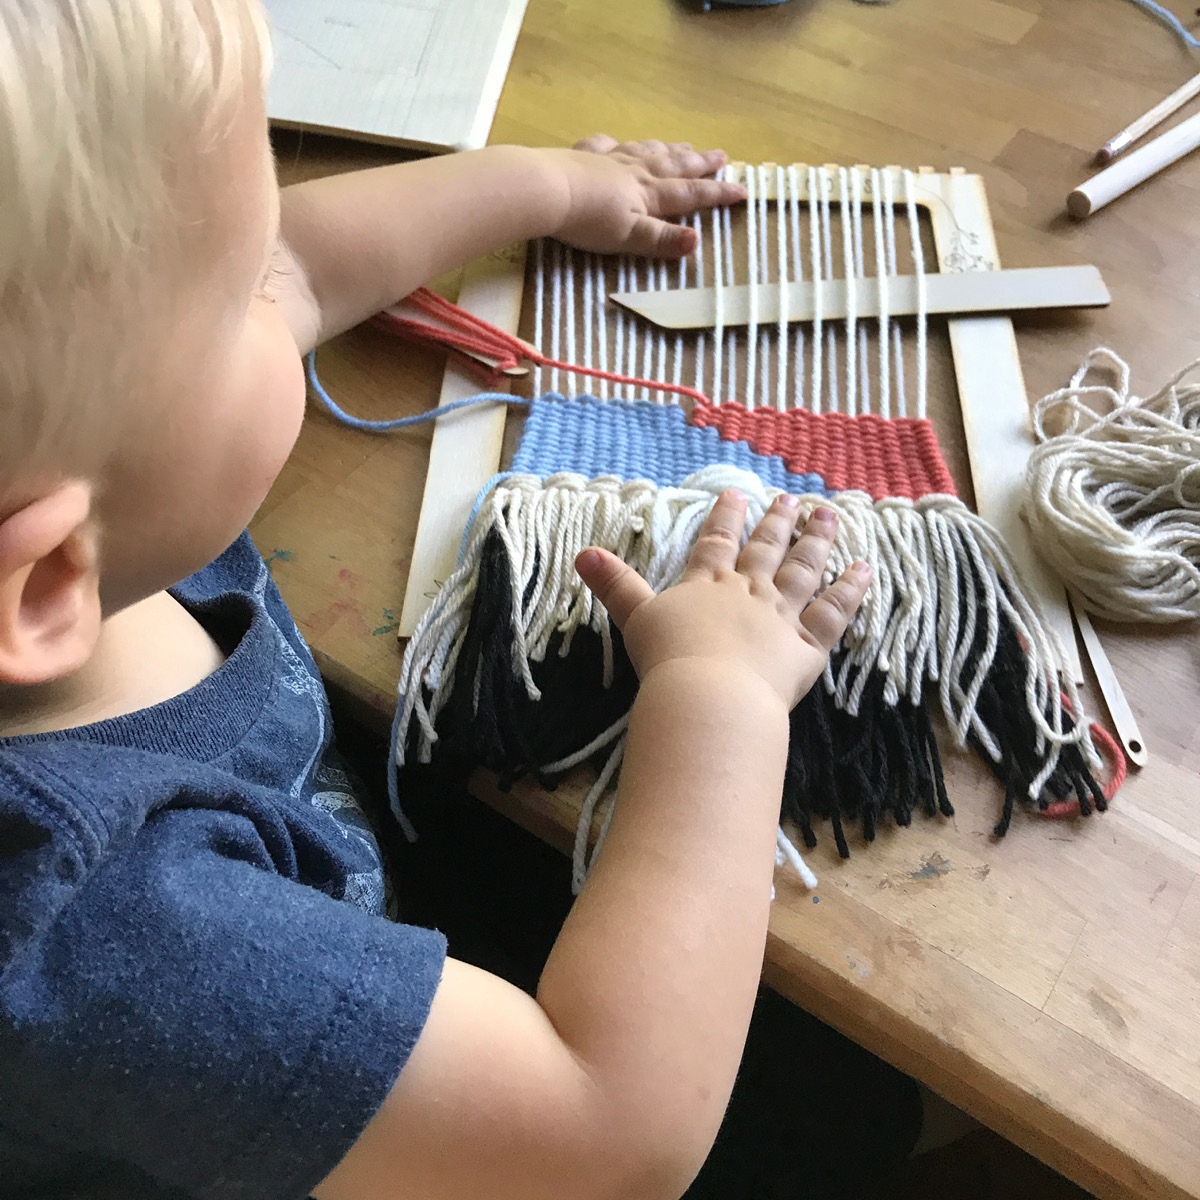
Finished the pink and got a little visitor. “Are you making a broom, mom?” Good guess!
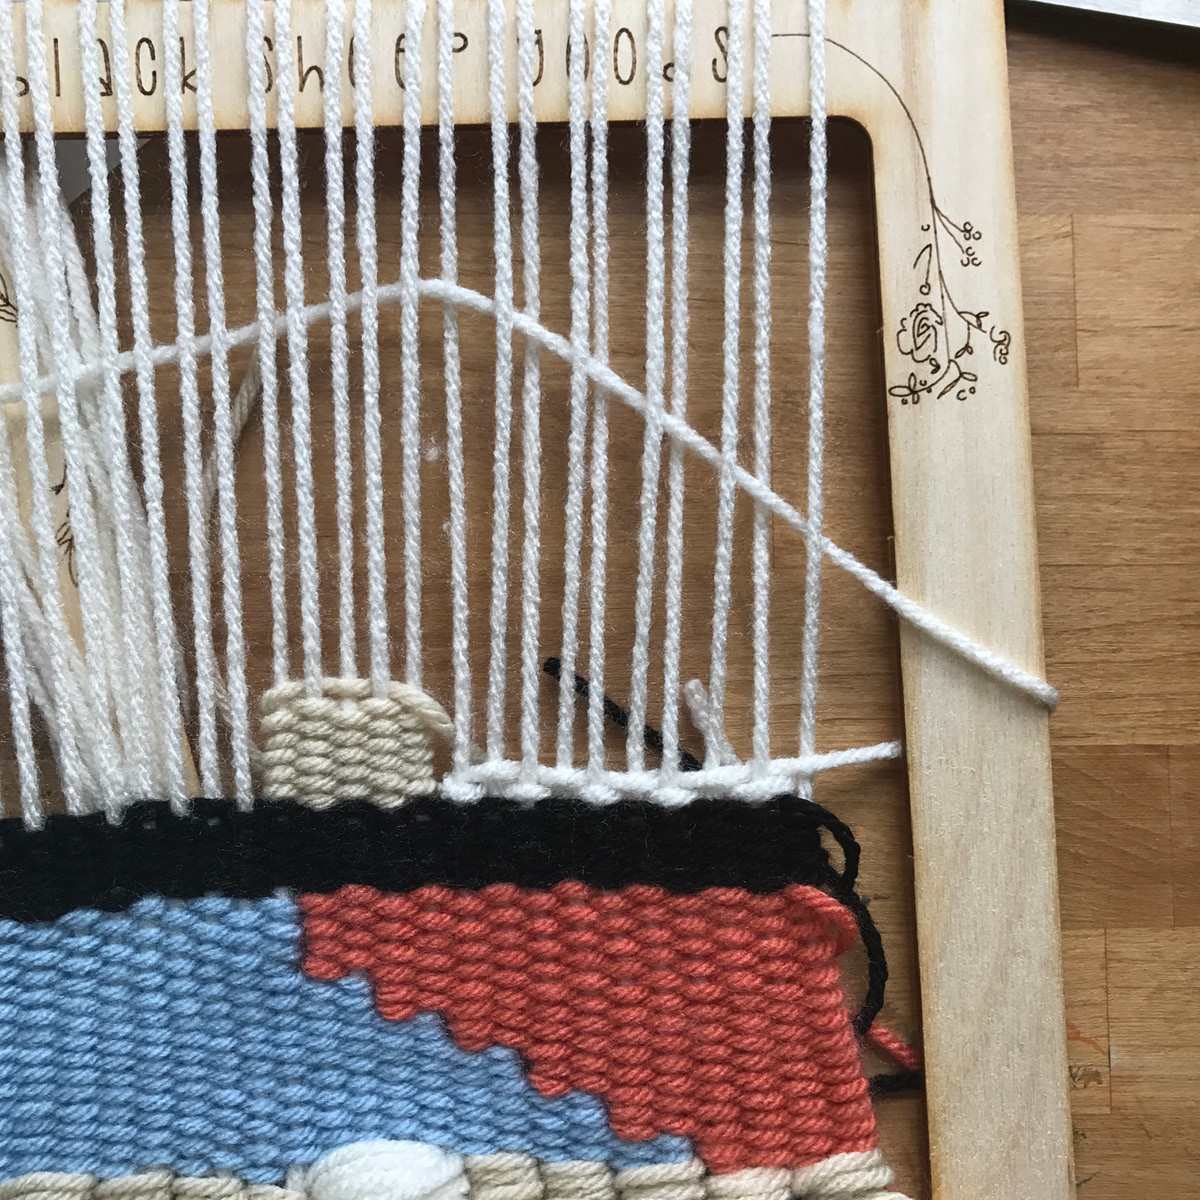
I do a block of black, then start on the little beige square. For this section, I count the warp threads to find the middle, and just cut a length of beige to use with the needle. Tie the string to the end of the needle (it WILL slip out!) and do a small block of weaving.
I make a WEE mistake while doing the blocks of white on either side. Ahem. Don’t weave your weaving to the frame.
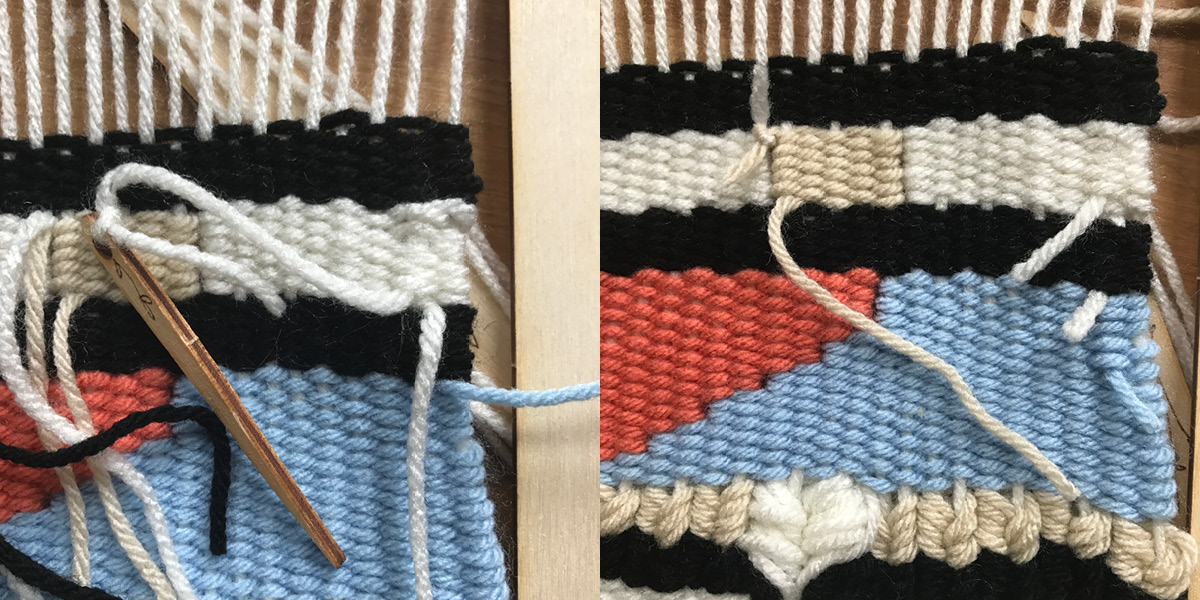
After adding another block of black, I decide to tuck in some of the ends in the back, which are adding up. Just tie the end of an end (ha) to the needle, and sew it underneath about 3 or four weaved loops. Then you can just trim or tie it off.
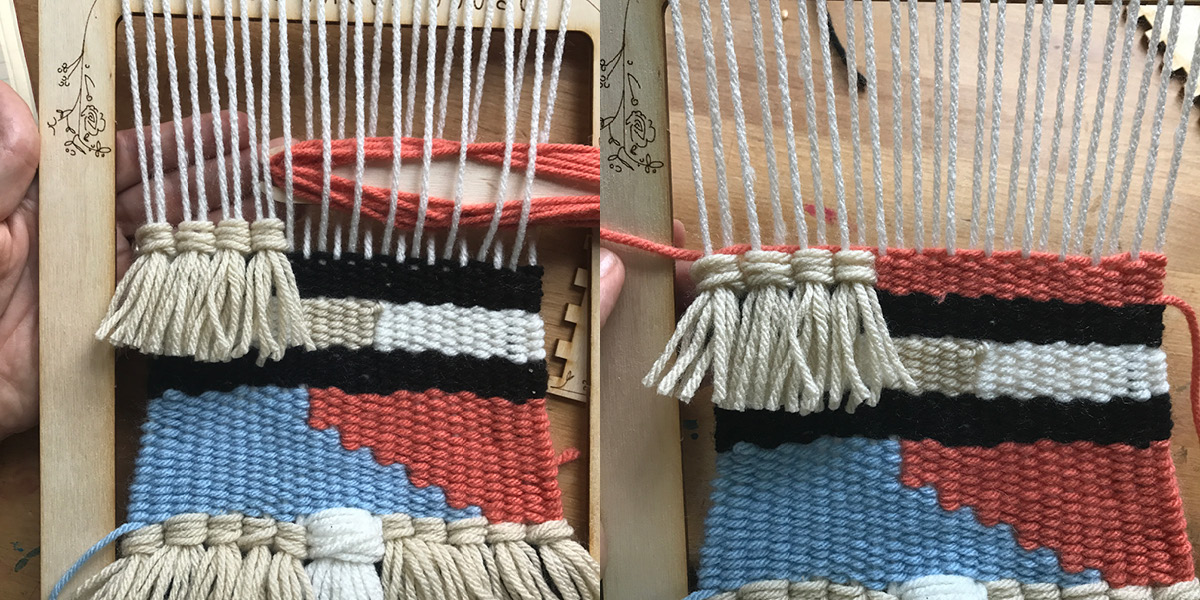
More tassels! Then some pink (see how I just go right around those tassels?) and some blue on top o’ that.
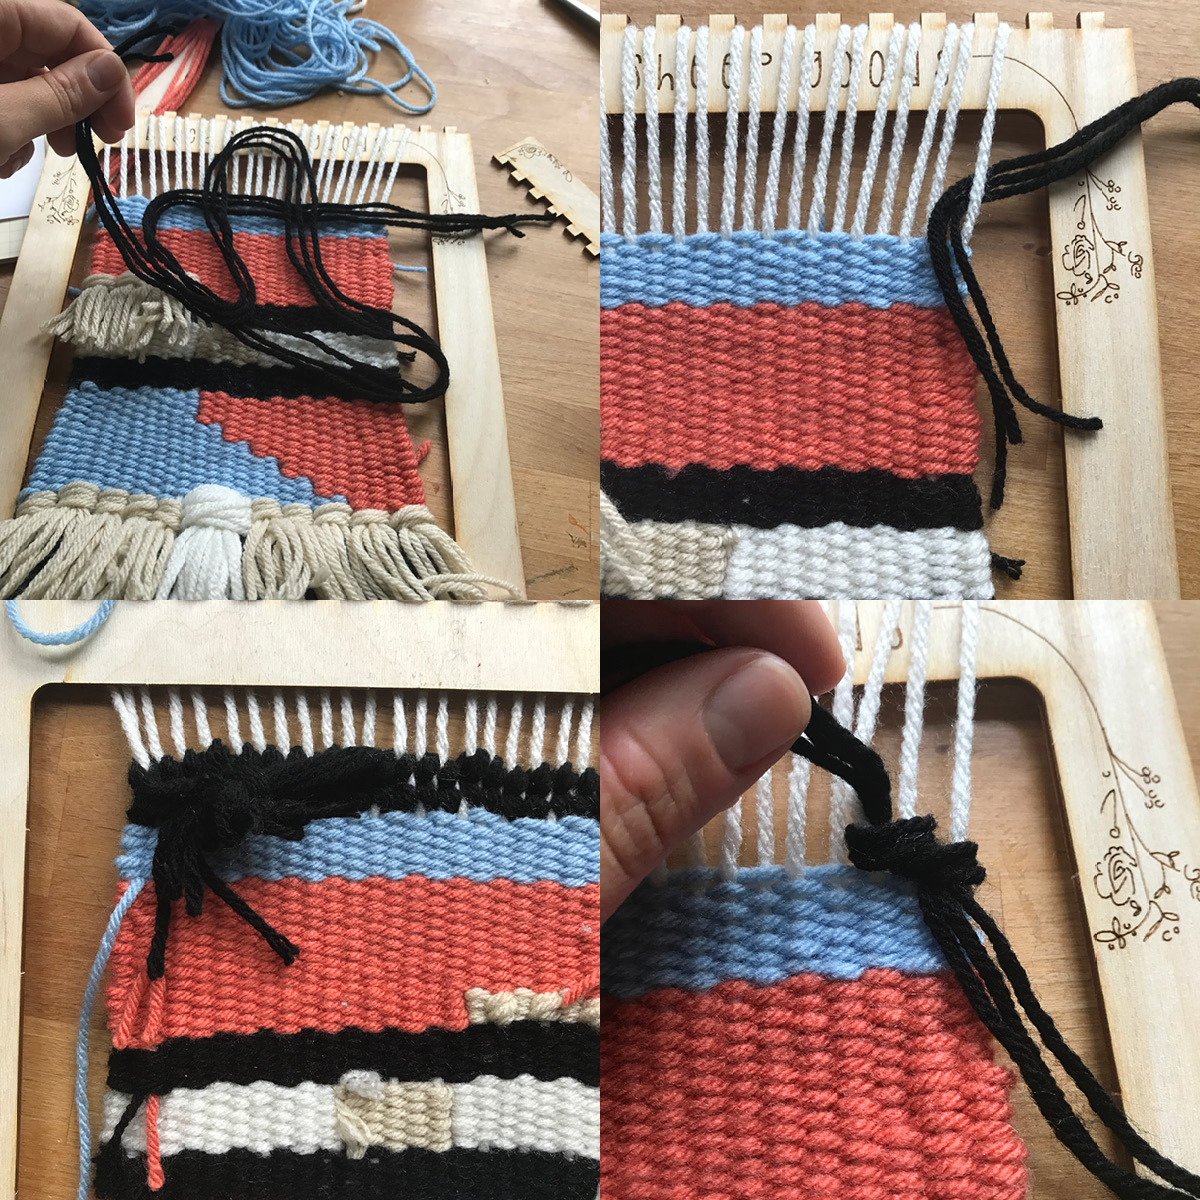
Now. They tell you to finish the weaving in two rows of “soumak” which is a twisty type deal. First, cut three pieces of yarn in an undisclosed length. You can see from the first photo what I used, and it was just barely long enough. Put the end through the first pair of weft strings you’re going to start with, then wrap around over the top, to the left of the warp string, then back up through the middle of the first two again. Come back around the left side of the next pair of warp strings. Keep going until you get to the end, at which point you will switch your wrapping direction and continue the other way. I tied a knot at the end, but I can’t say I know the BEST way to do this. It turned out to be a pretty big knot. But at least you have my solidarity with this issue.
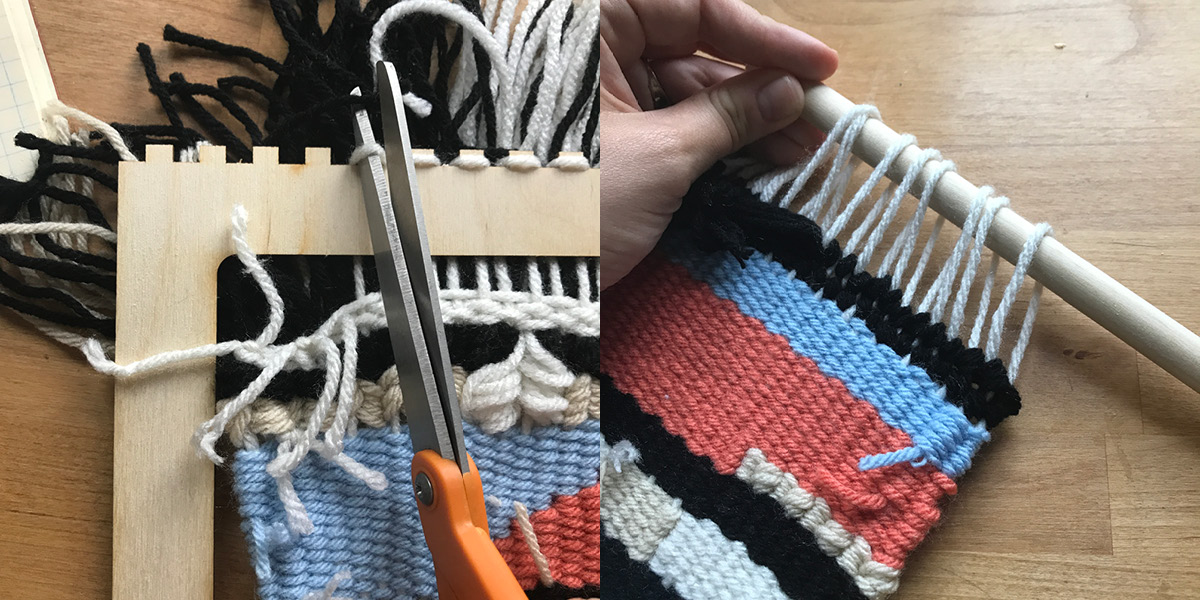
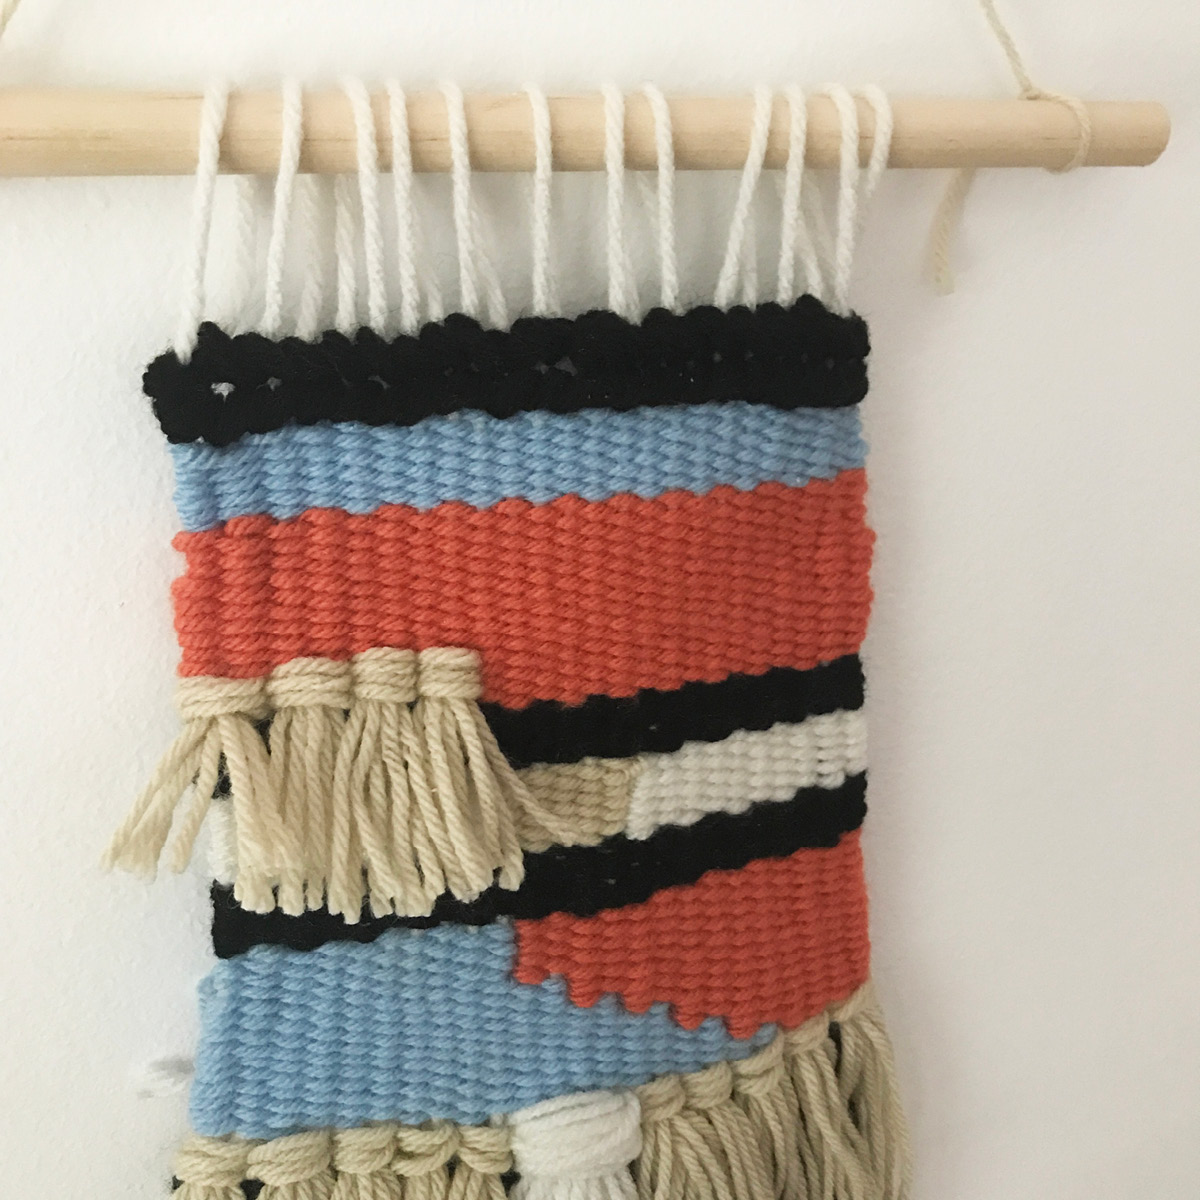
Now you git ta cut ‘er loose! Sorry- resuming whole words… Cut the loops on the BOTTOM of your weaving, then slide the top loops off. Slide the provided dowel into the top loops, and that’s it! You’re amazing! You did it!
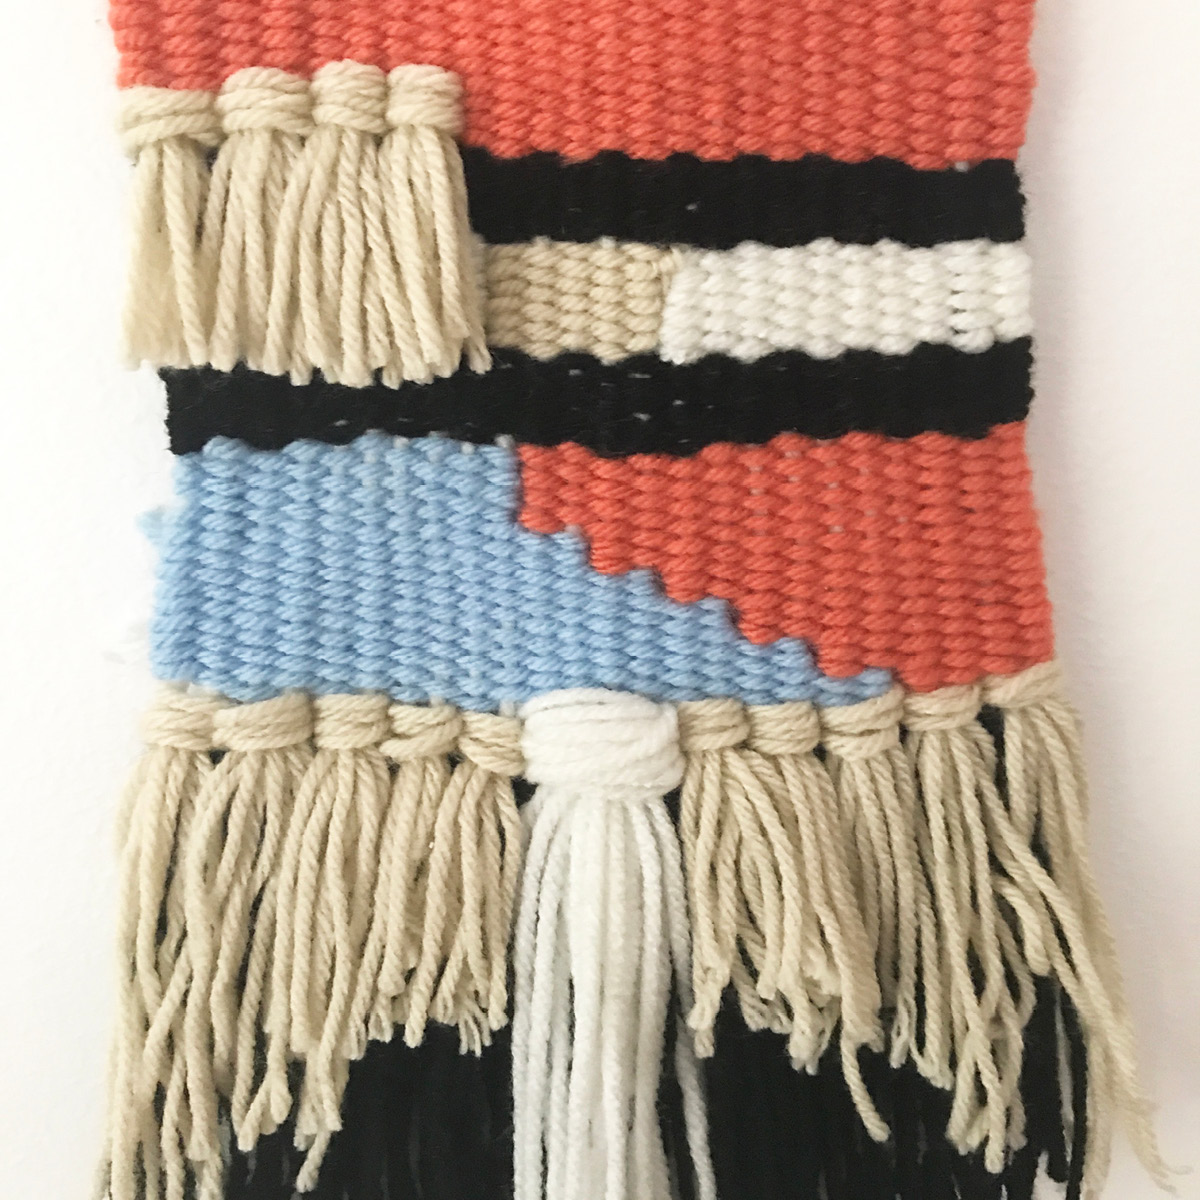
This took me a couple different sittings to complete, about 4 total hours of work. I really enjoyed it and I think you will too! Come by and pick up a kit from Homespun, then share your photos with us!
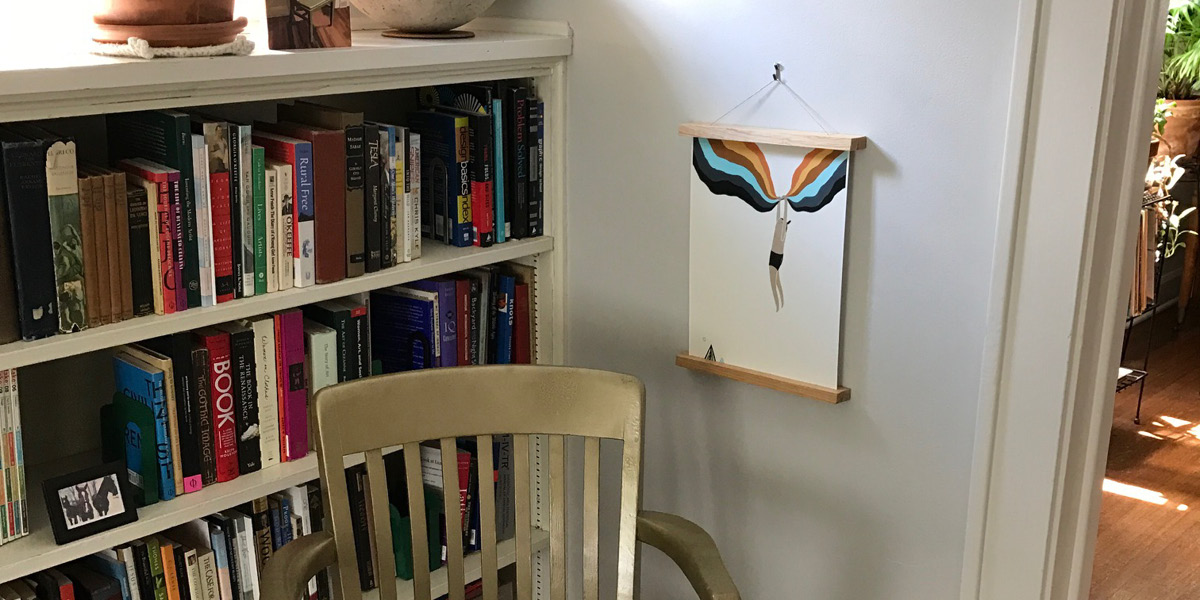
Here at Homespun we are proud to offer one of the best selections of art prints around. These prints range in price, but most often run around $15-$30. This is the perfect way to support artists and get some unique and incredible art in your home without spending a fortune. Of course the prints are sold unframed, and I don’t know if you’ve been to a frame shop recently, but custom framing can cost a fortune. And the selection at your local big box craft store? Well, I was underwhelmed. Here is a great, simple tutorial to create your own easy and modern frames at home for about $7 each.
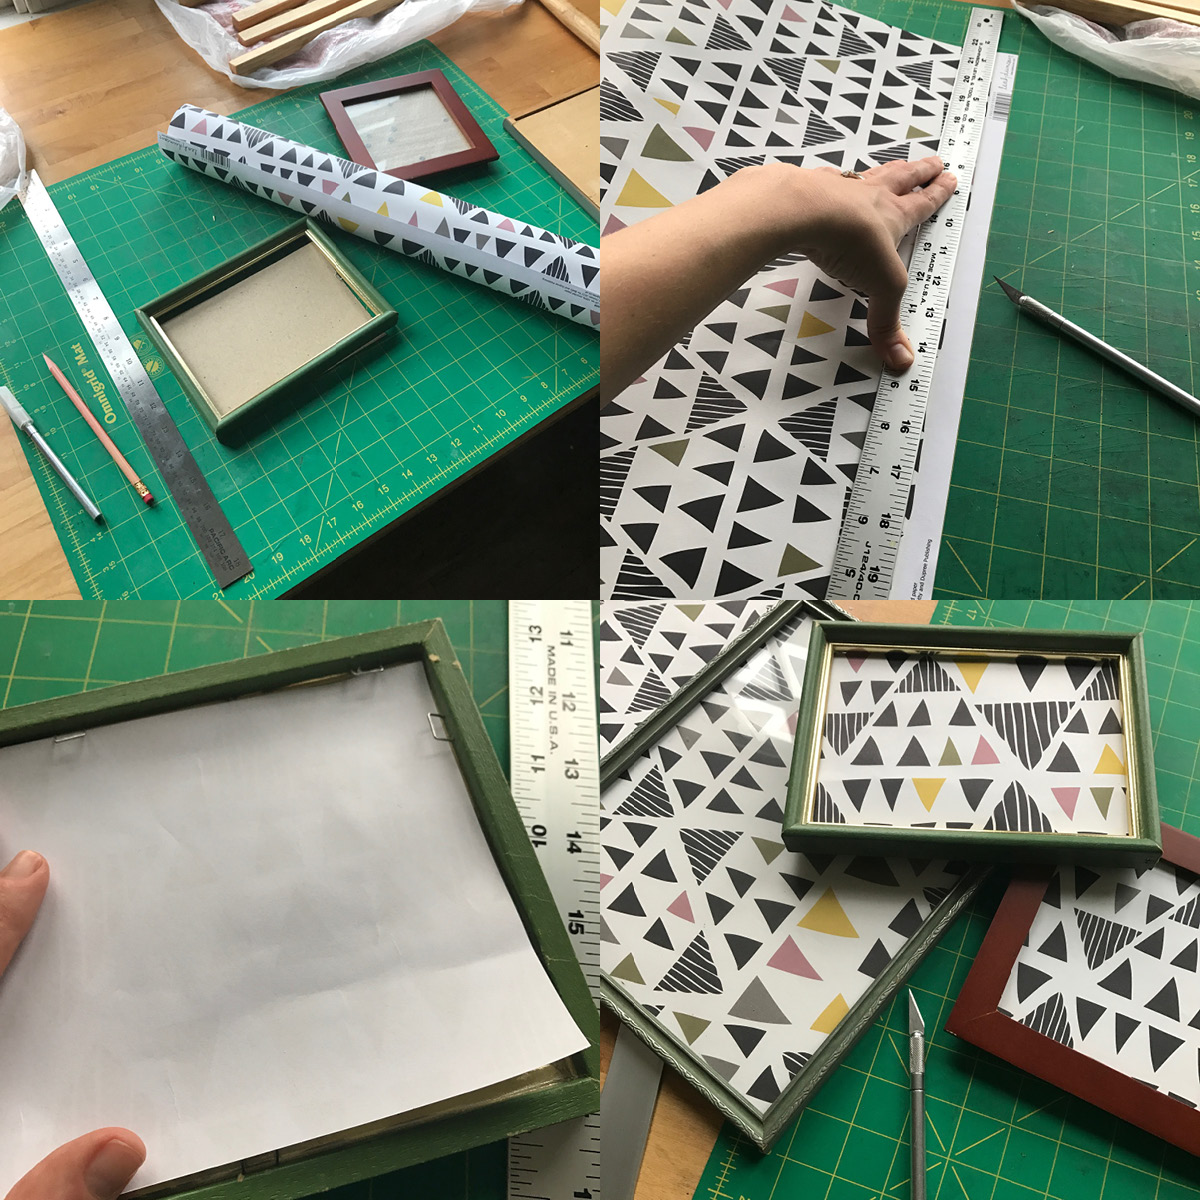
And in the spirit of refreshing your walls (springtime!), I’ve thrown in a little idea to add even more art for even less. I’ve chosen one of a variety of ADORABLE wrapping papers we sell and framed it in some frames I had laying around the house. At only $3.50 for a sheet, this is fun and affordable.
Let’s get started!
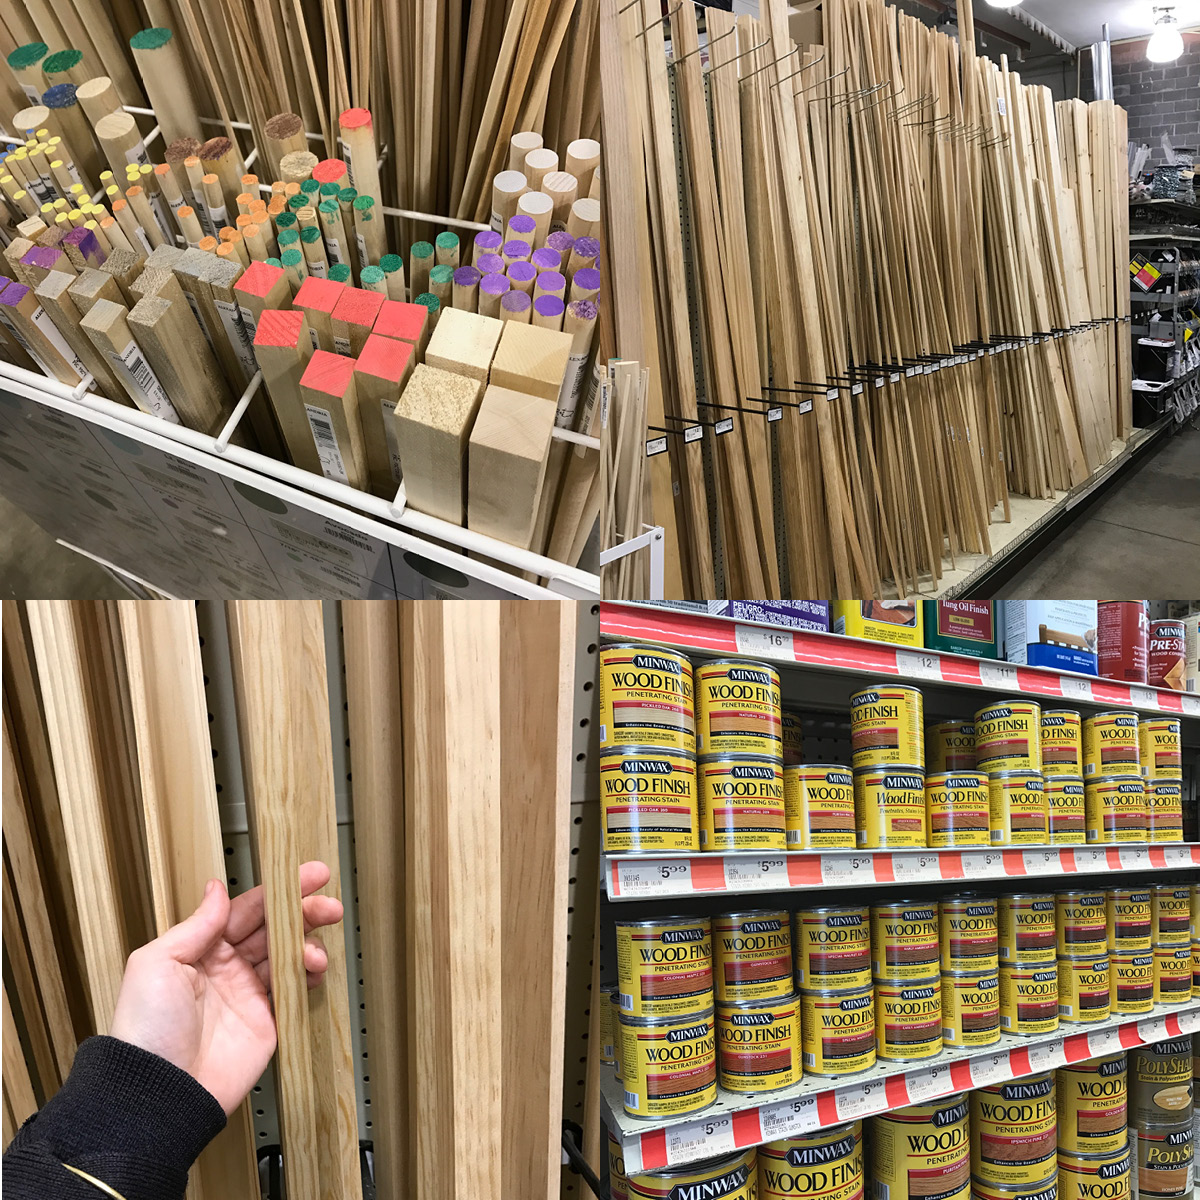
First step, you’ll need to gather some supplies. And if you’re not Ron Swanson and don’t have wood and stain just laying around, you’ll have to go to the good ol’ hardware store. Here’s what you’ll need:
– 4 pieces of wood cut to size for each print: I found two different options I thought would be good while I was shopping. First, there are lots of sizes and shapes you can choose from in the very colorful wooden dowel section. There’s also a longer wooden molding and stuff section where I found my 11/16 x 8′ sized square pine molding. For the length, this was the more cost effective option.
– Stain
– Scrap cloth
– Box Saw
– Hammer
– Measuring Tape
– Nails: 1″, 4-6
– Sandpaper
– Jute or Hemp or any kind of string you like
– Plastic Bags
– Gloves
– Clamp
– Thingy to open the stain can with- you could get the official paint can key or just any pry type tool (I used a metal scraper). Just don’t use a butter knife from the kitchen drawer, ok?
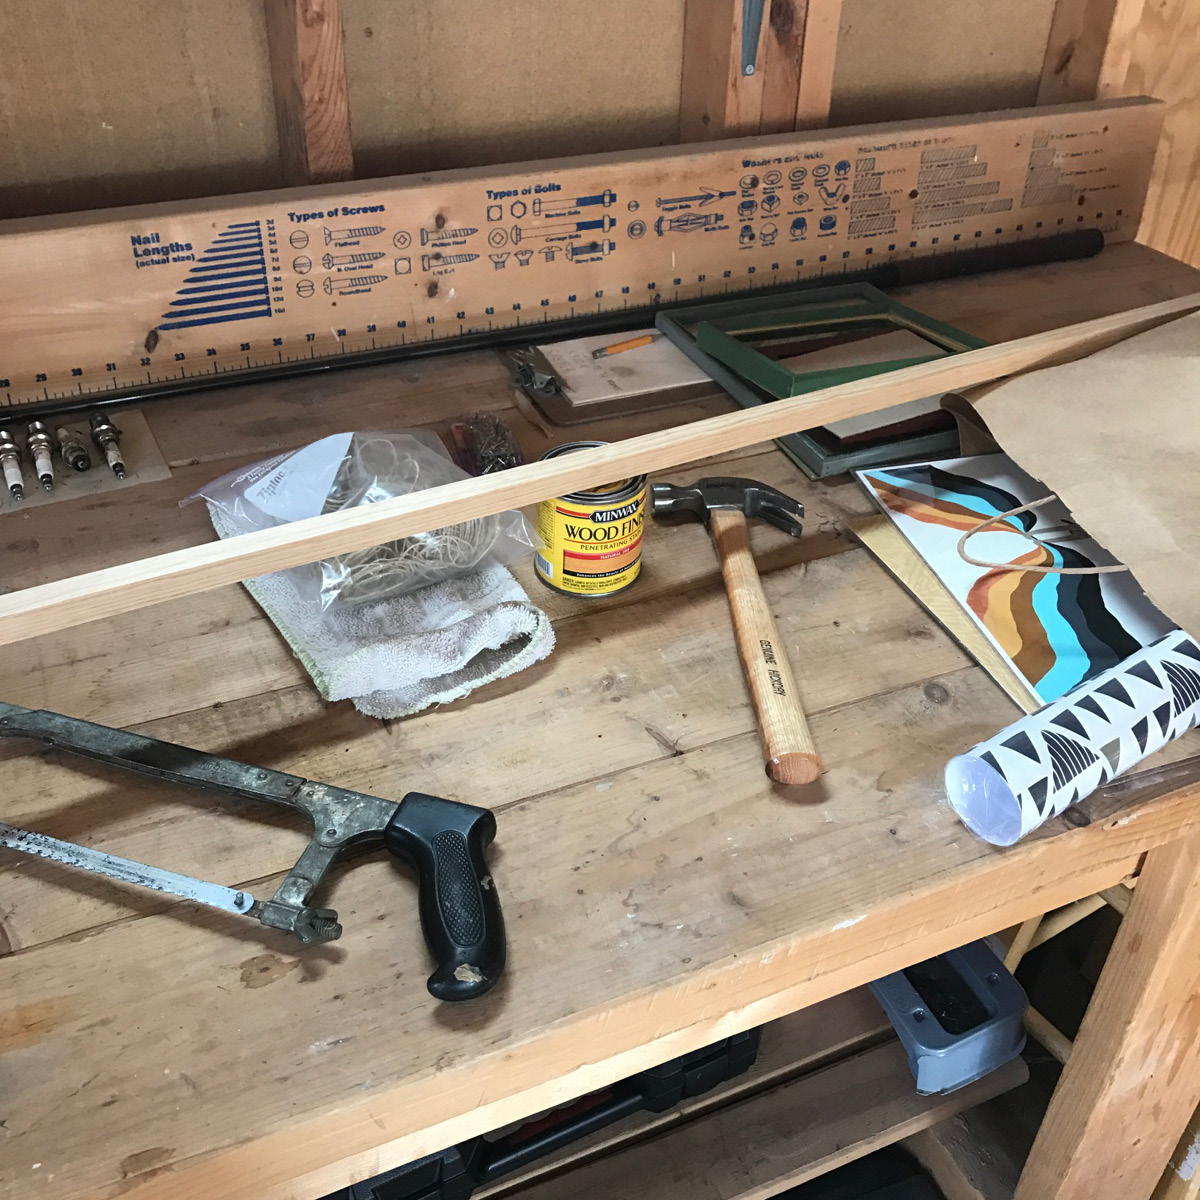
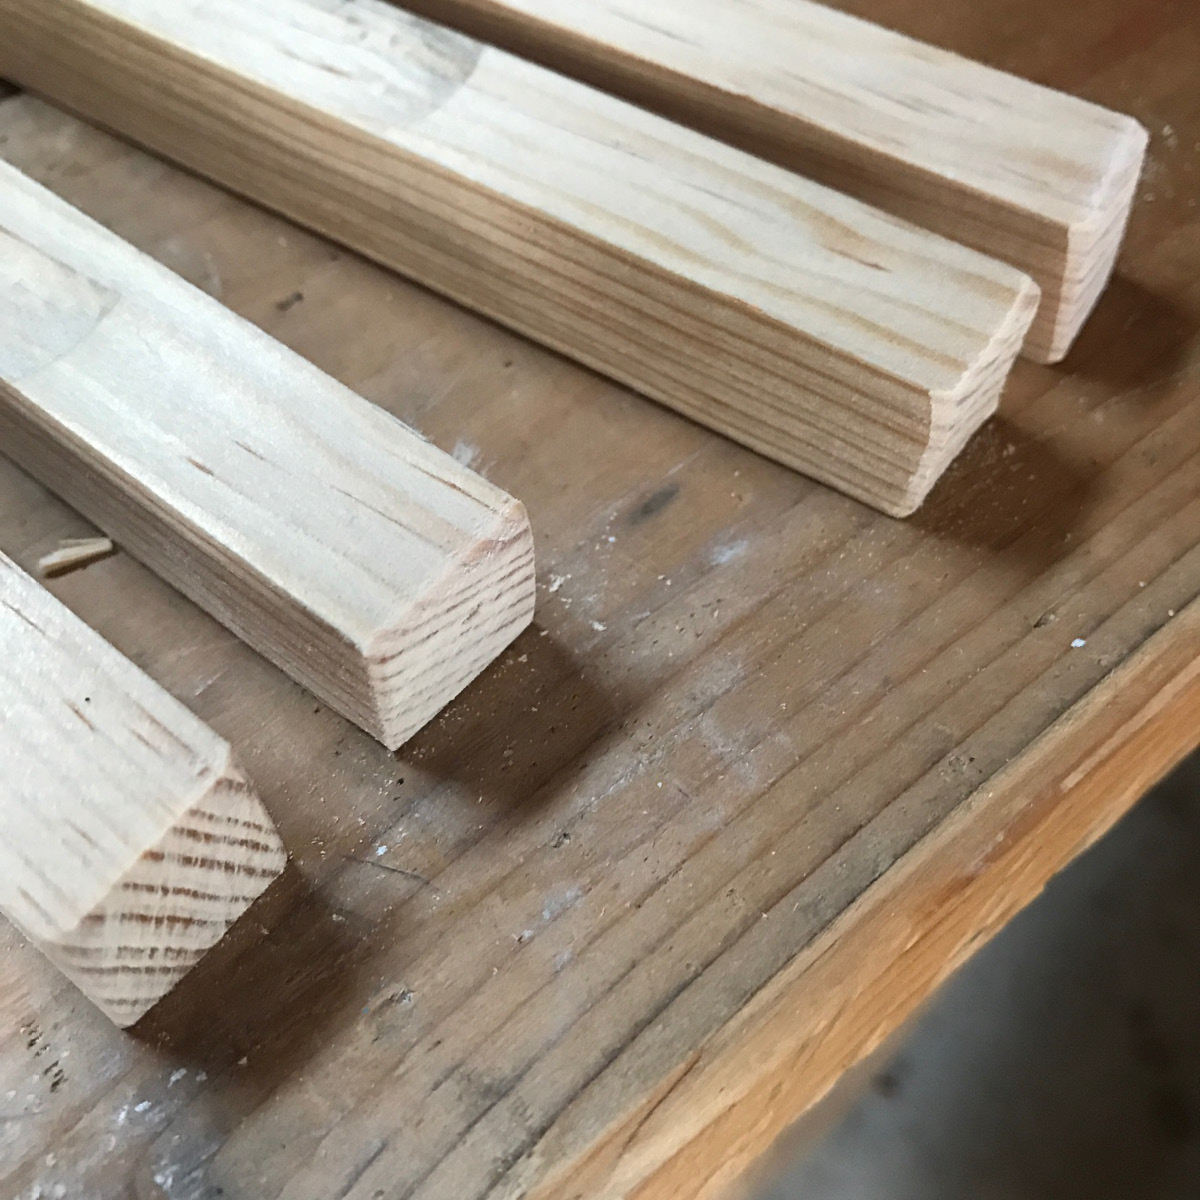
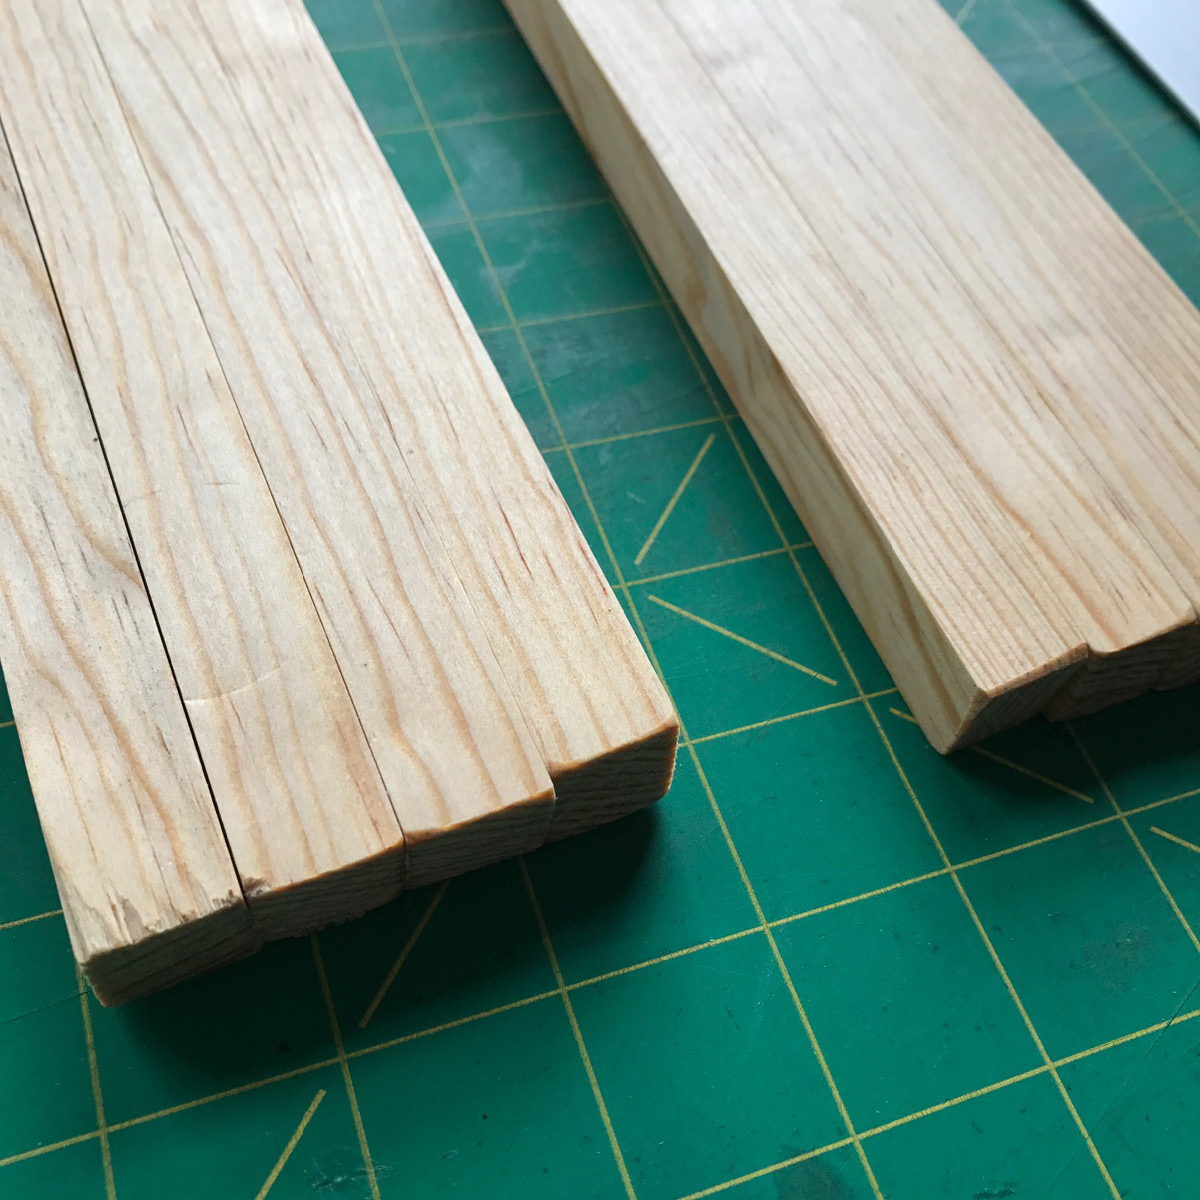
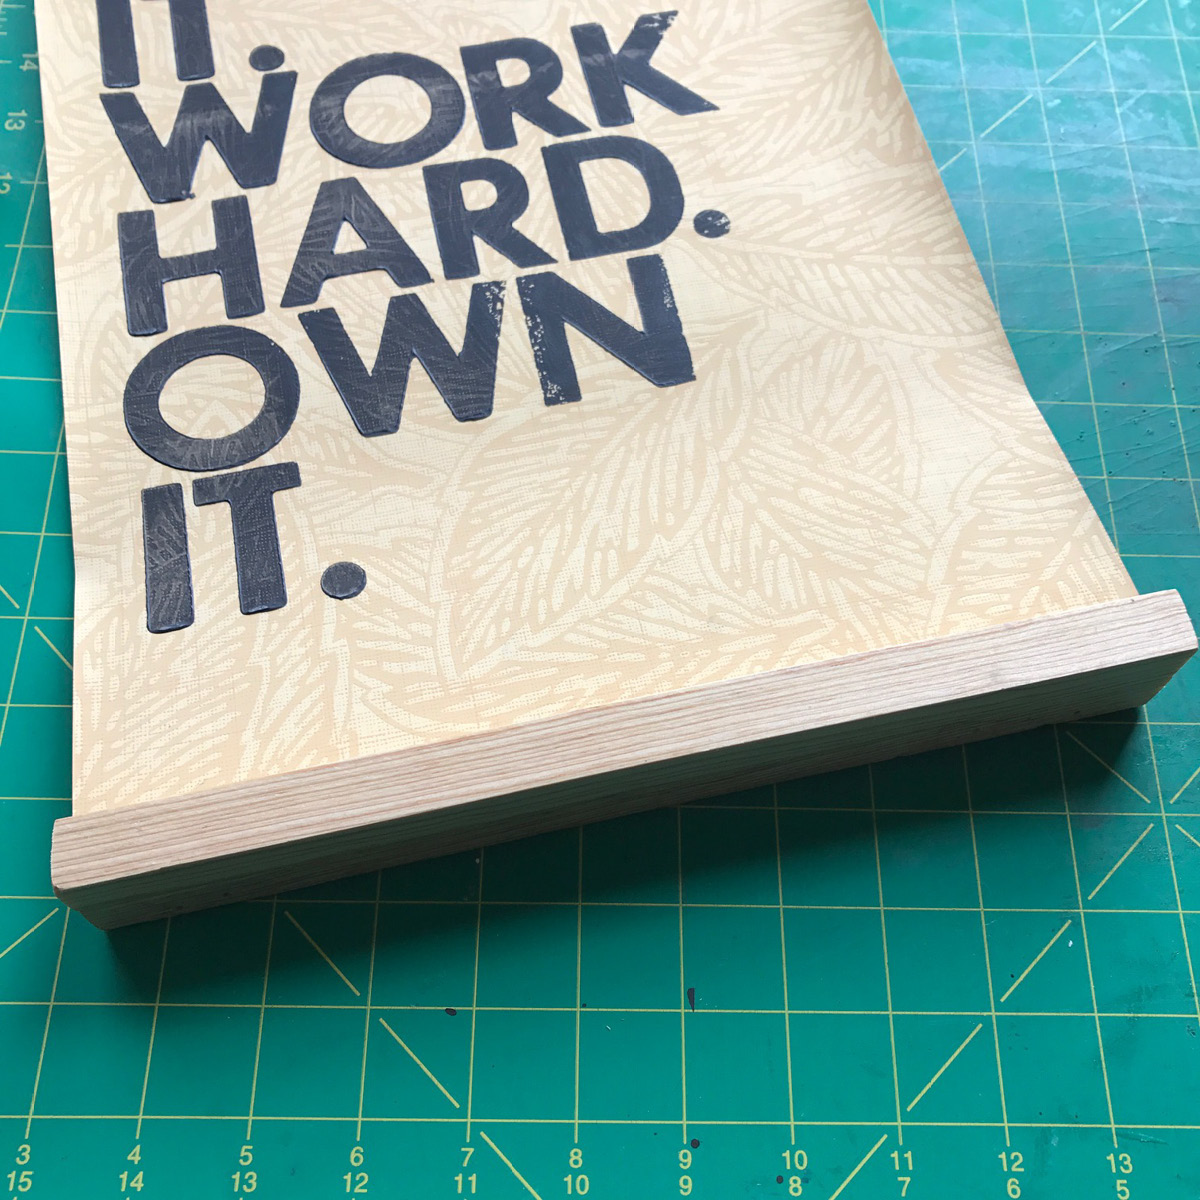
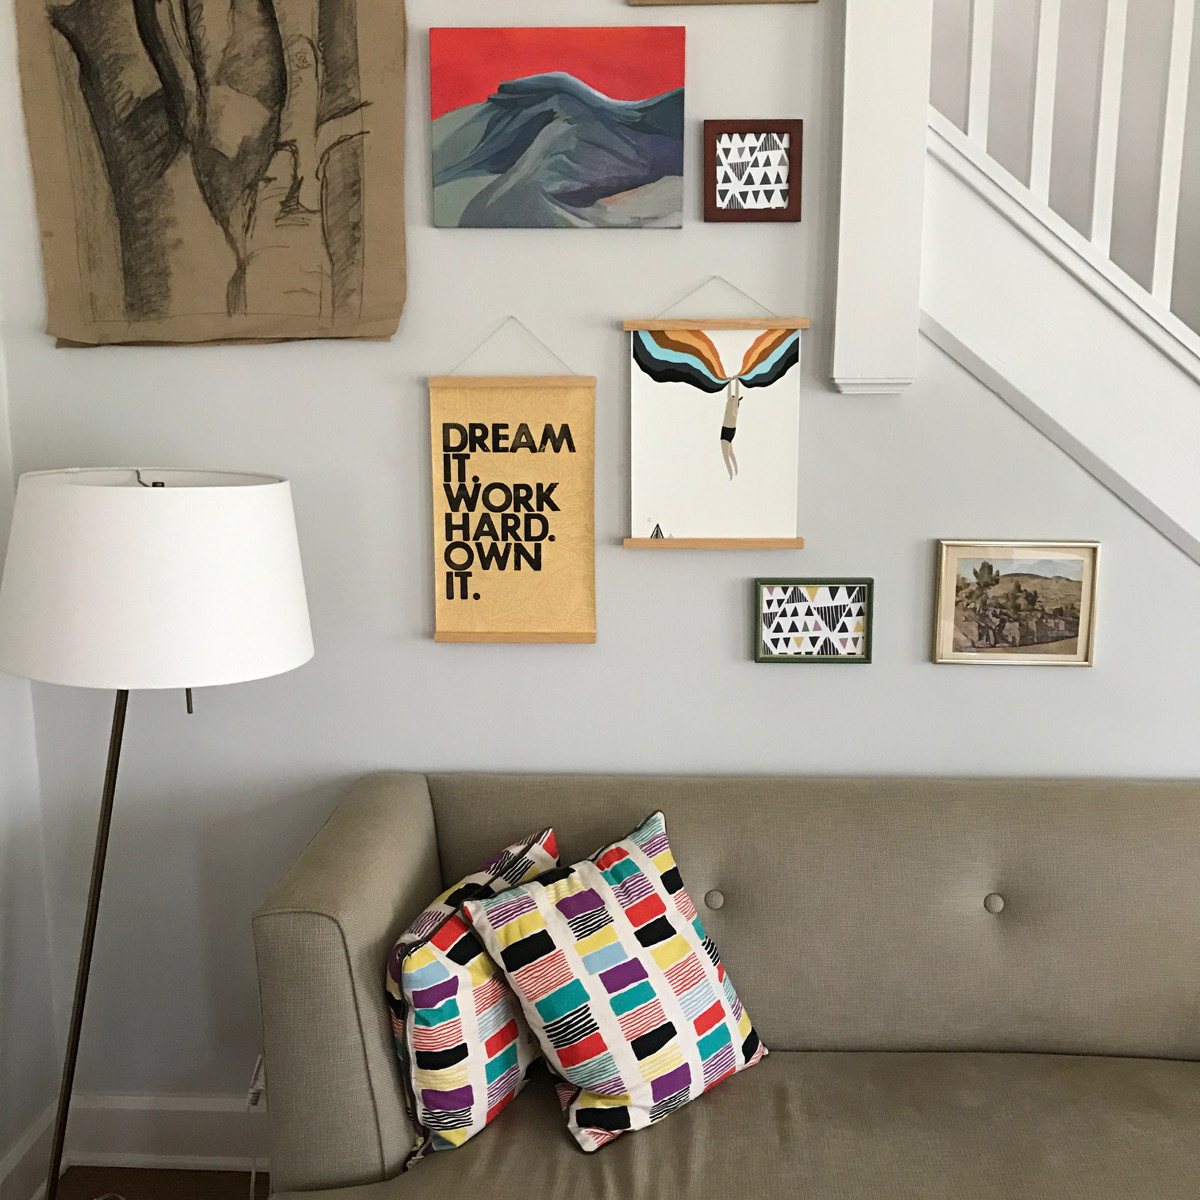
I chose two prints- “The Best Is Yet to Come” by Laura Berger and “Dream. Work. Own.” by Amy Rice Art. Both of these are 11″ across, so I decided to cut 4, 12″ lengths so that the frame would be slightly longer than the print. As it happened, 12″ x 8 pieces = 96″ which is exactly 8 ft which is exactly the length of wood I purchased! “Math made in heaven!” I thought. Well, it would have been if I hadn’t of gone ahead and cut 3, 11″ lengths before realizing my mistake (see photographic evidence below). Ah, well. Maybe I will like a flush finish better anyways, right? And now you all can see the difference in look when I’m finished.
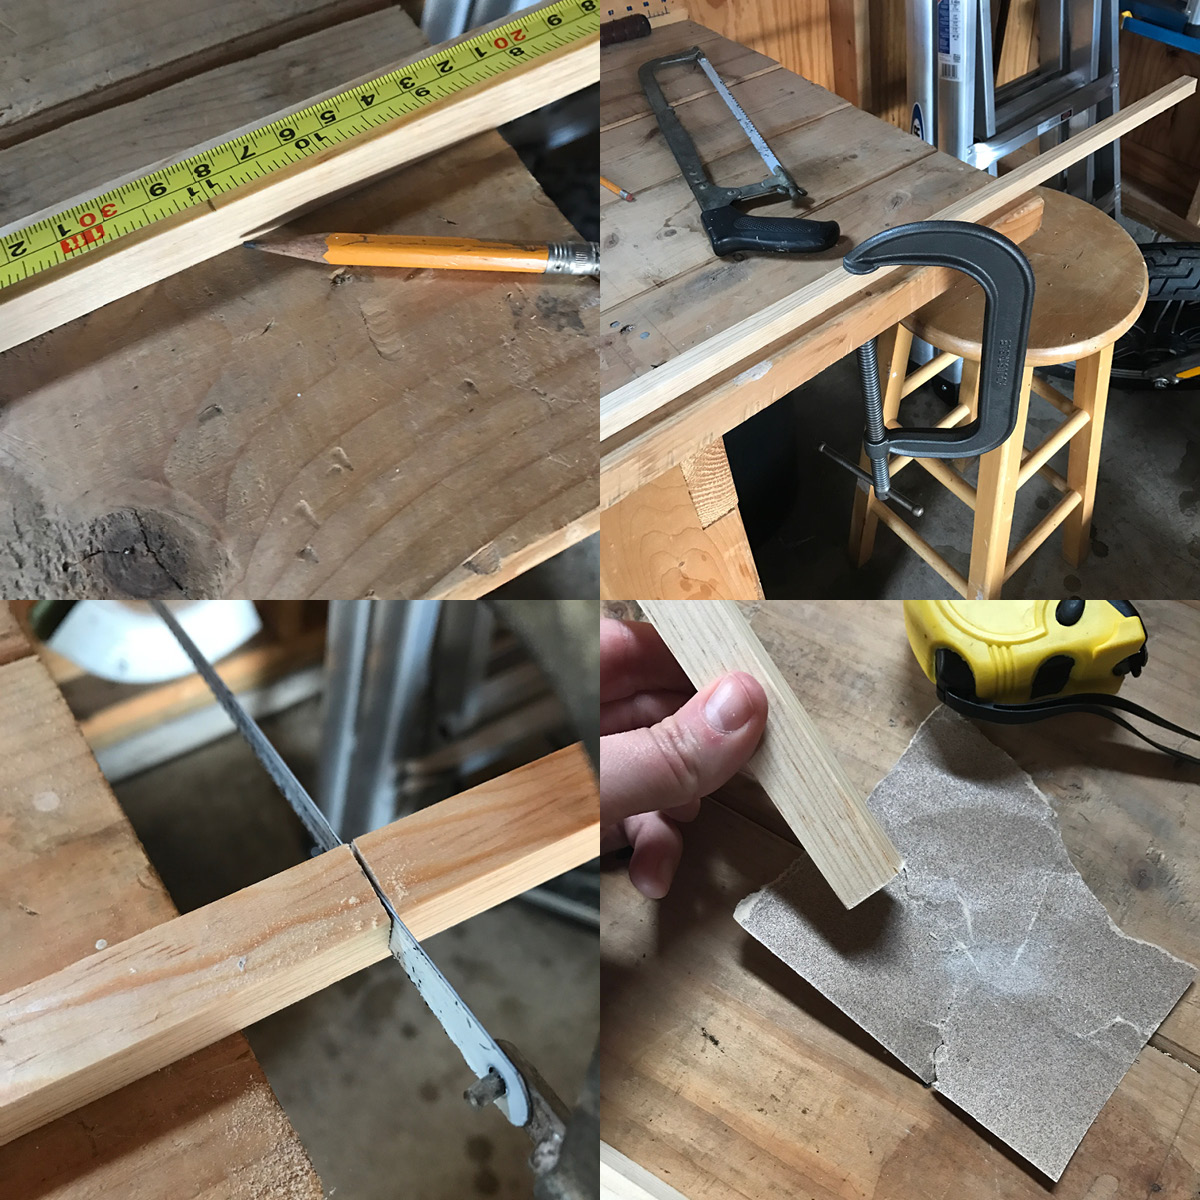
I was a little intimidated to pick up the saw. I clamped the length of wood to my work bench (this clamp is way bigger than I need, I realize, but it’s the only one I could find). A wooden vice would probably be more to the point here. I’ve done minimal sawing in my life, but I found the saying “let the saw do the work” to be very true. As soon as you muscle it and try to rush through, the saw bumps along and doesn’t want to work nicely. Just let it slide across easily and take your time.
After all my lengths were cut, I sanded the ends a bit. You could do more or less here, I sanded down the edges slightly and you could do even more for a rustic look.
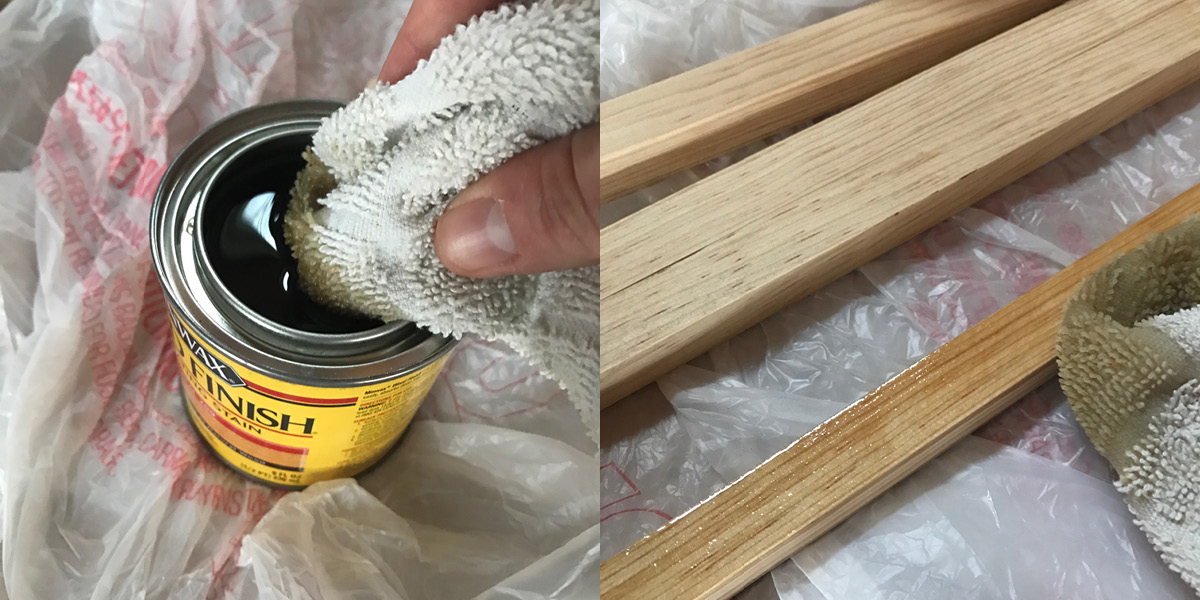
Now for the staining. I’ve chosen a really light stain (Minwax Natural 209), because I love light wood, but I wasn’t sure if it would make a big enough difference to make it worth my trouble. As you can see, even a very light stain really brought out the beauty in the wood and gave it a professional look. I gave the shorter lengths three coats and left just one on the longer- and don’t forget the ends! For this process you’ll probably want to wear gloves. As I’ve said before, I like to live my life in the fast lane and I don’t usually have time for these types of (very reasonable) precautions. As you can see I did lay down some plastic bags to prevent the stain from reaching the work bench, but honestly only from fear of my husband’s wrath. I will say, you’ll want some ventilation, though, even if you’re a freak who loves fume smells like me.
After staining, you’ll need to wait 8 hours to continue with the project to let the stain soak and dry. I almost just went ahead with the project anyways (fast lane), but they were tacky to the touch and I wouldn’t want to risk any stain seeping into my beautiful prints.
In the mean time I moved shop up to my studio and used an x-acto knife and mat to cut the sizes of wrapping paper for my frames. This took about 5 minutes and I love how they turned out. I think the smaller frames look especially cute, you could tuck these in so many different places around the house. I can’t wait to see them paired up with my larger prints.
Several days later…
Here are the two sets of frames after drying. As you can see, adding the extra two coats was entirely unnecessary. They both look great.
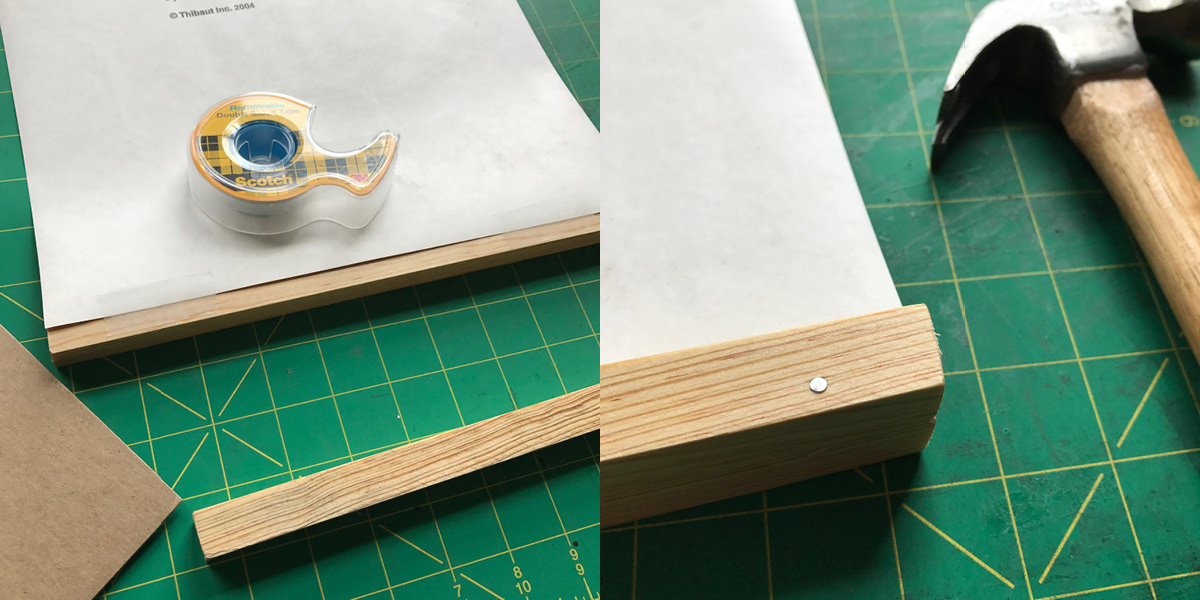
Take some tape and place the end of the bottom of the print centered on the frame. Be sure to position the side of your frame thoughtfully- if there are any imperfections in it or (heaven forbid!) in your staining, you can just turn those to the inside. Center another piece of wood over the top and nail together. “Nail together”- two words that sound so simple and yet proved to be the most difficult stage for me. Pictured above is my one success, pictured below…
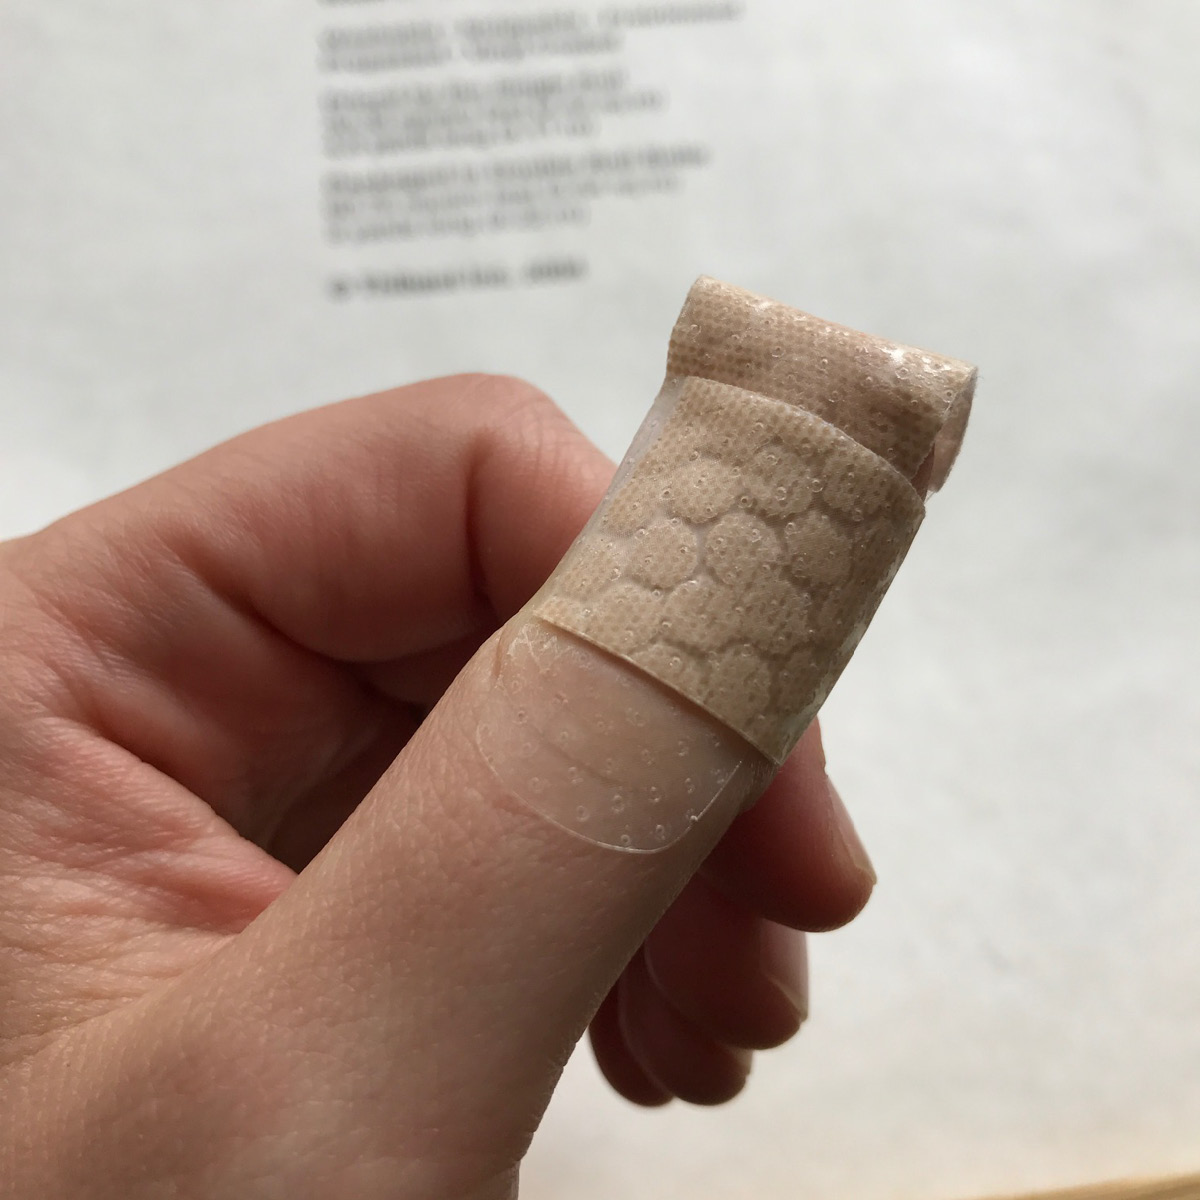
… the cost of that success. As I figured out, the grain of the wood will have a lot to do with the direction your nail goes as you pound it down. Take a look at the ends and make sure the grain is facing the desirable way i.e. towards the other piece of wood. You have a pretty narrow work surface here, so practice is going to be your road to perfection. Note: unless you are trying to preserve the integrity of your print as I am here, go ahead and center your nail on the frame piece. Put one nail at either end, and for larger prints you can add one in the center as well.
Ta-dah! Good thing I had these inspirational prints to get me through all the nailing and the bleeding. Now for the top!
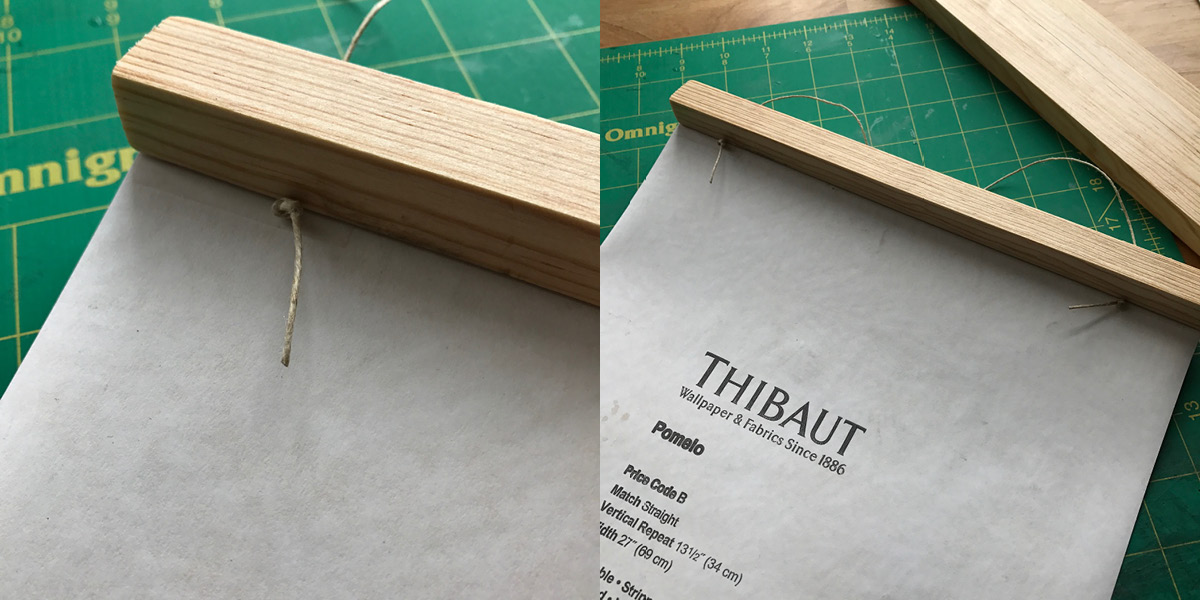
I used a string about 15″ long, and tied knots in either end. Eyeball about an inch in on either side. If you use double sided tape, it will help hold the thread while you center the frame.
And hang!
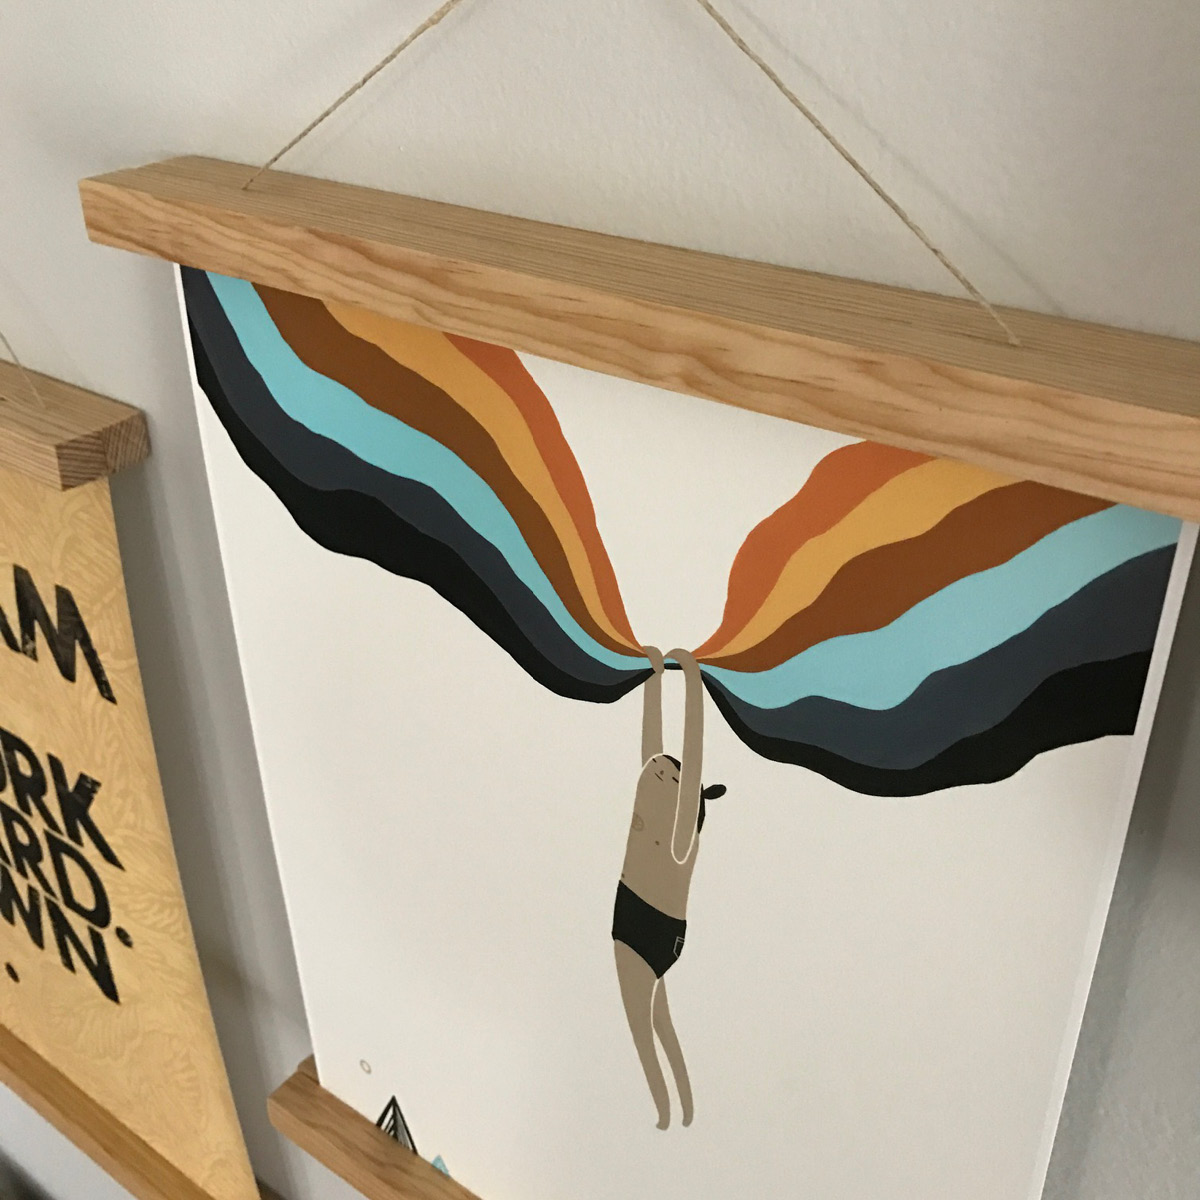
Here you can see the difference in lengths of frames. I think they both work. Also, how cute did this Laura Berger print work out? It looks like they’re hanging right from the frame.
Let me know how you’re attempt goes by commenting below or share your photos and tag us, @homespunindy. Thanks for following along!


