Month: April
Meet Your Maker: Terrific Friends

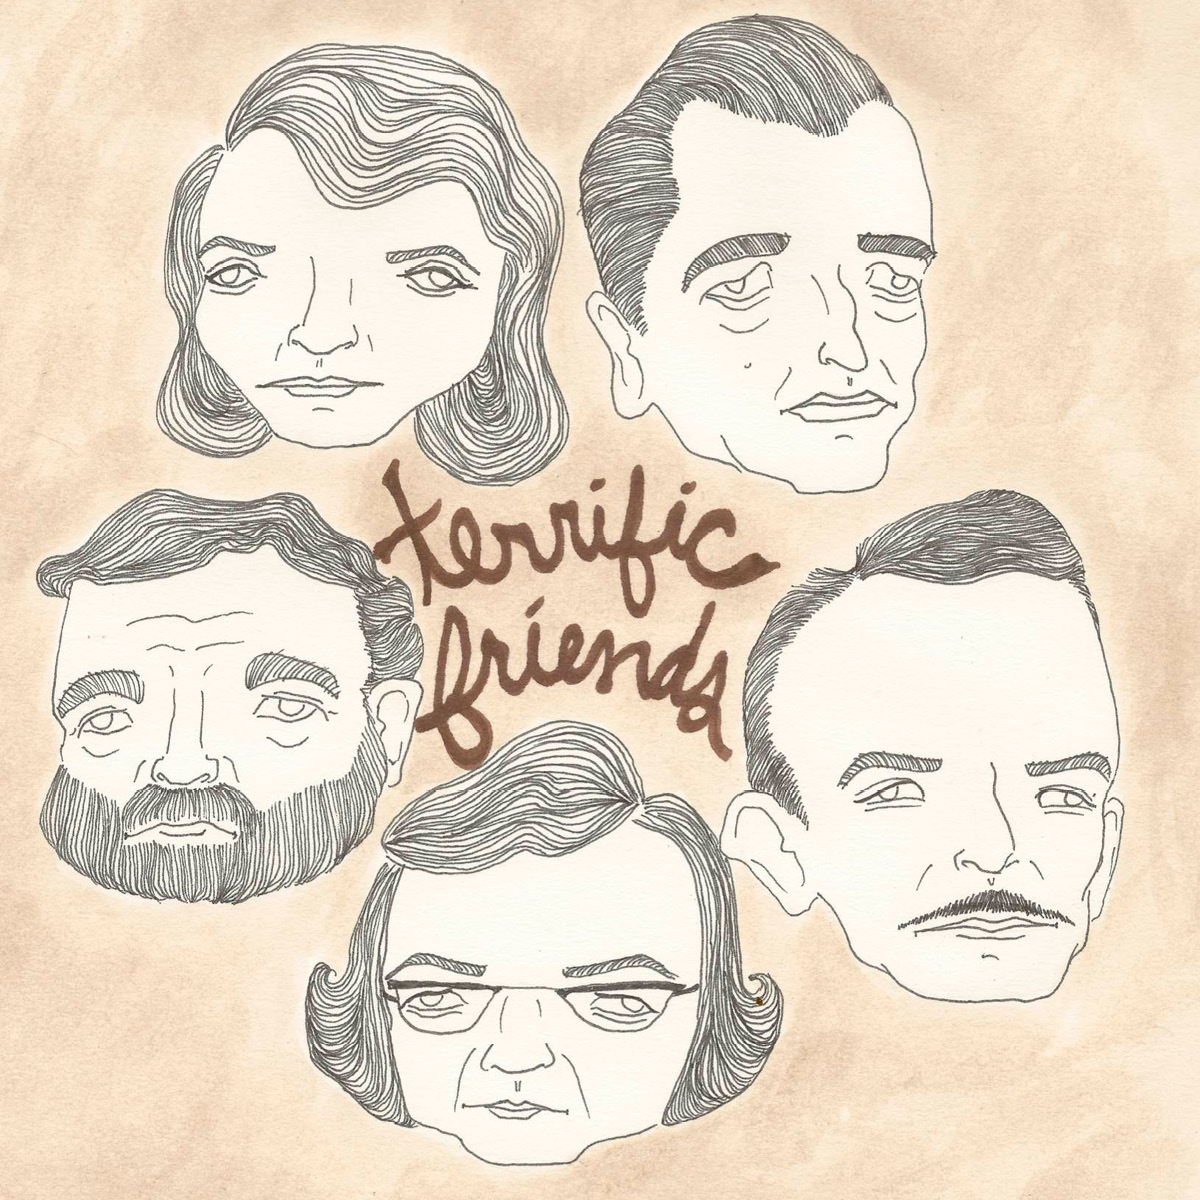
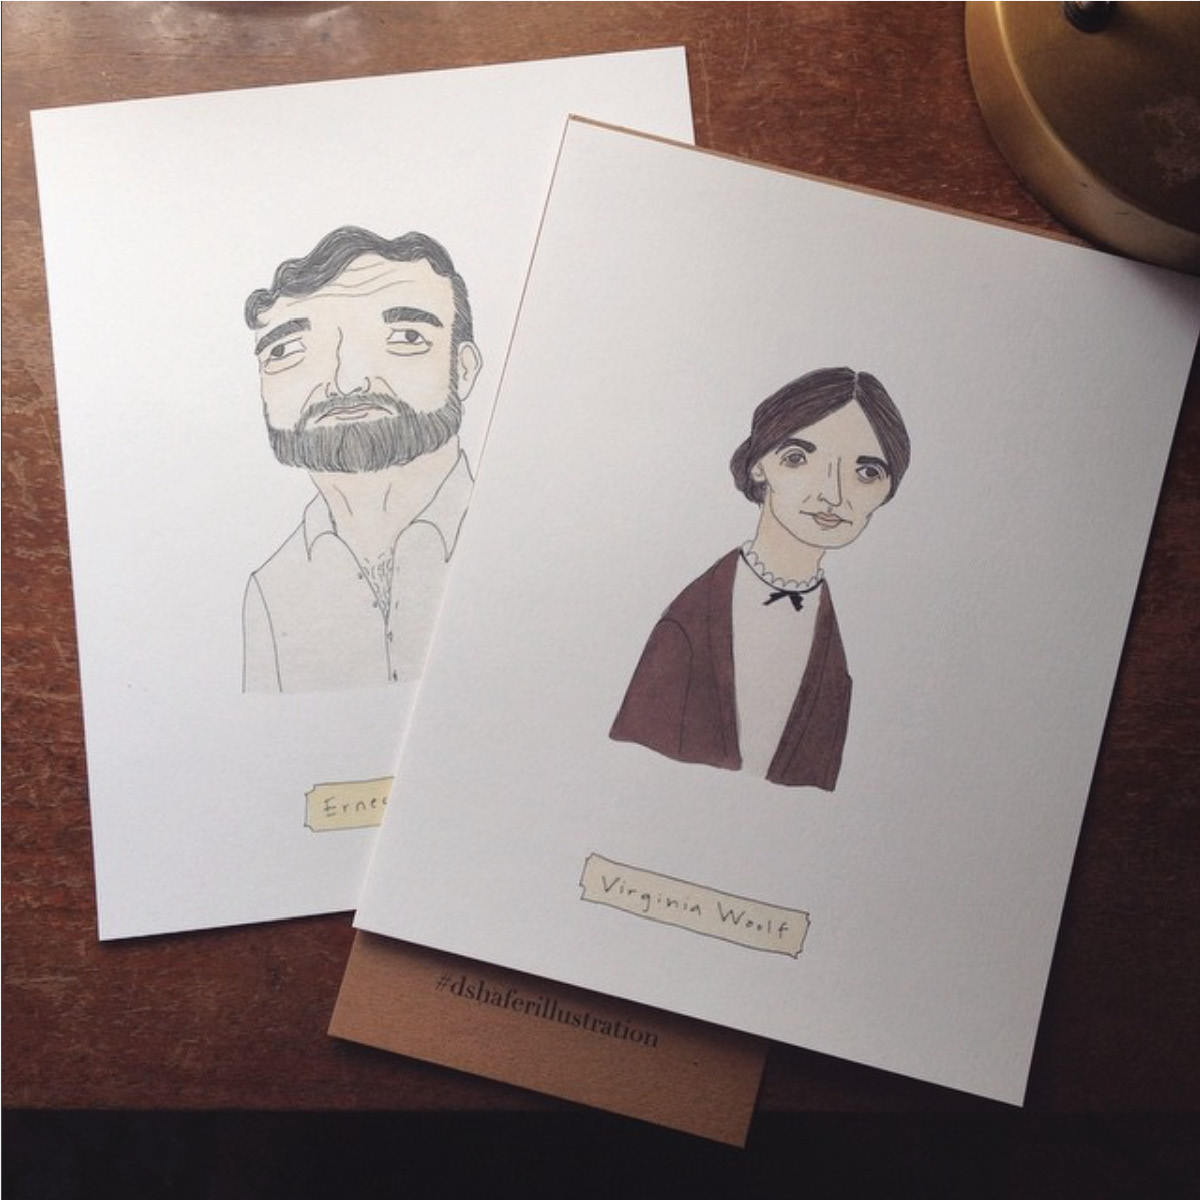
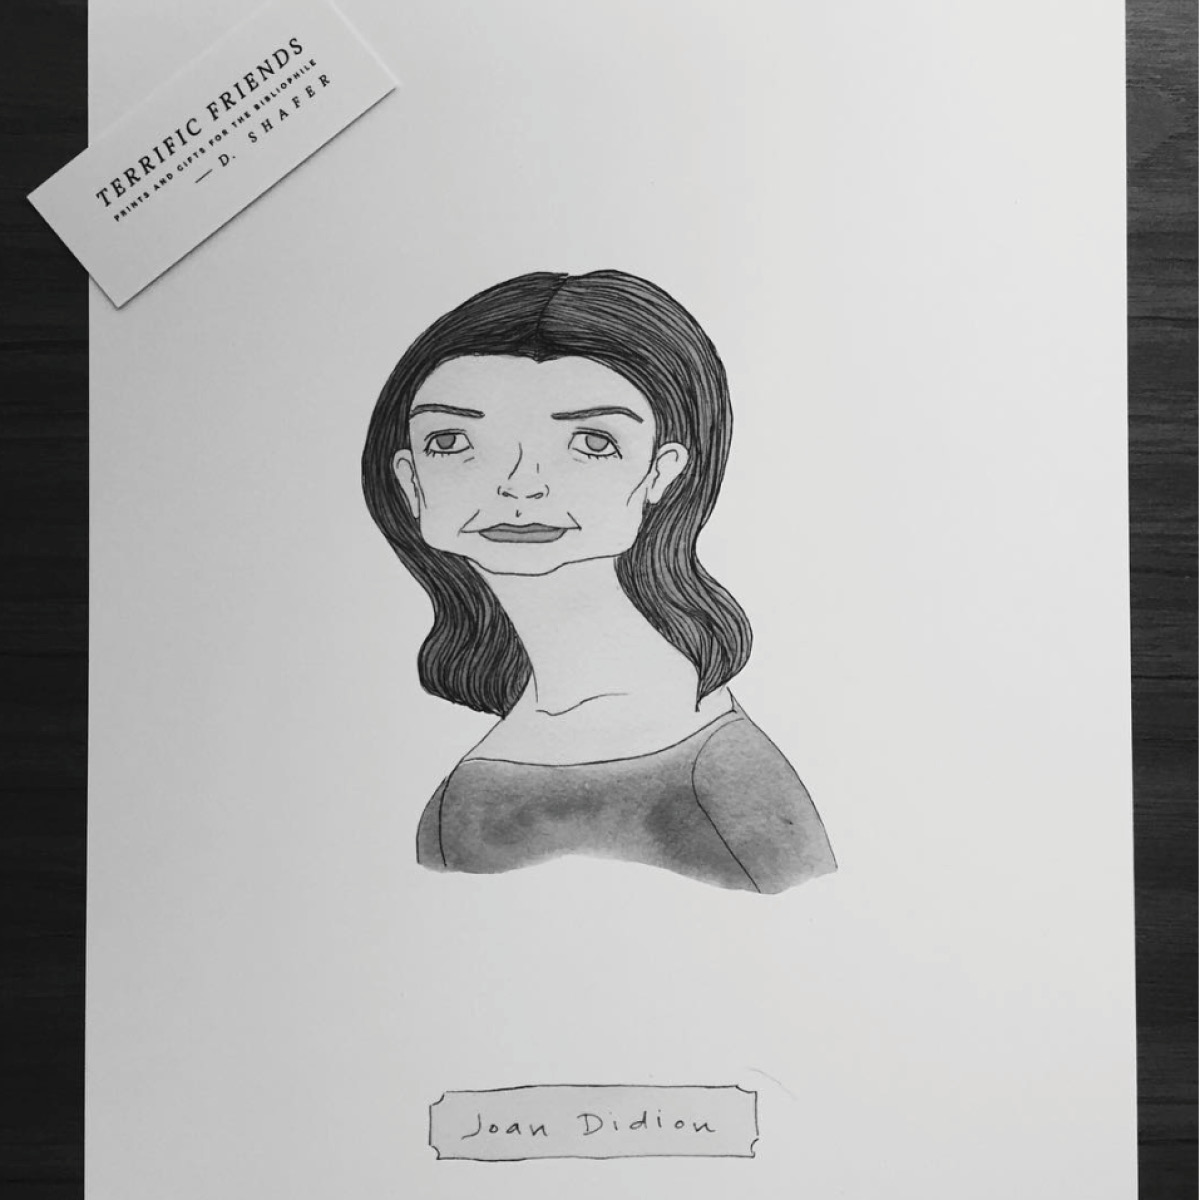
Attention reader friends: Diana Shafer of Terrific Friends is an artist you’re going to want to know more about. She creates expressive, quirky, characteristic portraits of all the big names in books, and they’re perfect to fill the walls of your library. Learn more about her life and style and be sure to browse her extensive collection right here at Homespun.

1| How do you describe your work to people who don’t know anything about crafting/art?

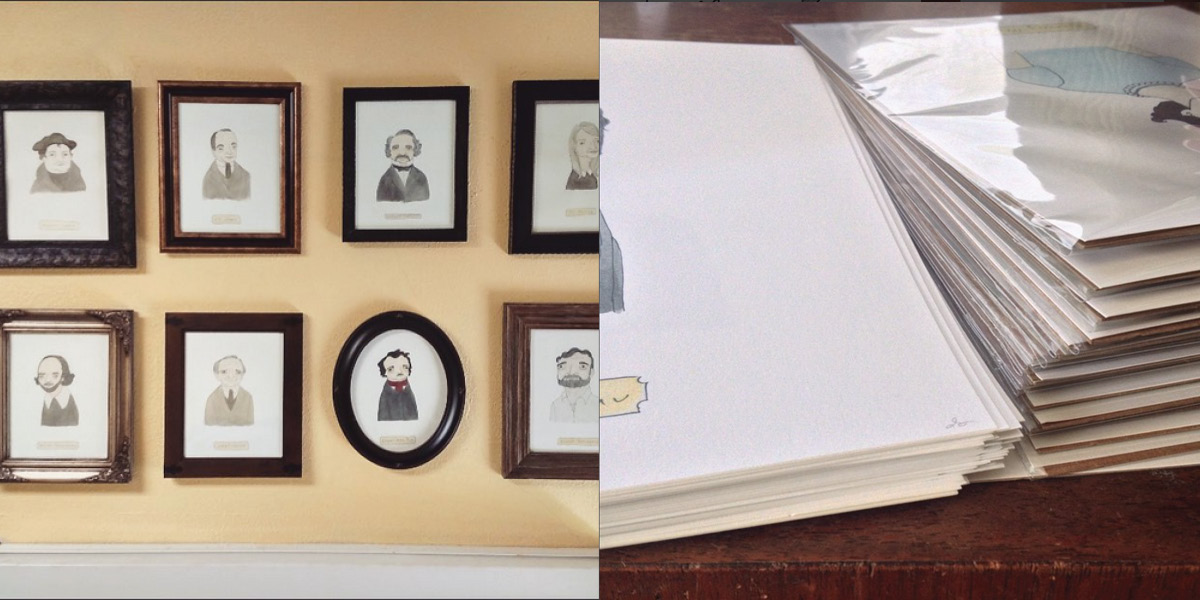
I illustrated a collection of famous author portraits in my own style and sell them as prints. It’s not uncommon for an avid reader to buy three or more and decorate their house with them.


2| Are you an avid reader? Who is your favorite author?

I do try to read regularly. Some seasons I fall out of the habit and some I can’t get enough, but I’m always working on something. I can’t easily choose a favorite author. Some that have left an impression are Steinbeck, Carson McCullers, Raymond Carver, and modern author Jonathan Lethem.

3| Why do you make/design things?

It’s just a natural desire that I’ve had my whole life, something that makes sense to me and excites me. If you put a pen or marker in front of me, I have to use it.


4| You definitely have a very characteristic style, how do you think this style lends itself to portraits, specifically?

I don’t have to worry about flattering my portrait subjects which lets me have a little more fun drawing them.

5| What do you love about your job?

With drawing, there are few limitations. I don’t have to worry about cost of supplies or wait on other people. I can just sit down and do it. The idea that it’s all up to me to make something happen is pretty freeing.


6| Was being a working artist always your plan or was there an “aha” moment?

It’s always been there. I went to school for fashion design but the most appealing part of it was drawing. I thought fashion design would be more practical but that’s turned out not to be the case as the world of illustration has opened up to me.

7| How do you work, and where?

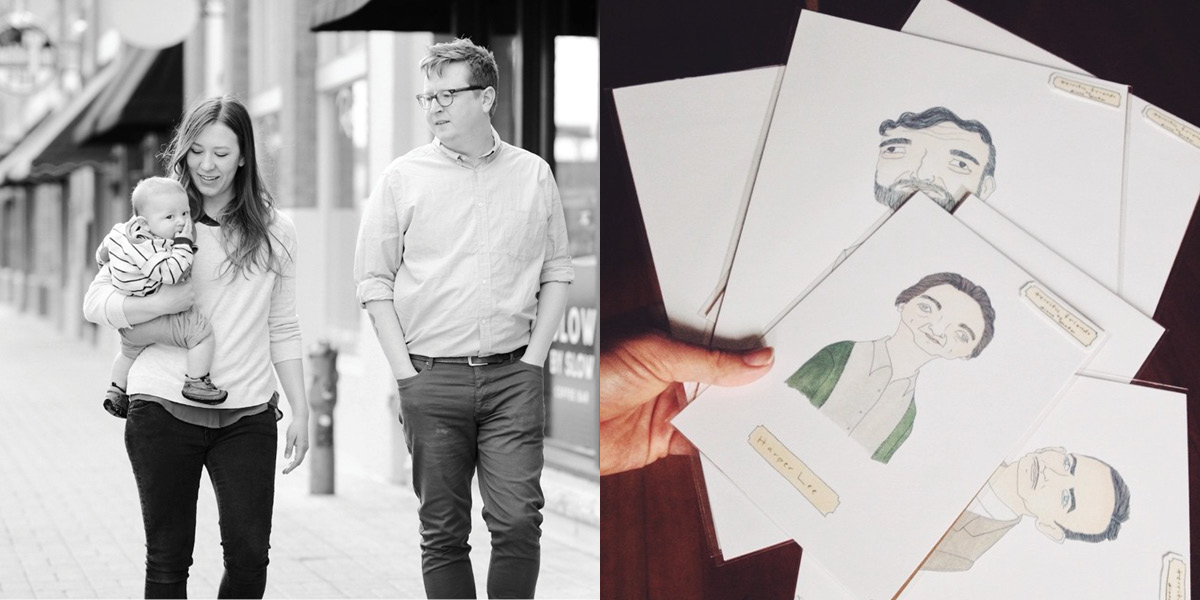
My workday never looks the same, so some days I’m working on new ideas, others on commissions, and sometimes I’ll spend a whole week printing and packaging prints for retail. I work from home with a busy toddler so most of my work is done in little blocks of time.


8| Any plans to offer your illustrations in other mediums besides prints?

I’ve considered other mediums, and would just have to find the right approach. I’m working on some new prints right now and also some non-literary/kid-friendly products, so keep an eye out for those.


9| What makes a handmade object valuable?

Usually I purchase handmade objects from people I know or people I follow on social media and that alone makes it so much more special and interesting. It makes me think about how it was made, what kind of materials were used, or where the idea came from. You usually don’t spend that much time thinking about something that was mass produced.

10| Using that definition, what’s the most valuable object you own?

We had a friend build custom furniture for us last year and it’s beautiful and definitely worth the money. I would have no attachment to something I purchased elsewhere, but I want to show off these pieces and take care of them because I know the maker.


11| Tell us one true thing about yourself that people don’t believe when you tell them.

I got married when I was 19 and we will be celebrating our 12th anniversary this spring. We just really liked each other and figured we’d get along pretty well. And we do- we’re best buds.


12| Give us three more non-crafting-related details about you or your life.

-My husband and I own a coffee bar in Boise and just celebrated our first year in business.

-We’re expecting another baby in April.

-I’m pretty obsessed with children’s picture books and love having an excuse to collect them.


Follow Diane and Terrific Friends on Instagram @dshaferillustration to see all the new portraits!

Comments (0)
This Week at the Shop: April 17th

We’ve got some lovely new items to share with you this week, as well as an incredible spring line up of events: from Earth Day to letter writing, make sure you make plans to get here!

New

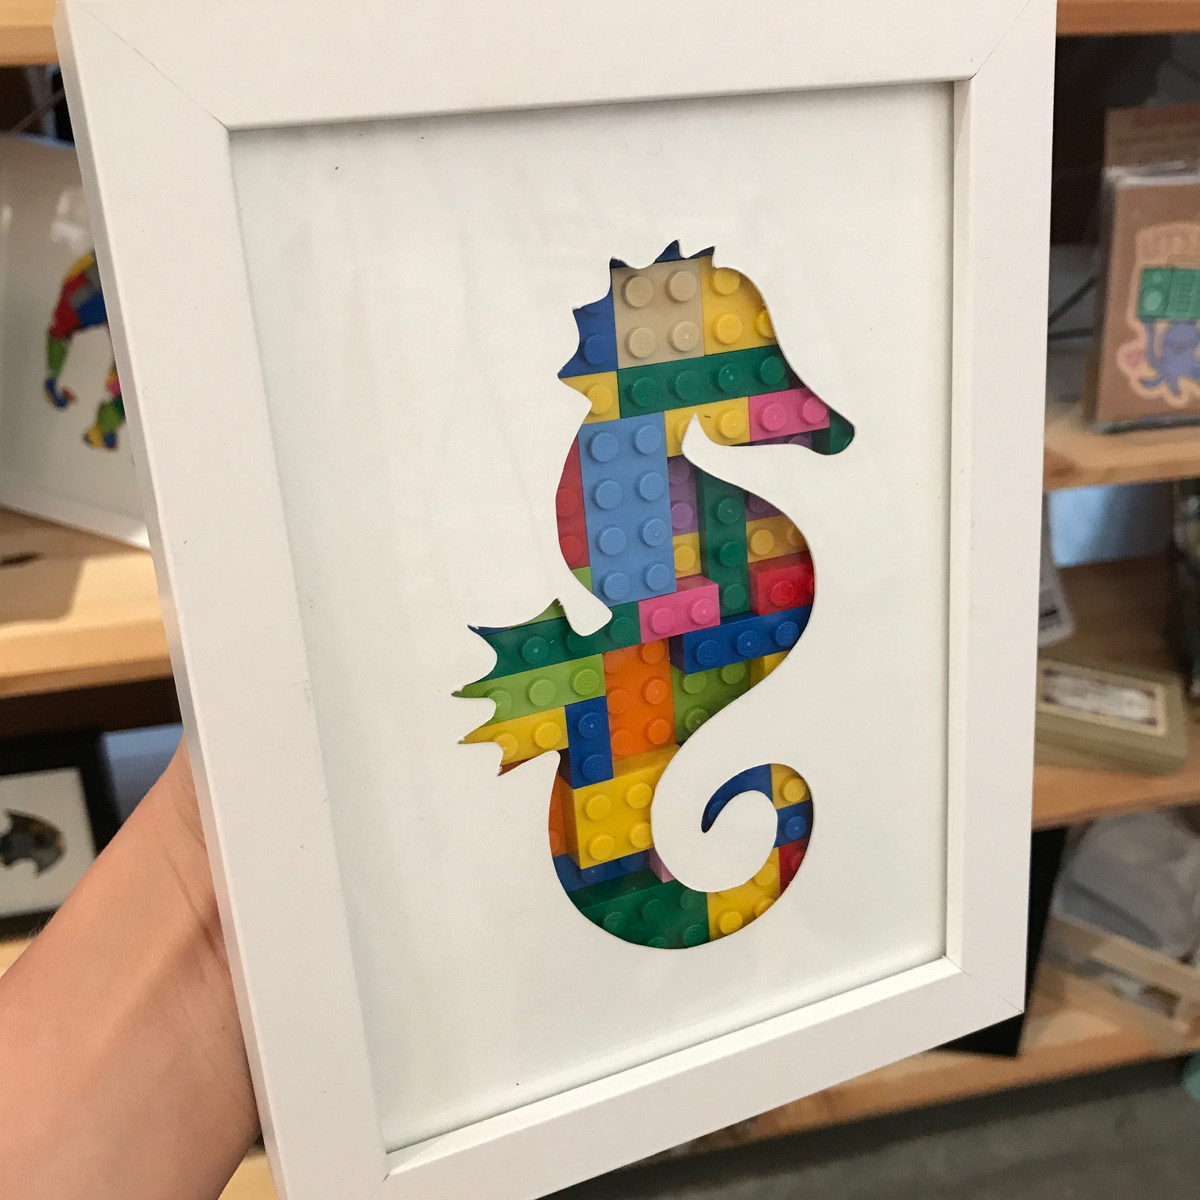
Smitten by Kat brought some more awesome Lego art!

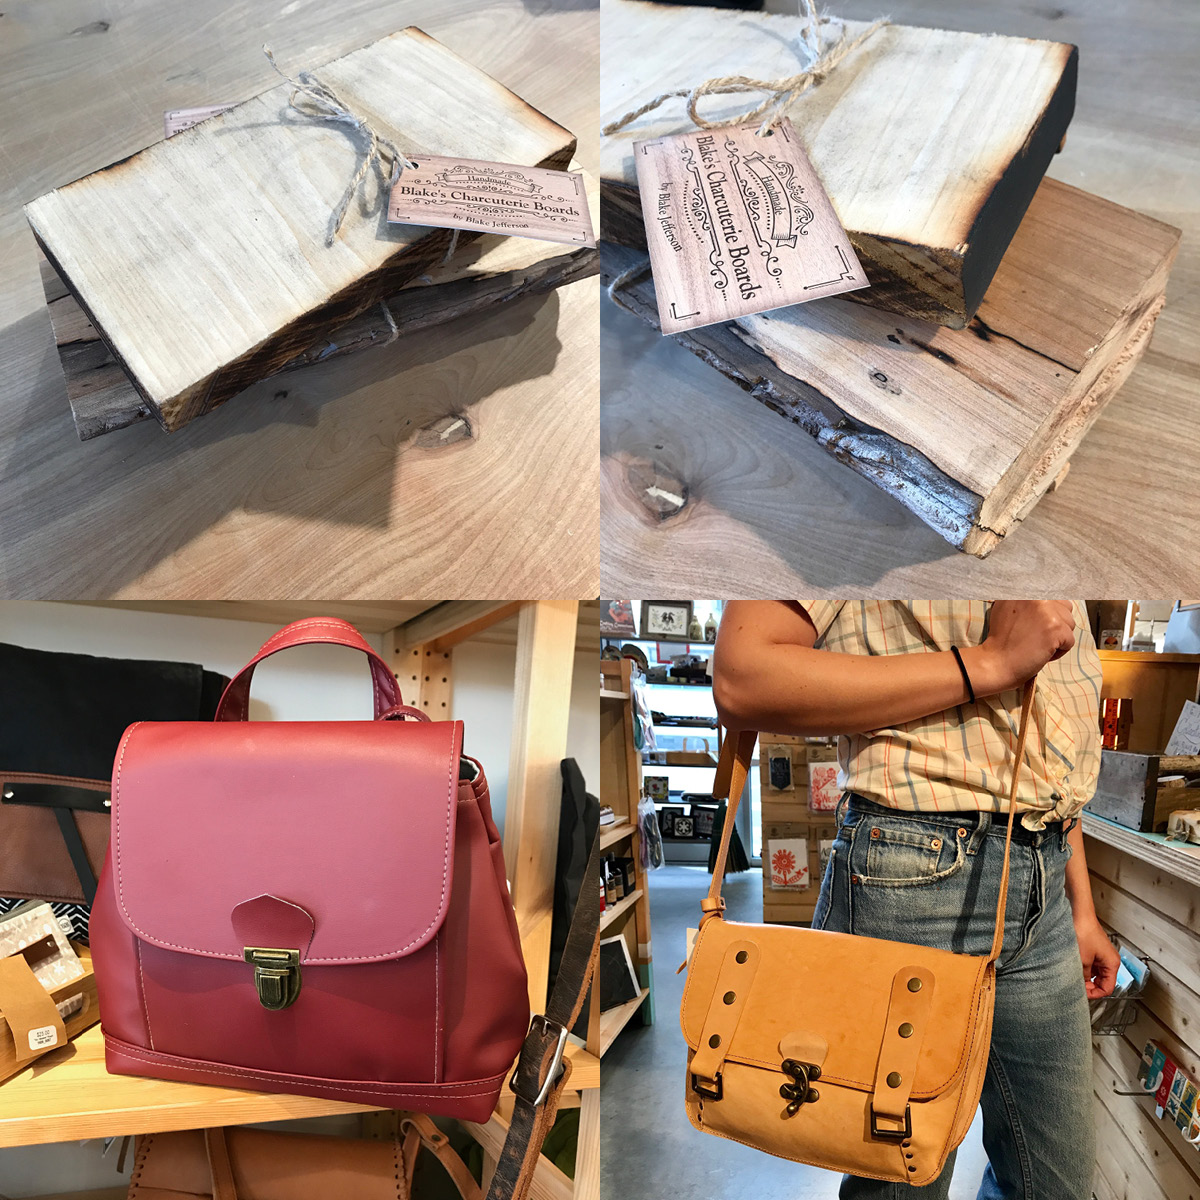
Brand new Blake’s Charcuterie Boards are handmade by a sweet 10 year old boy! And locally made leather bags new from MH Leathergoods.

Around the Shop

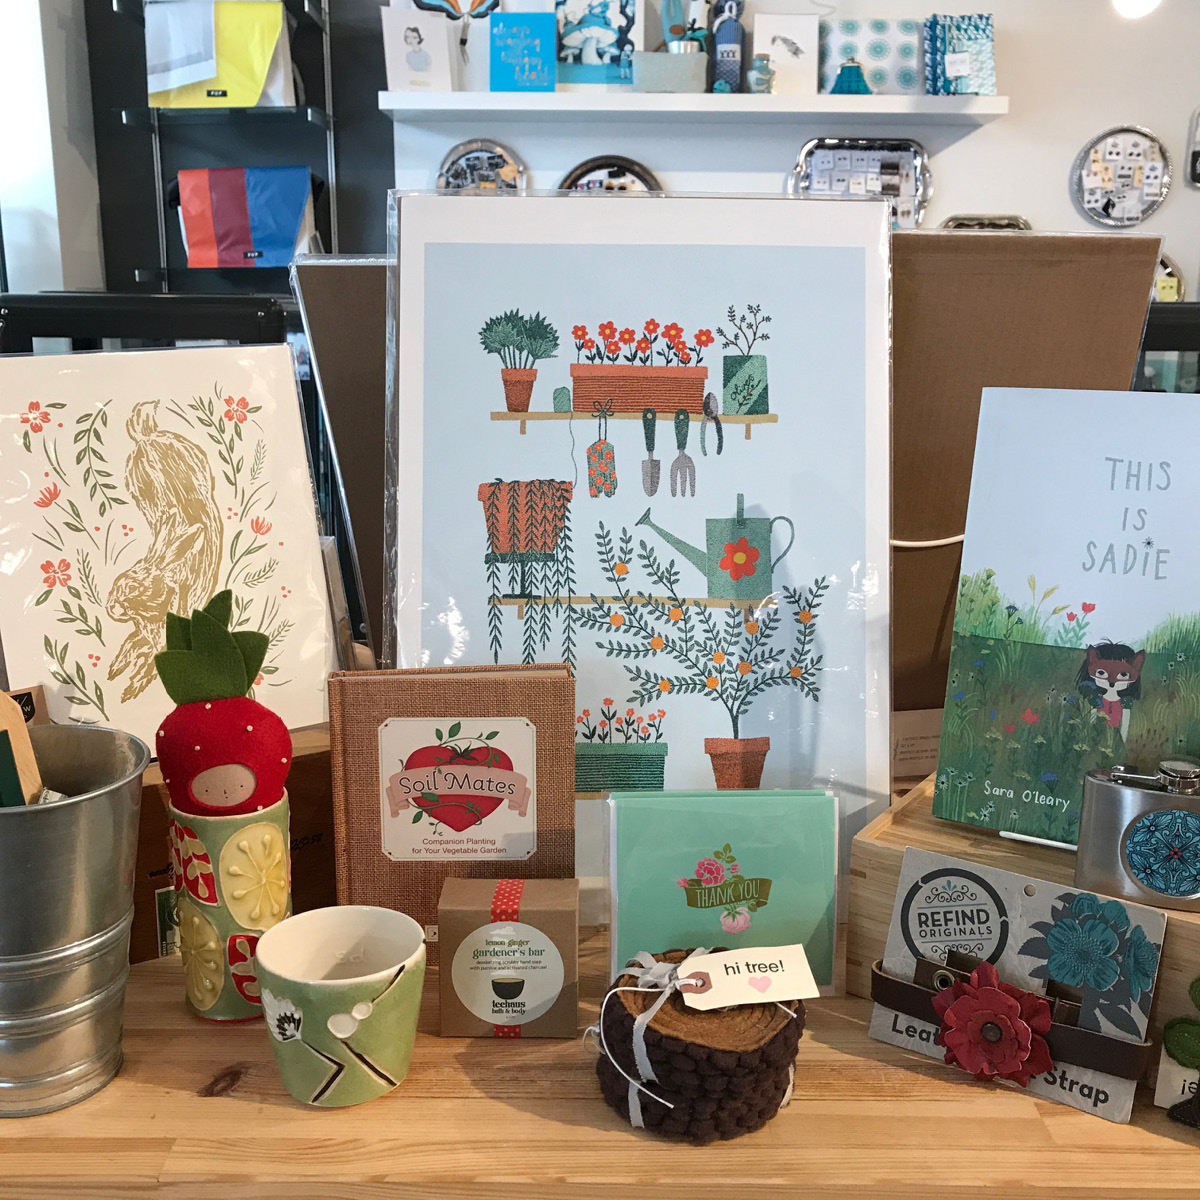
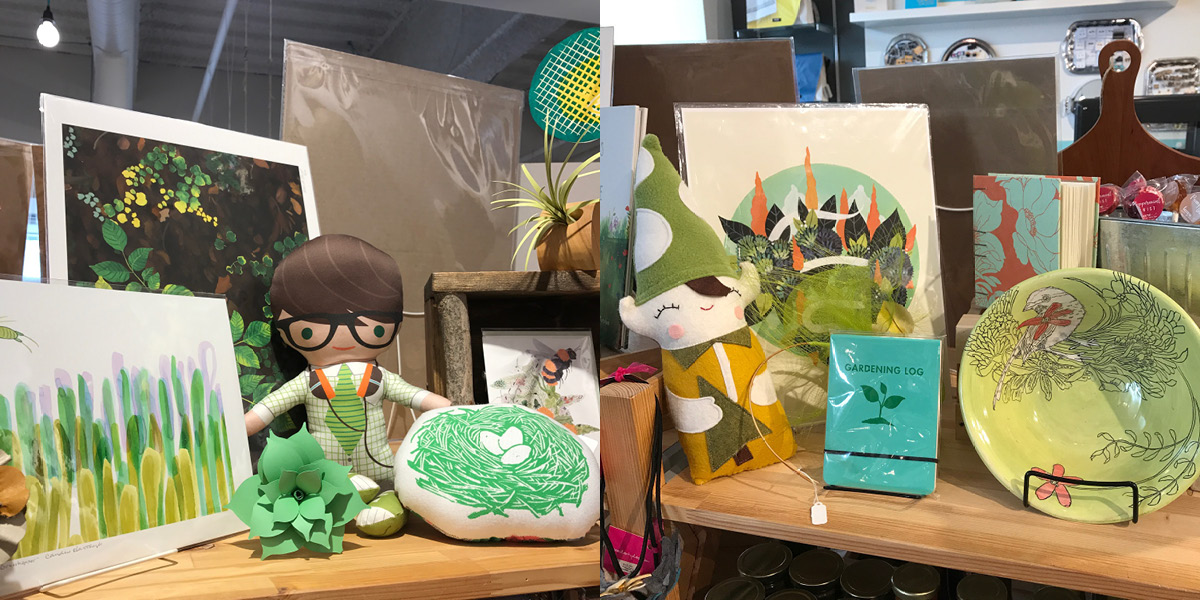
Sweet, sweet spring cheer!

Coming Up

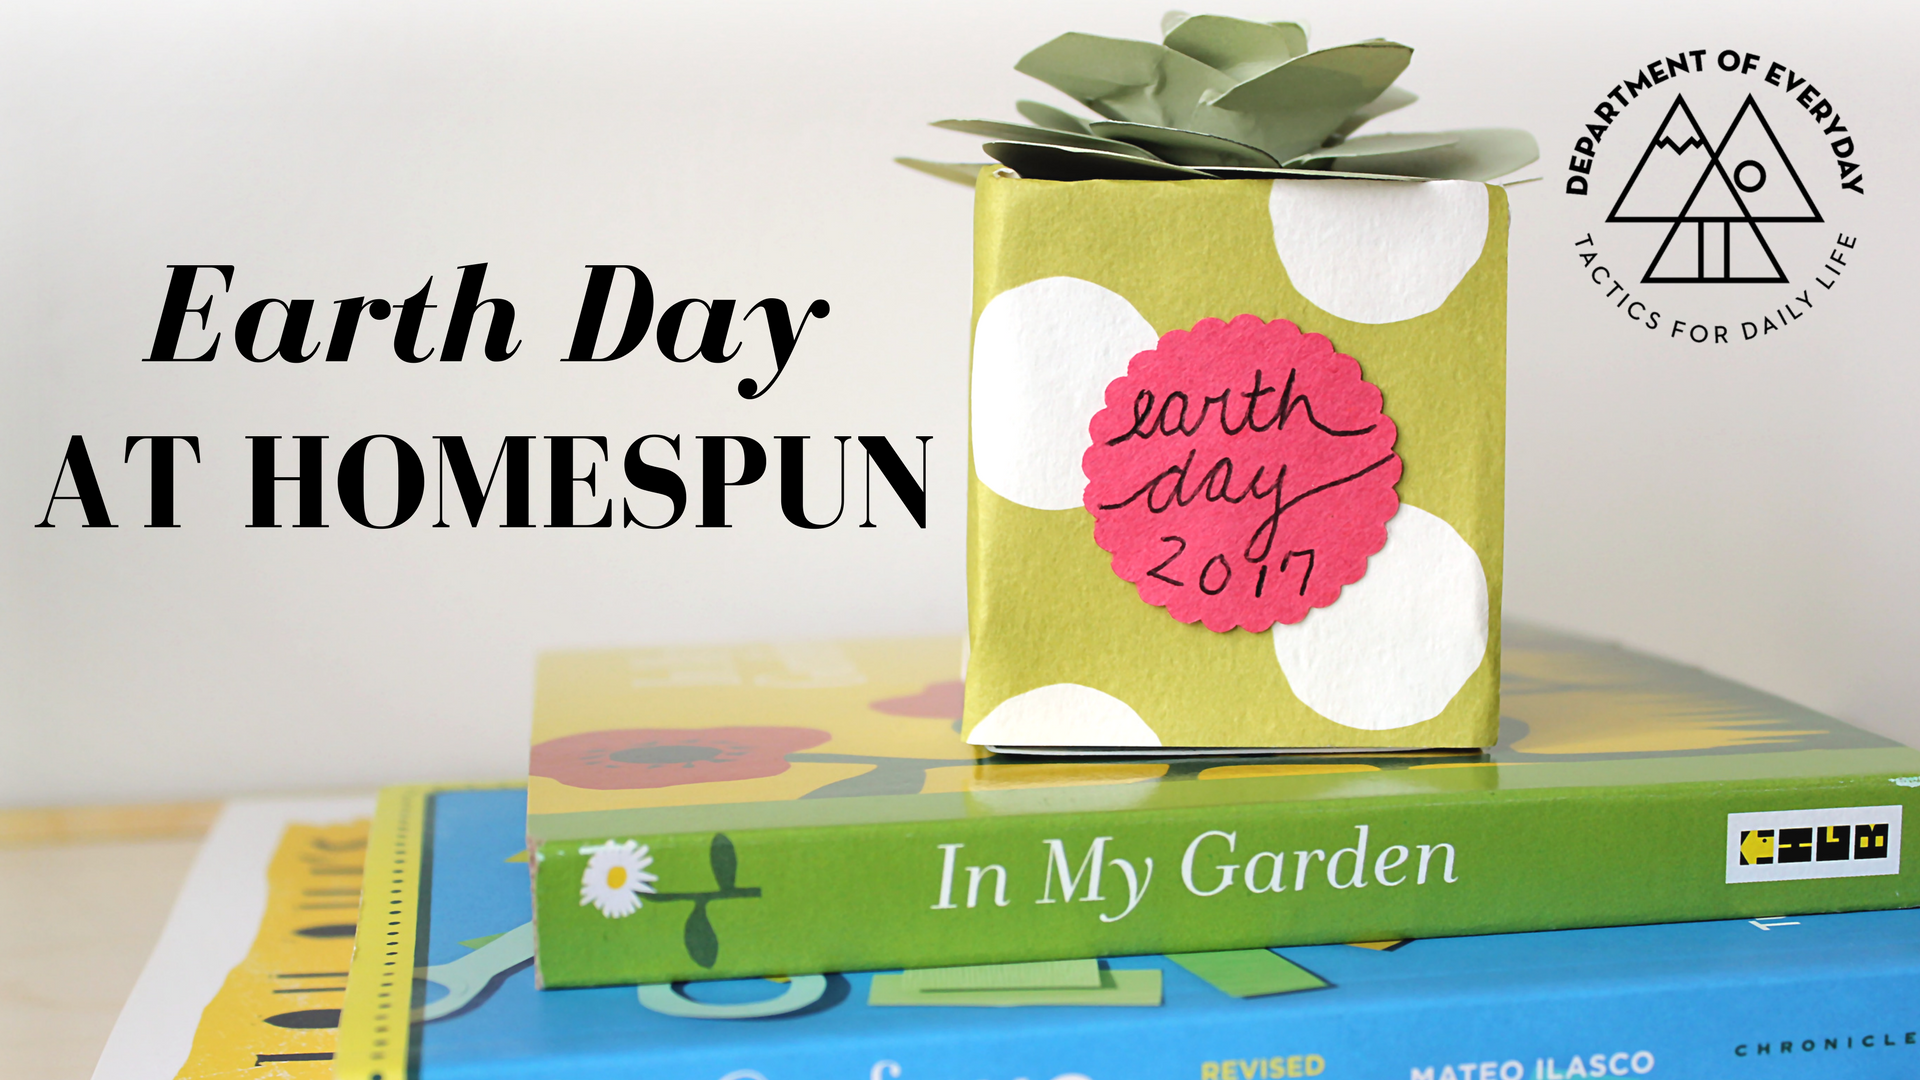
Earth Day, Saturday, April 22nd, 10am-9pm: Come celebrate Earth Day with us on Saturday April 22nd! We’re asking customers to bring in reusable materials like tin cans, cereal boxes, water bottles, and egg cartons to make a recycled planter/seed starter in store! We’ll have paper and other fun things for you to decorate your planter – and we’ll be giving away a FREE seed bomb from local maker Department of Everyday! Bring your kiddos with you and teach them about Earth Day and the importance of reducing, reusing, and recycling with this fun project!

Crafternoon with Ash & Elm Cider, Tuesday, April 25th, 7-9pm: Join us for an evening of crafting and cider! Bring something you’re working on, or bring some of your favorite crafting supplies to share with a friend. The crafty gals of Homespun: Modern Handmade (US!) will be on-site to show off some of their favorite DIY projects. Tickets are $20 and include two glasses of cider and access to some supplies and knowledge from your Homespun hosts.
Letter Writing Pop-Up with Haven Paperie, Sunday, April 3oth, 2-4pm: April is National Letter Writing Month and we’ve paired up with the queen of letter writing, Haven Paperie, to bring you a pen and paper pop-up in store. Whether you’ve been wanting to send a note to an old friend, a lost love, or just put something out into the universe – this evening is dedicated to you! Bring your paper, a favorite card you’ve been meaning to send, and sit down with us and Heidi, the hand behind Haven Paperie, who will be here with envelopes and stamps – ensuring the safe delivery of your handwritten words.

Macrame Wall Hanging Workshop, Sunday, April 30th, 2-5pm: The textile art trend is sweeping the world of interior design, and that means macrame is back baby! Have you always wanted to learn? We have the perfect class for you! Savannah Norris, local stylist, artist, and Jane of all trades, will help you craft a macrame wall hanging during this workshop. All supplies are included – you’ll just need to bring yourself and your crafty spirit!

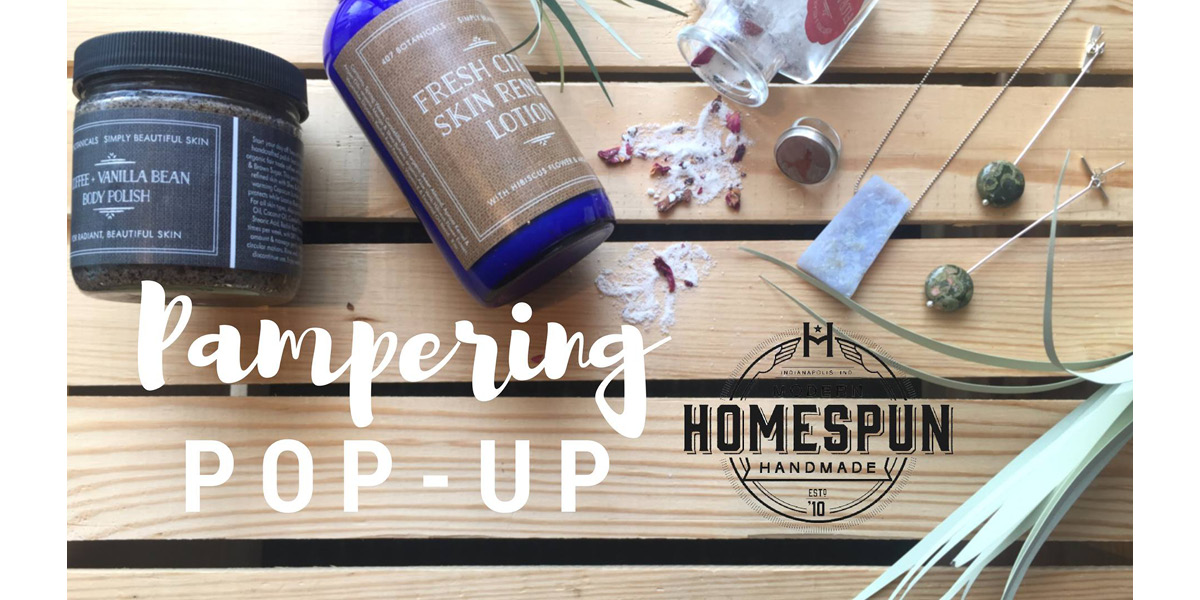
Pampering Pop-Up: Saturday, May 13th, 11am-4pm: There’s no one that deserves more pampering, attention, and relexation than Mom. Bring her in store on this Mother’s Day Eve, for an indulgent experience featuring bath and body demo’s from 407 Botanicals and a jewelry trunk show from Sara B. Jewelry & Metalsmithing. You and Mom both will also enjoy 10% off your entire Homespun purchase today.

Macrame Hanging Planter Workshop, Saturday, May 13th, 1-4pm: Have some flowing greenery that needs hanging for full-effect? Always wanted to learn how to macrame? Then we’ve got the perfect class for you! Savannah Norris, local stylist, artist, and jane of all trades, will help you craft a hanging planter perfect for your growing green babies and your personal style! Bring yourself and your plant (in a small – medium pot or jar) and a sturdy stick (optional) if you’d like to make it a contemporary wall hanging – all other supplies will be provided. Discounted tickets worth 2 entries are available! – Perfect to bring MOM along with you on this Saturday before Mother’s Day!

INDIEana Handicraft Exchange, Saturday, June 17th, 12-8pm at the Harrison Center for the Arts: The INDIEana Handicraft Exchange is a contemporary craft fair that consciously celebrates modern handmade goods, the relationship between creator and consumer, and local, alternative economies. The IHE has become a notable stop on the Midwest indie craft fair circuit, which includes events such as the Renegade Craft Fair in Chicago, IL, Crafty Supermarket in Cincinnati, OH, Craftin’ Outlaws in Columbus, OH, Art vs. Craft (now defunct) in Milwaukee, WI and the Detroit Urban Craft Fair in Detroit, MI, among many others. The IHE began in 2007 as a way to highlight local crafters and artisans as well as to expose Indianapolis to some of the best vendors on the national indie craft fair map.

See ya next week, friends!

Comments (0)
How-To: Wooden Print Frame

Here at Homespun we are proud to offer one of the best selections of art prints around. These prints range in price, but most often run around $15-$30. This is the perfect way to support artists and get some unique and incredible art in your home without spending a fortune. Of course the prints are sold unframed, and I don’t know if you’ve been to a frame shop recently, but custom framing can cost a fortune. And the selection at your local big box craft store? Well, I was underwhelmed. Here is a great, simple tutorial to create your own easy and modern frames at home for about $7 each.

And in the spirit of refreshing your walls (springtime!), I’ve thrown in a little idea to add even more art for even less. I’ve chosen one of a variety of ADORABLE wrapping papers we sell and framed it in some frames I had laying around the house. At only $3.50 for a sheet, this is fun and affordable.

Let’s get started!


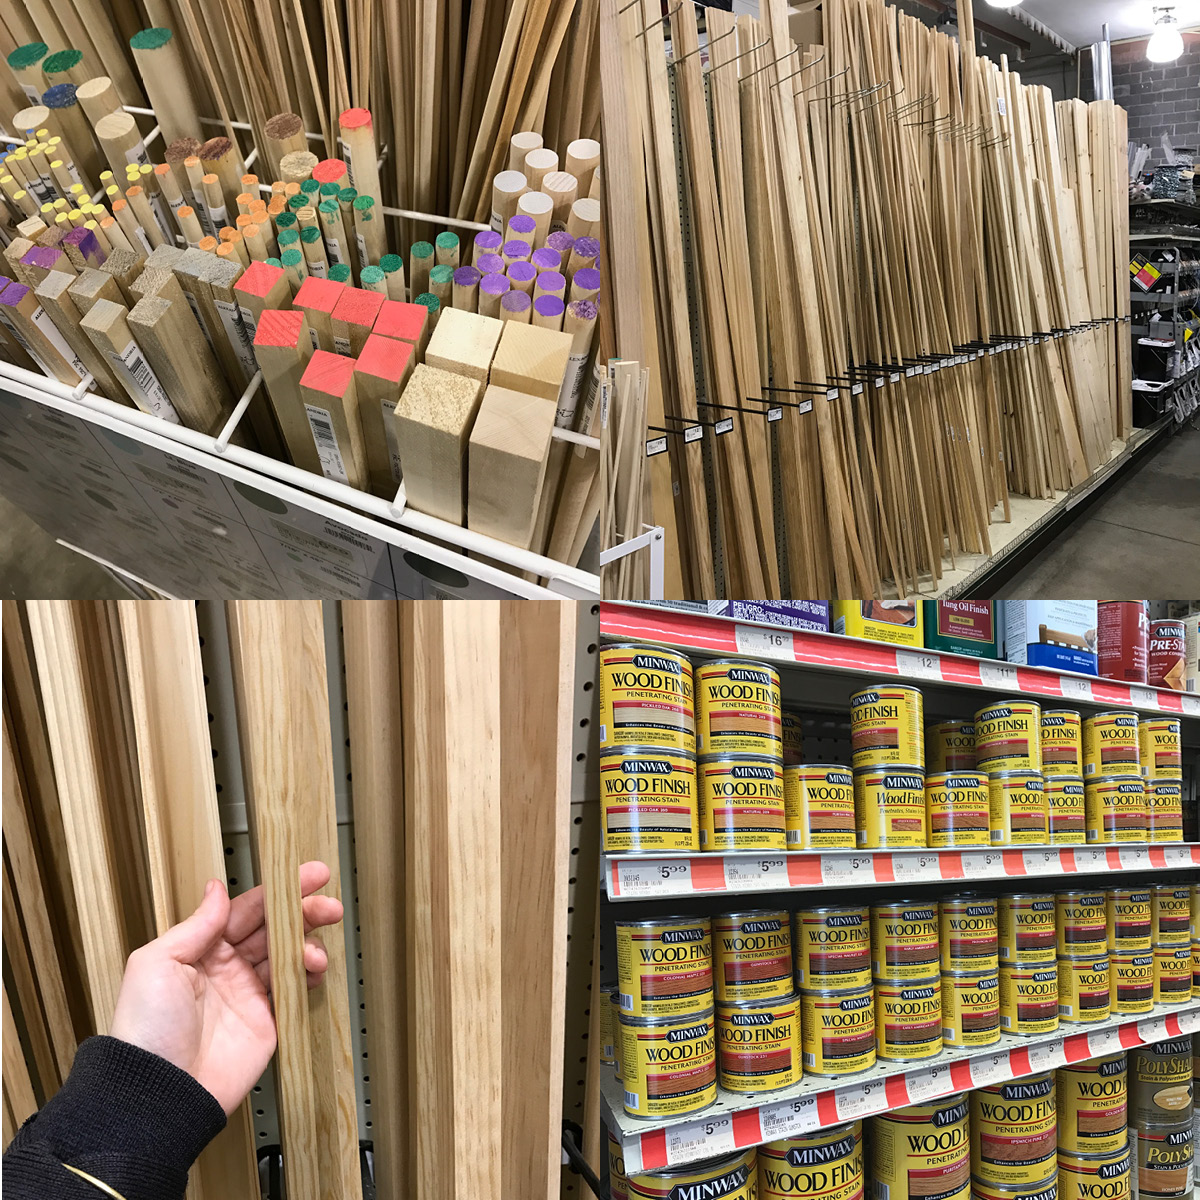
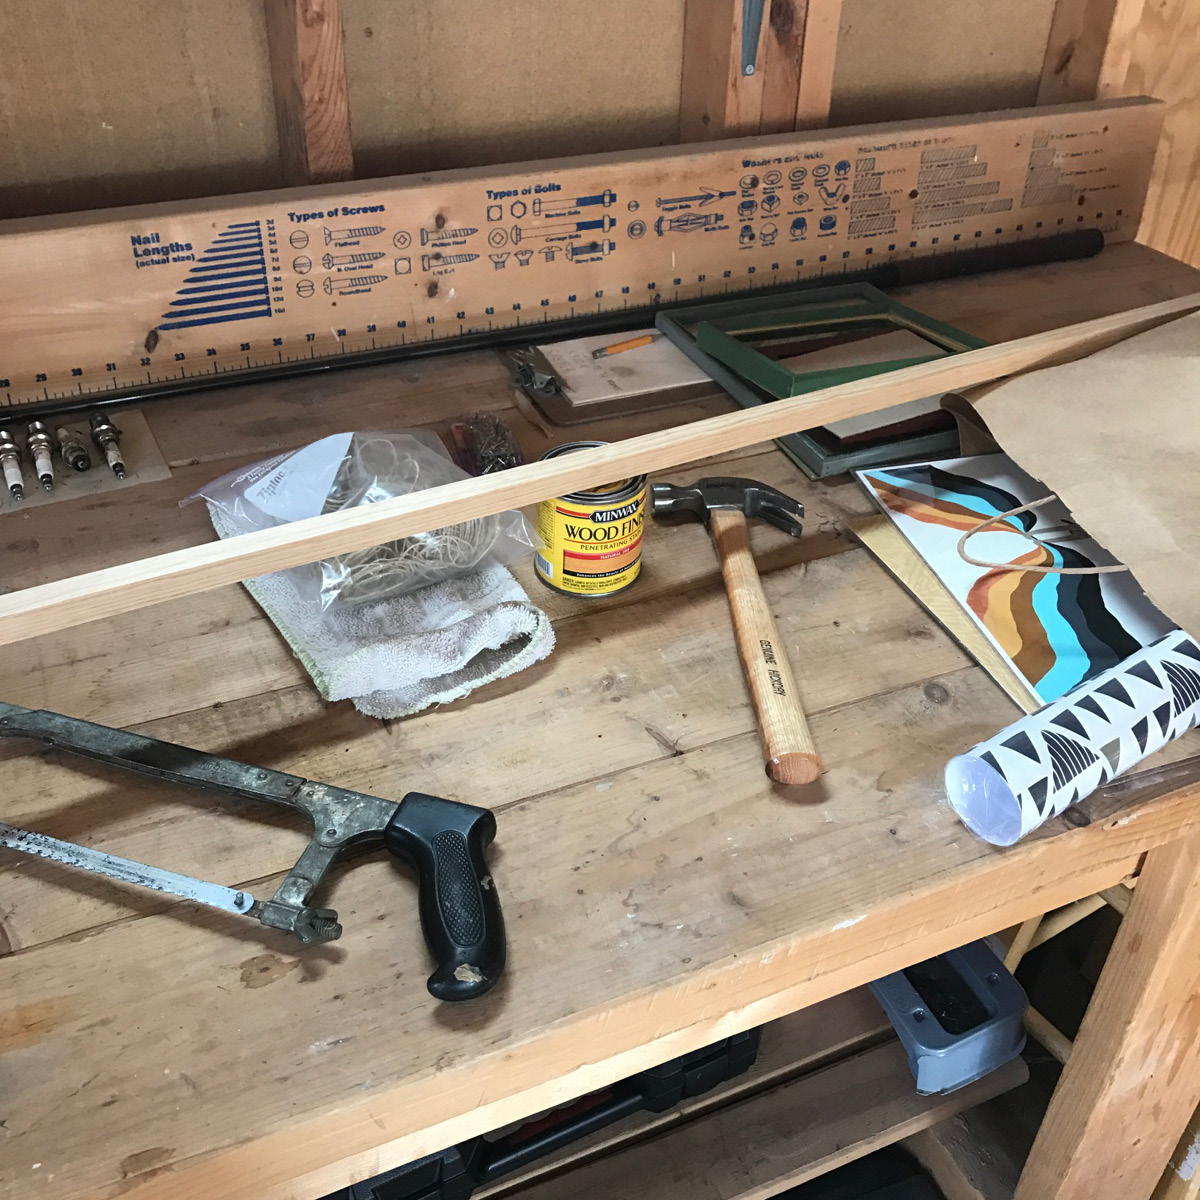
First step, you’ll need to gather some supplies. And if you’re not Ron Swanson and don’t have wood and stain just laying around, you’ll have to go to the good ol’ hardware store. Here’s what you’ll need:

– 4 pieces of wood cut to size for each print: I found two different options I thought would be good while I was shopping. First, there are lots of sizes and shapes you can choose from in the very colorful wooden dowel section. There’s also a longer wooden molding and stuff section where I found my 11/16 x 8′ sized square pine molding. For the length, this was the more cost effective option.
– Stain
– Scrap cloth
– Box Saw
– Hammer
– Measuring Tape
– Nails: 1″, 4-6
– Sandpaper
– Jute or Hemp or any kind of string you like
– Plastic Bags
– Gloves
– Clamp
– Thingy to open the stain can with- you could get the official paint can key or just any pry type tool (I used a metal scraper). Just don’t use a butter knife from the kitchen drawer, ok?


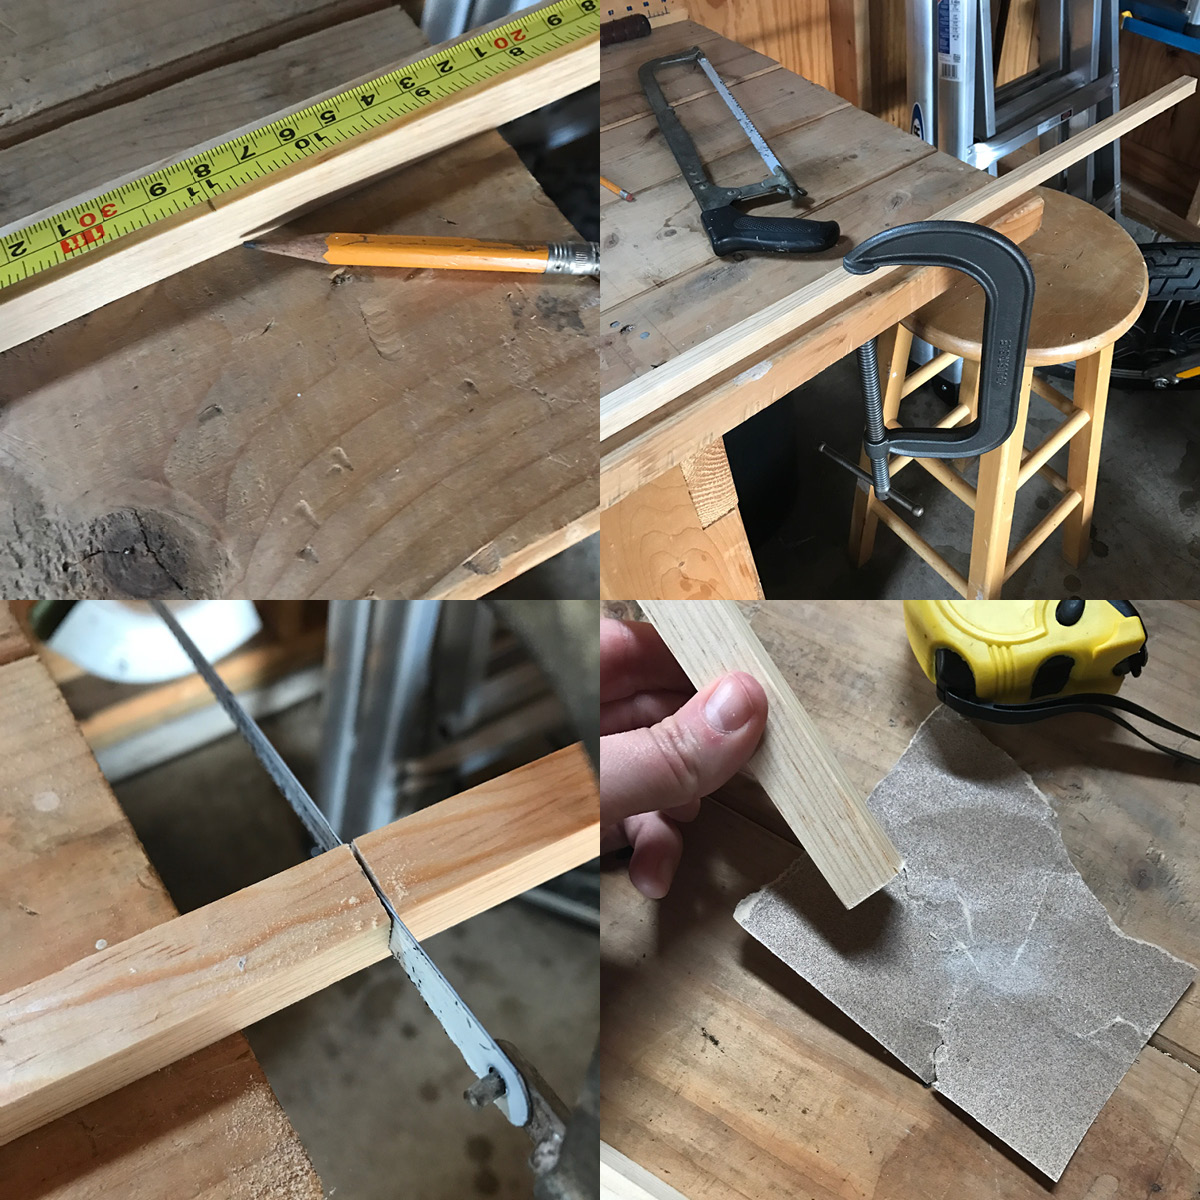
I chose two prints- “The Best Is Yet to Come” by Laura Berger and “Dream. Work. Own.” by Amy Rice Art. Both of these are 11″ across, so I decided to cut 4, 12″ lengths so that the frame would be slightly longer than the print. As it happened, 12″ x 8 pieces = 96″ which is exactly 8 ft which is exactly the length of wood I purchased! “Math made in heaven!” I thought. Well, it would have been if I hadn’t of gone ahead and cut 3, 11″ lengths before realizing my mistake (see photographic evidence below). Ah, well. Maybe I will like a flush finish better anyways, right? And now you all can see the difference in look when I’m finished.


I was a little intimidated to pick up the saw. I clamped the length of wood to my work bench (this clamp is way bigger than I need, I realize, but it’s the only one I could find). A wooden vice would probably be more to the point here. I’ve done minimal sawing in my life, but I found the saying “let the saw do the work” to be very true. As soon as you muscle it and try to rush through, the saw bumps along and doesn’t want to work nicely. Just let it slide across easily and take your time.

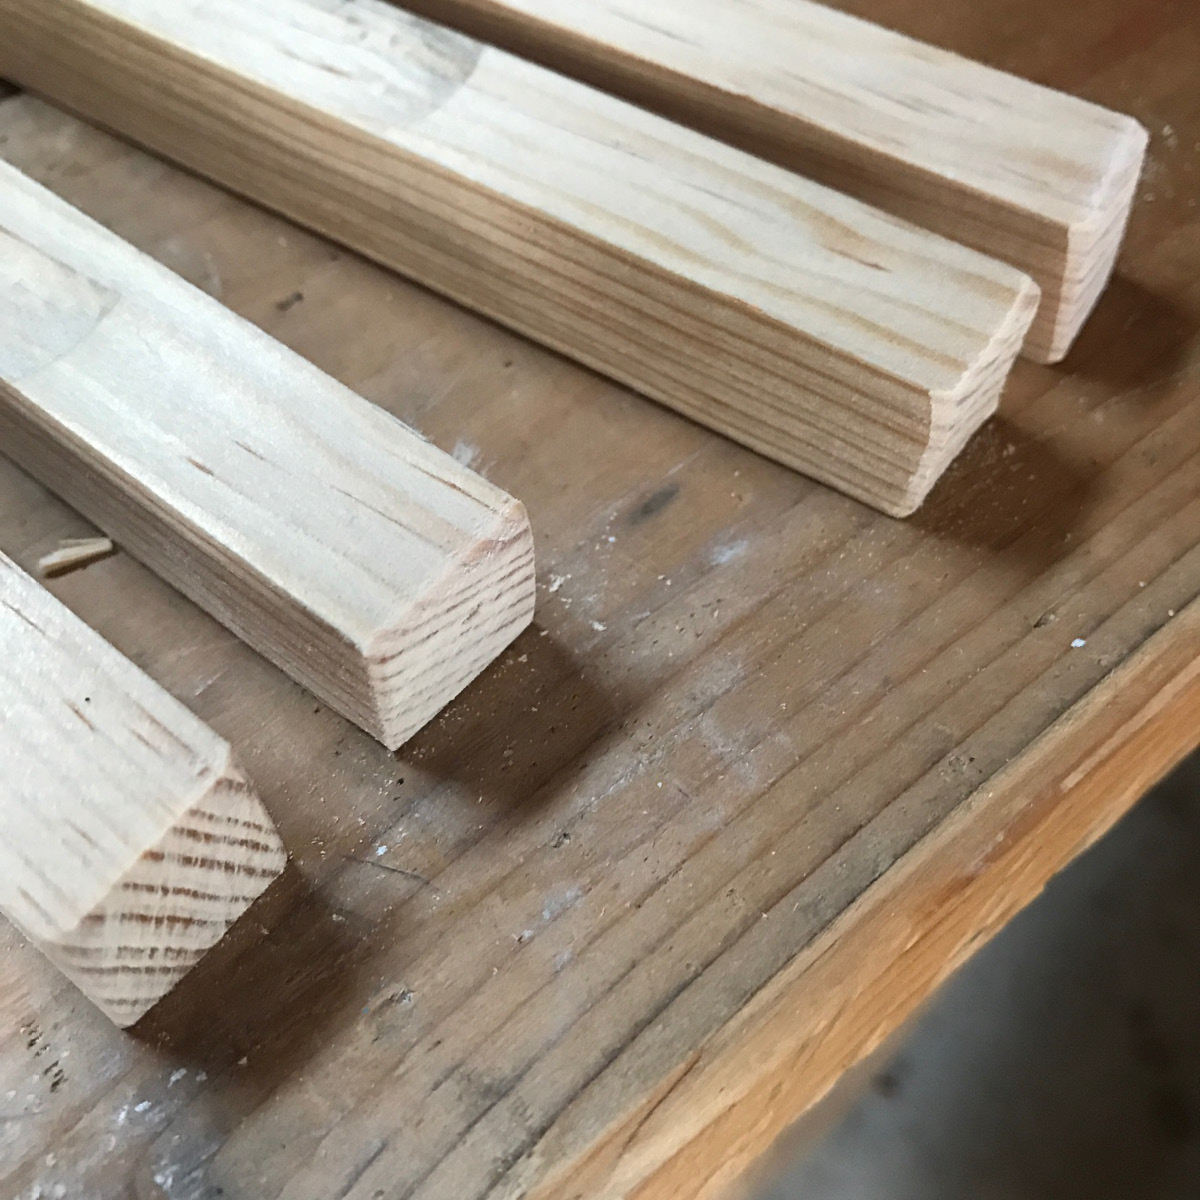
After all my lengths were cut, I sanded the ends a bit. You could do more or less here, I sanded down the edges slightly and you could do even more for a rustic look.

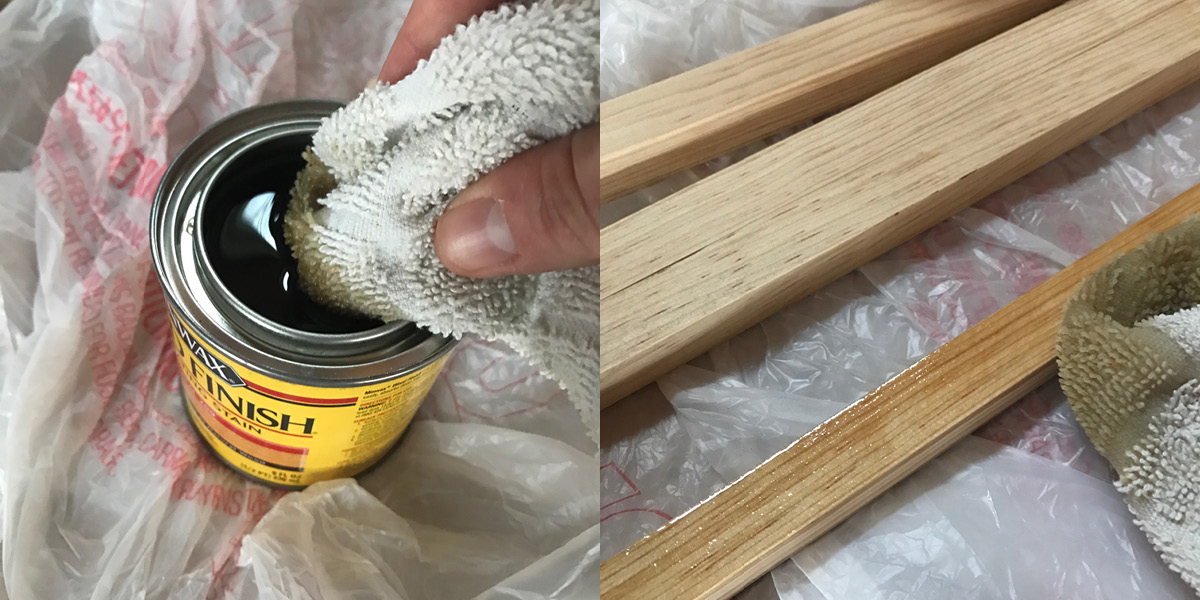
Now for the staining. I’ve chosen a really light stain (Minwax Natural 209), because I love light wood, but I wasn’t sure if it would make a big enough difference to make it worth my trouble. As you can see, even a very light stain really brought out the beauty in the wood and gave it a professional look. I gave the shorter lengths three coats and left just one on the longer- and don’t forget the ends! For this process you’ll probably want to wear gloves. As I’ve said before, I like to live my life in the fast lane and I don’t usually have time for these types of (very reasonable) precautions. As you can see I did lay down some plastic bags to prevent the stain from reaching the work bench, but honestly only from fear of my husband’s wrath. I will say, you’ll want some ventilation, though, even if you’re a freak who loves fume smells like me.

After staining, you’ll need to wait 8 hours to continue with the project to let the stain soak and dry. I almost just went ahead with the project anyways (fast lane), but they were tacky to the touch and I wouldn’t want to risk any stain seeping into my beautiful prints.

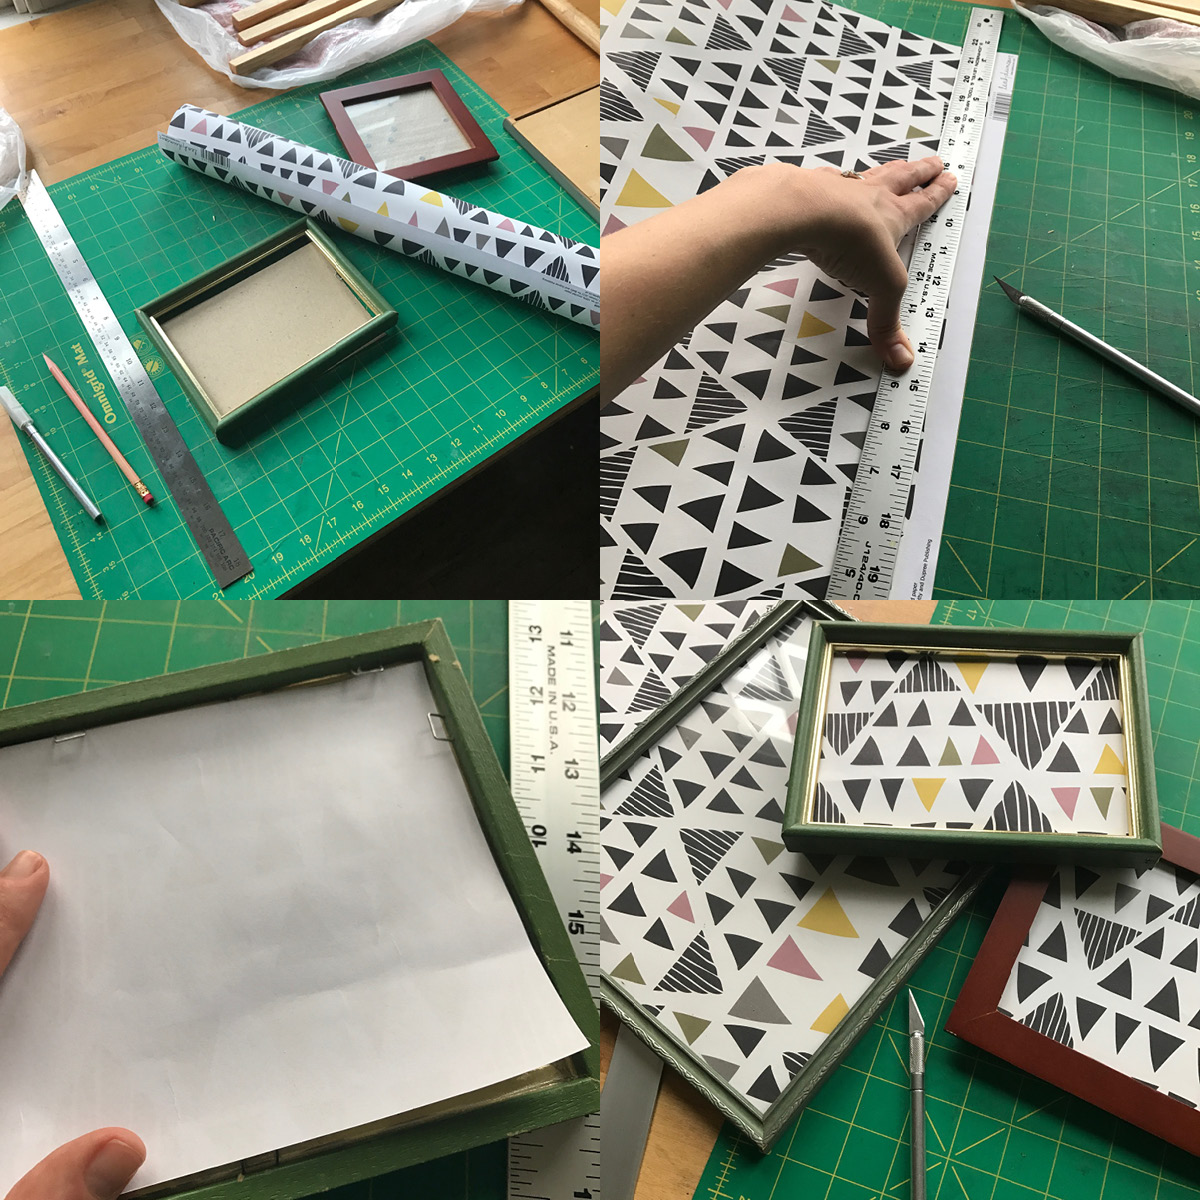
In the mean time I moved shop up to my studio and used an x-acto knife and mat to cut the sizes of wrapping paper for my frames. This took about 5 minutes and I love how they turned out. I think the smaller frames look especially cute, you could tuck these in so many different places around the house. I can’t wait to see them paired up with my larger prints.

Several days later…

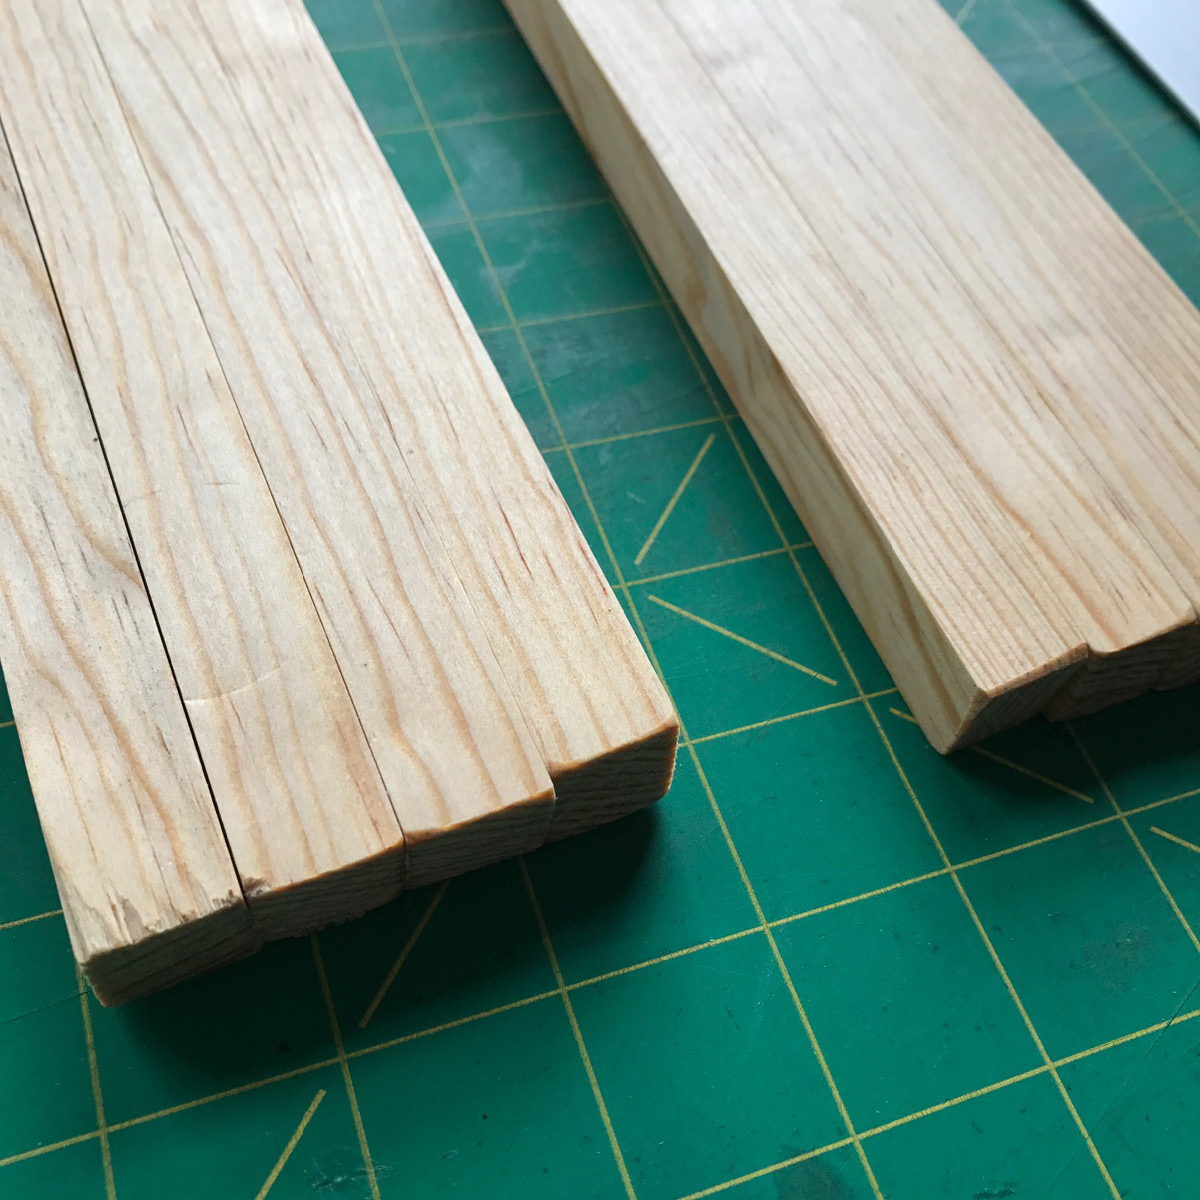
Here are the two sets of frames after drying. As you can see, adding the extra two coats was entirely unnecessary. They both look great.

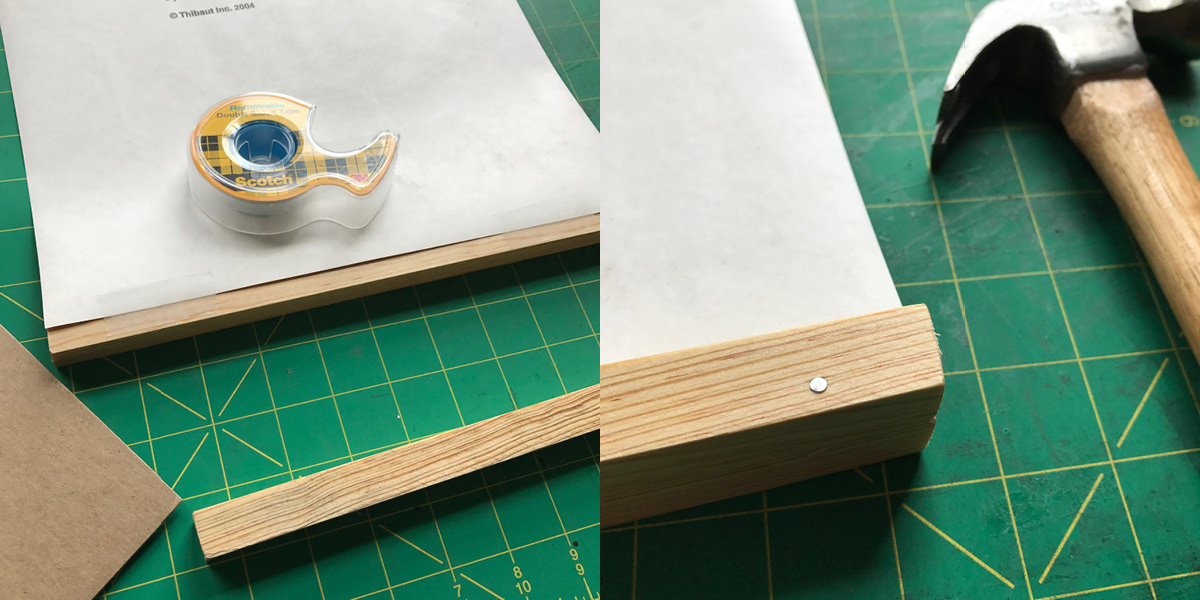
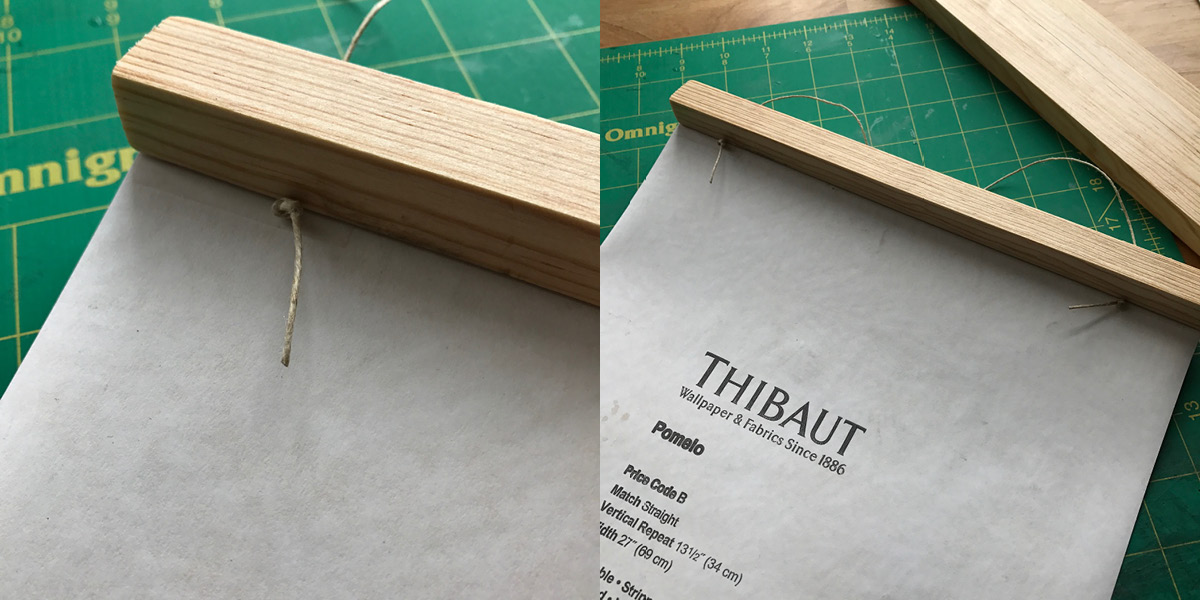
Take some tape and place the end of the bottom of the print centered on the frame. Be sure to position the side of your frame thoughtfully- if there are any imperfections in it or (heaven forbid!) in your staining, you can just turn those to the inside. Center another piece of wood over the top and nail together. “Nail together”- two words that sound so simple and yet proved to be the most difficult stage for me. Pictured above is my one success, pictured below…

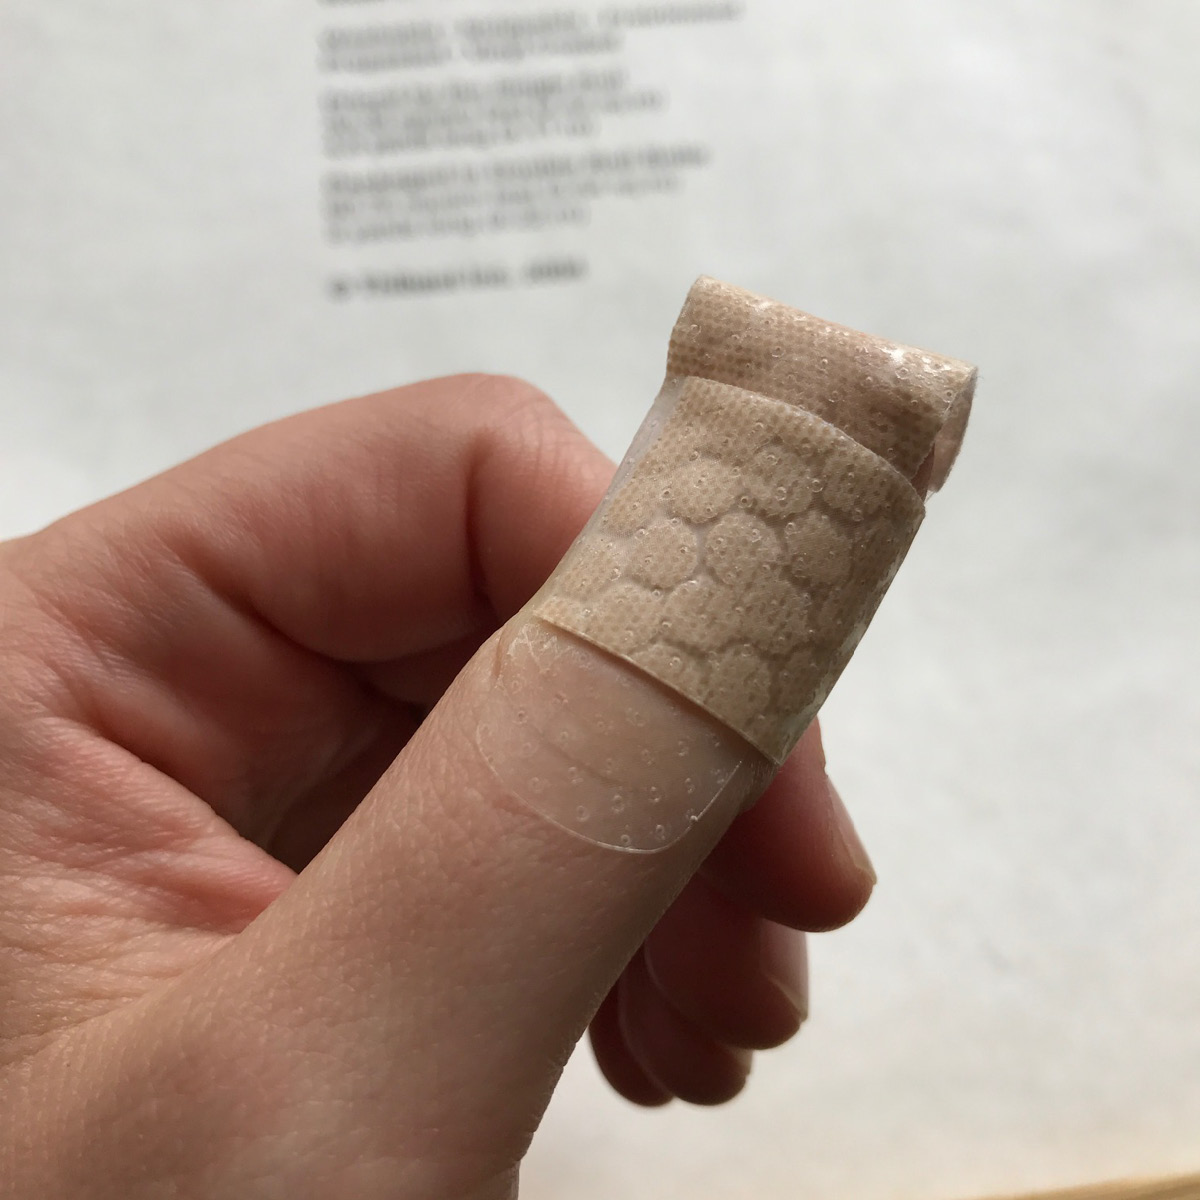
… the cost of that success. As I figured out, the grain of the wood will have a lot to do with the direction your nail goes as you pound it down. Take a look at the ends and make sure the grain is facing the desirable way i.e. towards the other piece of wood. You have a pretty narrow work surface here, so practice is going to be your road to perfection. Note: unless you are trying to preserve the integrity of your print as I am here, go ahead and center your nail on the frame piece. Put one nail at either end, and for larger prints you can add one in the center as well.

Ta-dah! Good thing I had these inspirational prints to get me through all the nailing and the bleeding. Now for the top!

I used a string about 15″ long, and tied knots in either end. Eyeball about an inch in on either side. If you use double sided tape, it will help hold the thread while you center the frame.

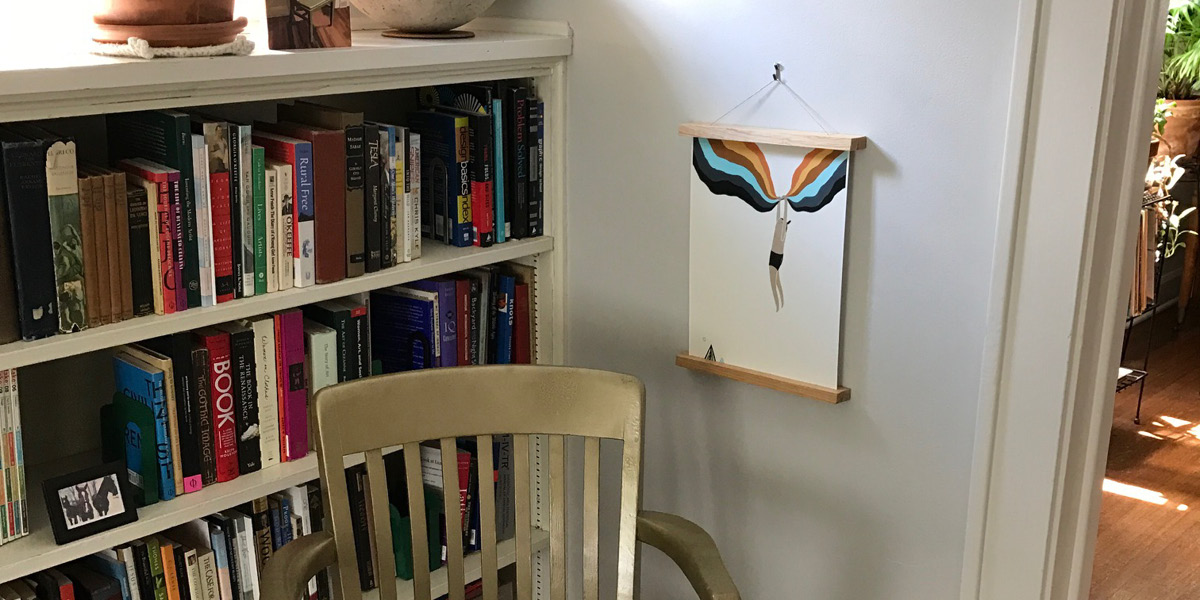
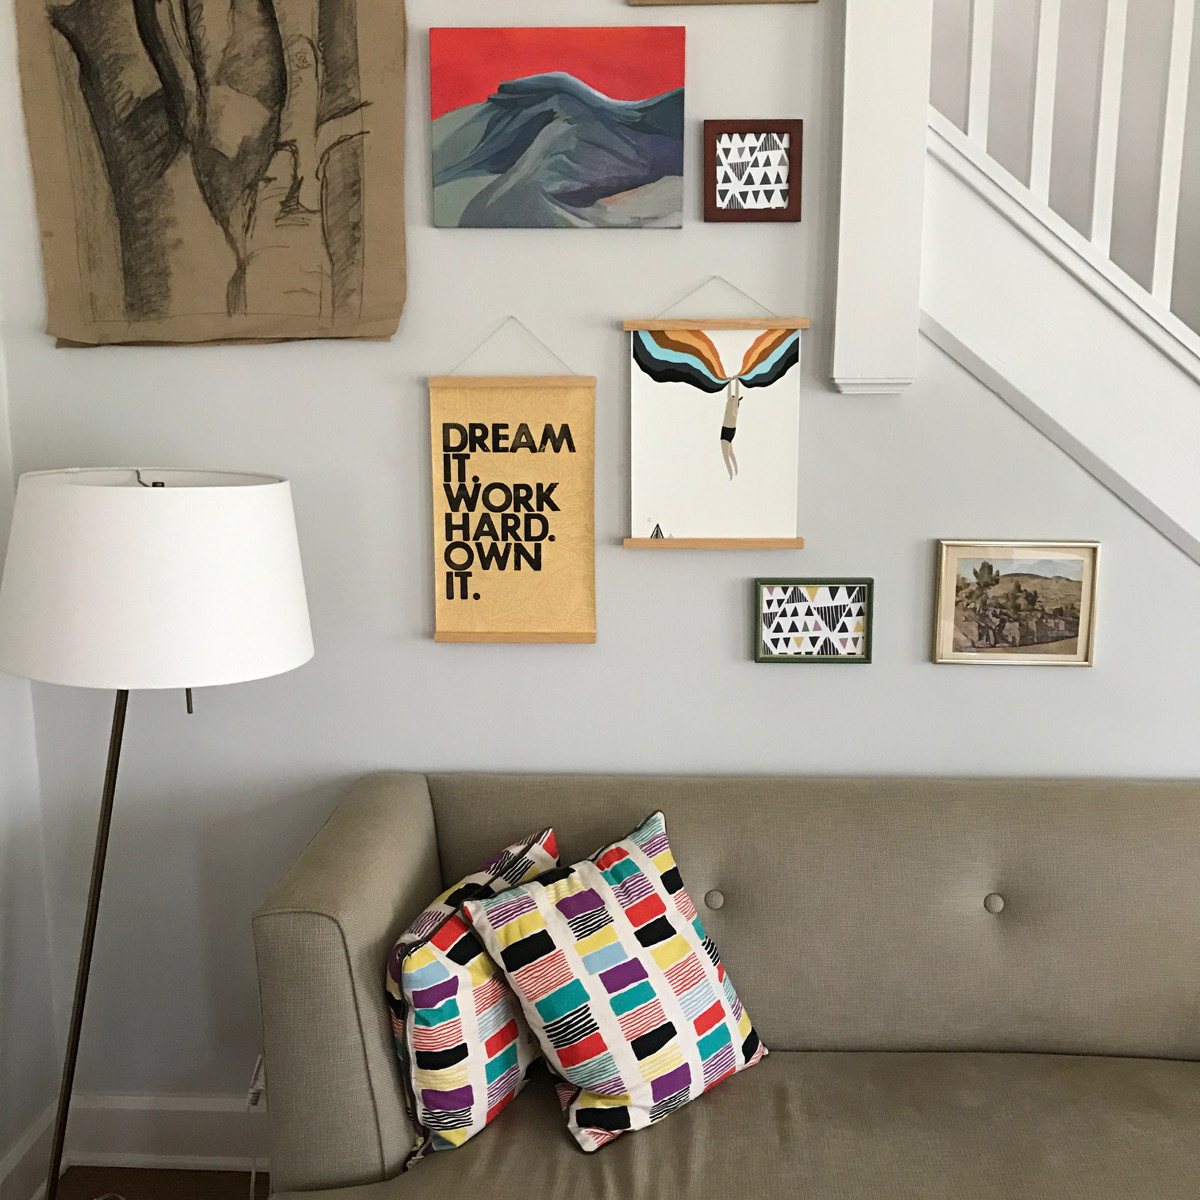
And hang!

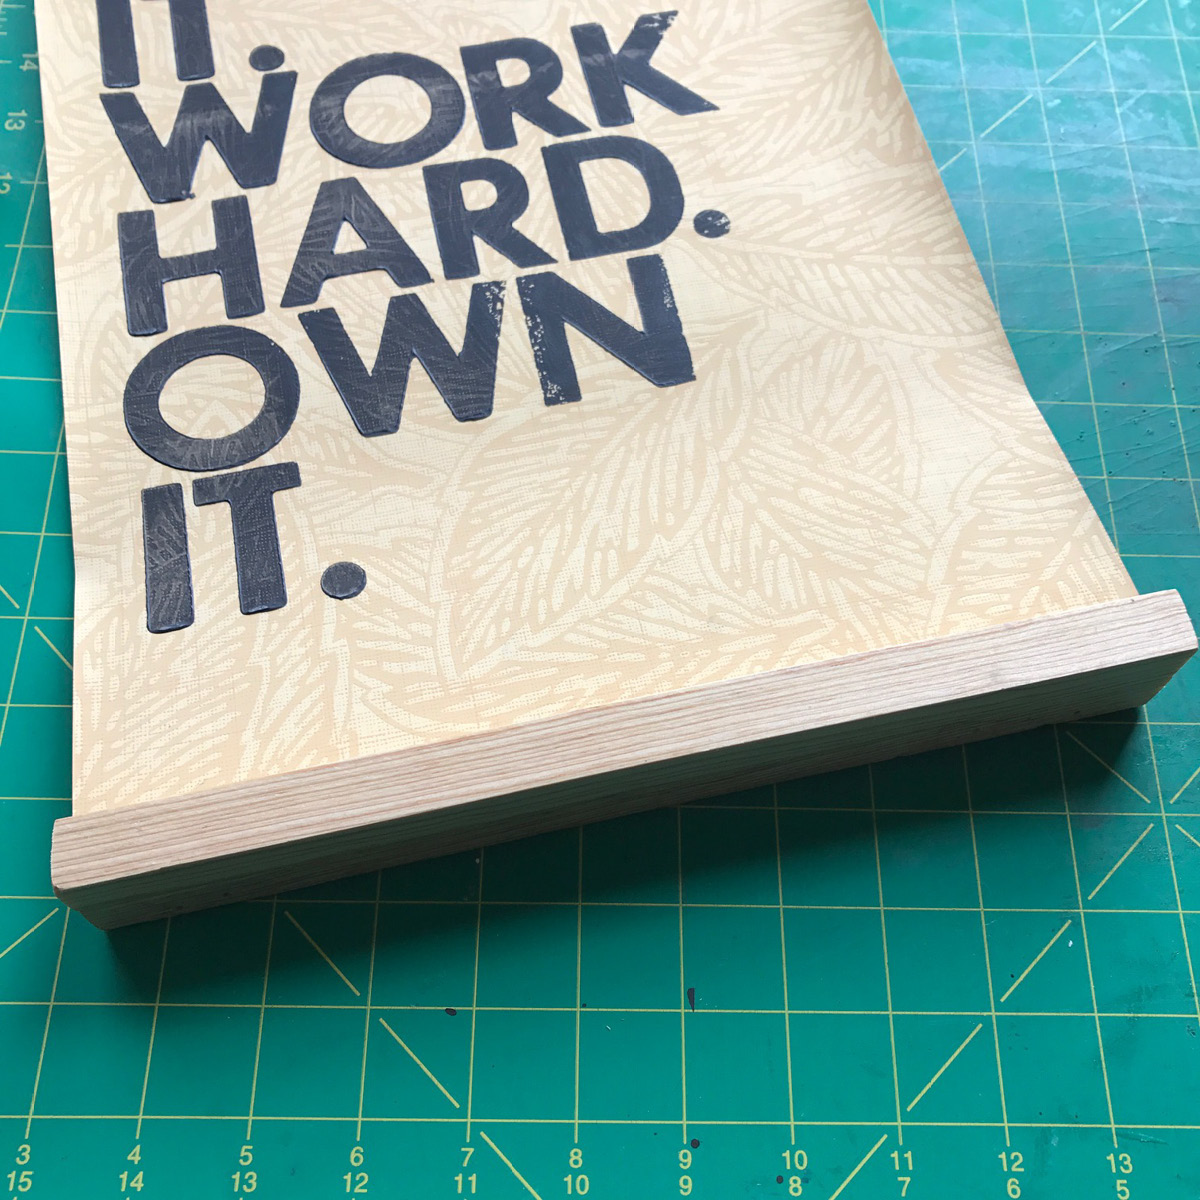
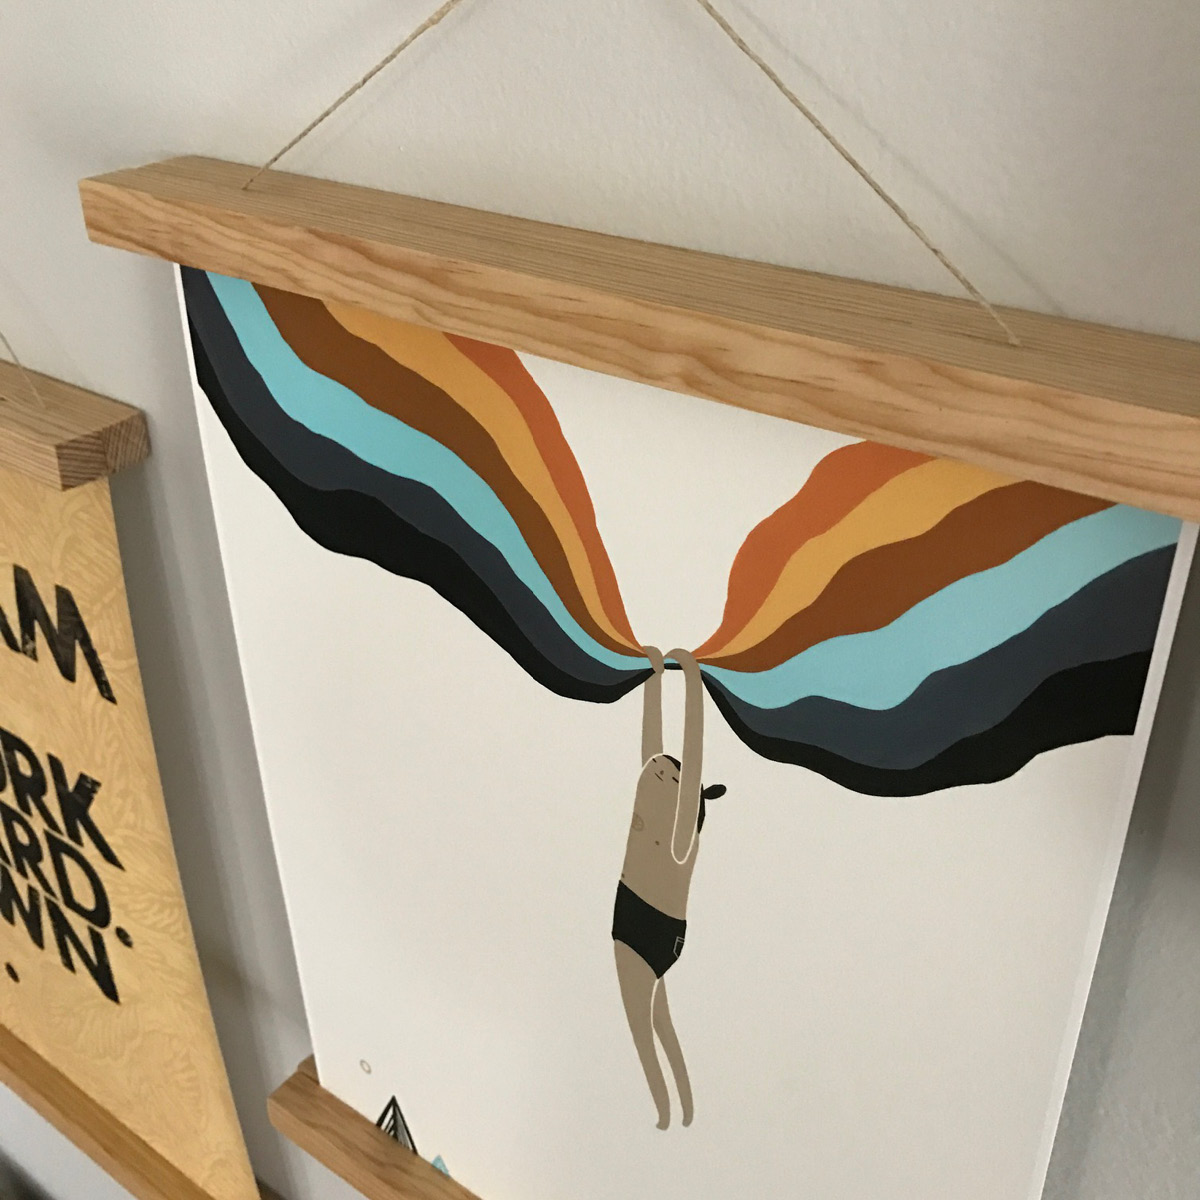
Here you can see the difference in lengths of frames. I think they both work. Also, how cute did this Laura Berger print work out? It looks like they’re hanging right from the frame.

Let me know how you’re attempt goes by commenting below or share your photos and tag us, @homespunindy. Thanks for following along!

Comments (0)
This Week at the Shop: April 3rd

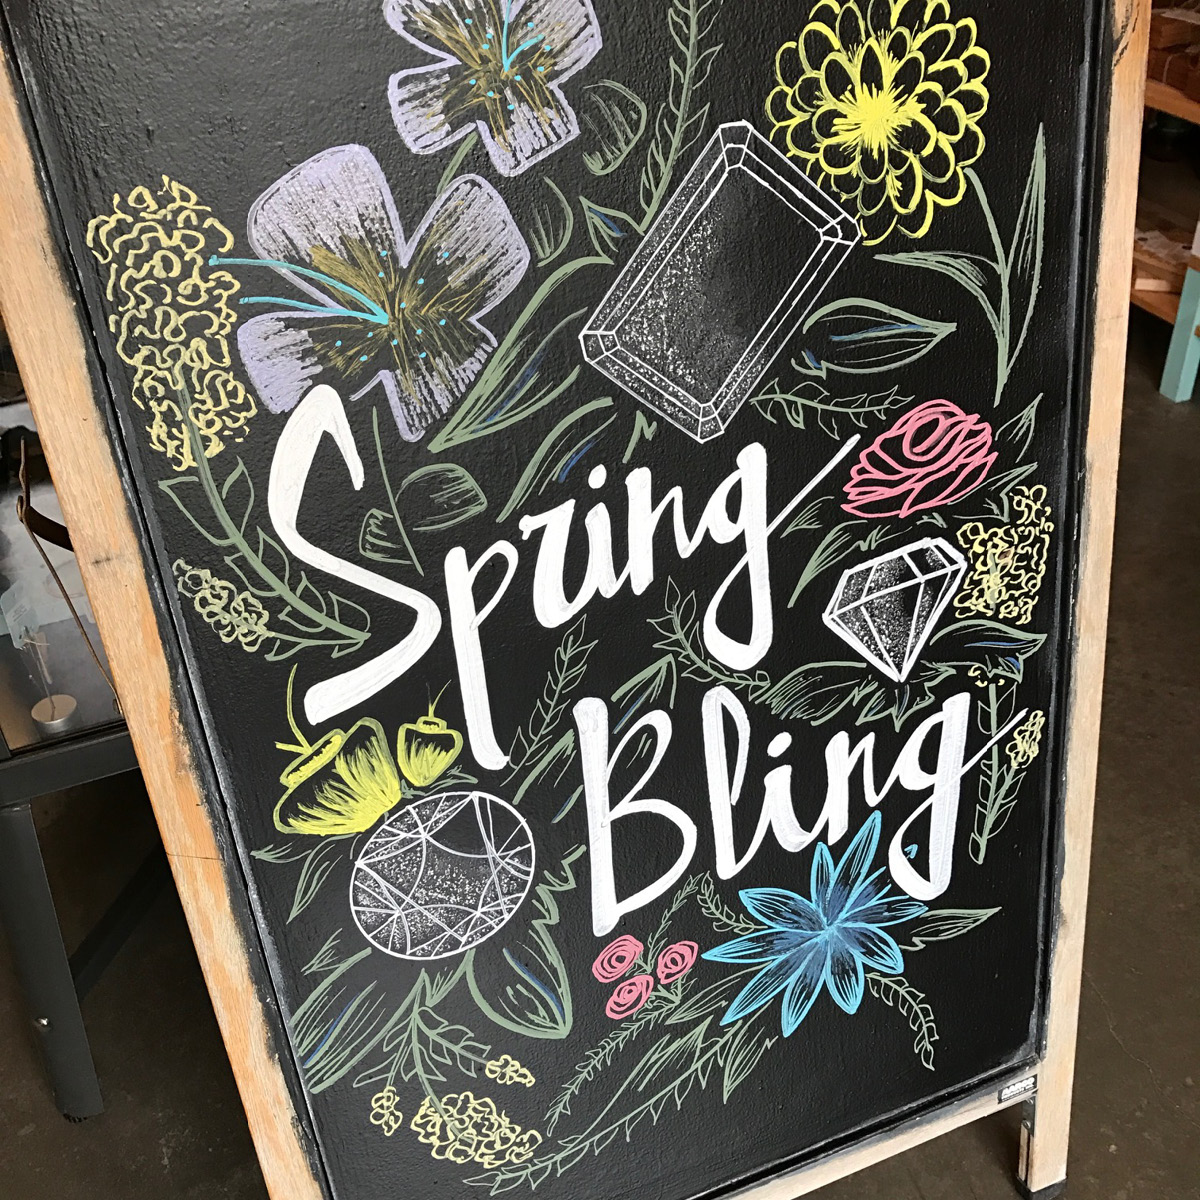
We’re still waiting on our new POS system to be able to bring out all the new beautiful goodies but in the mean time give us a follow over on Instagram and check out our Spring Bling campaign. We’re highlighting some of our sparkliest this season. Read on for look at some awesome items currently on the sales floor, and a sneak peak of our upcoming How-To blog post!

Around the Shop

Gorgeous spring gift basket!

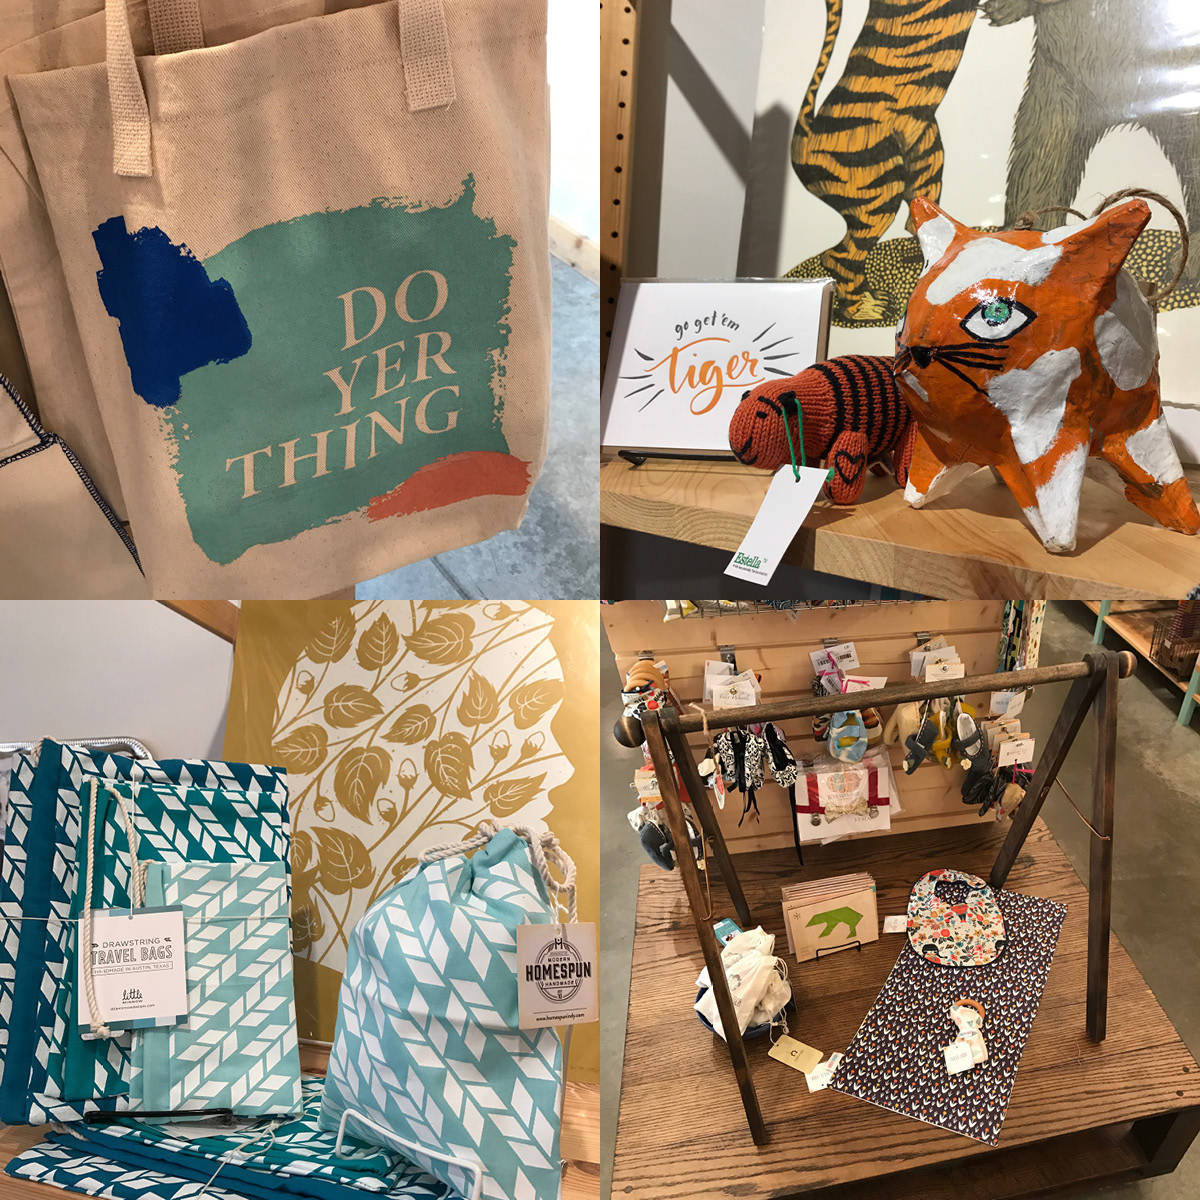
Do Yer Thing tote by Tender Loving Empire, adorable little tiger display in our kids’ section, love this little baby play bar by Red Barn Collective, and bring these multi-purpose travel bags with you on your spring adventures, printed and made by Little Minnow.

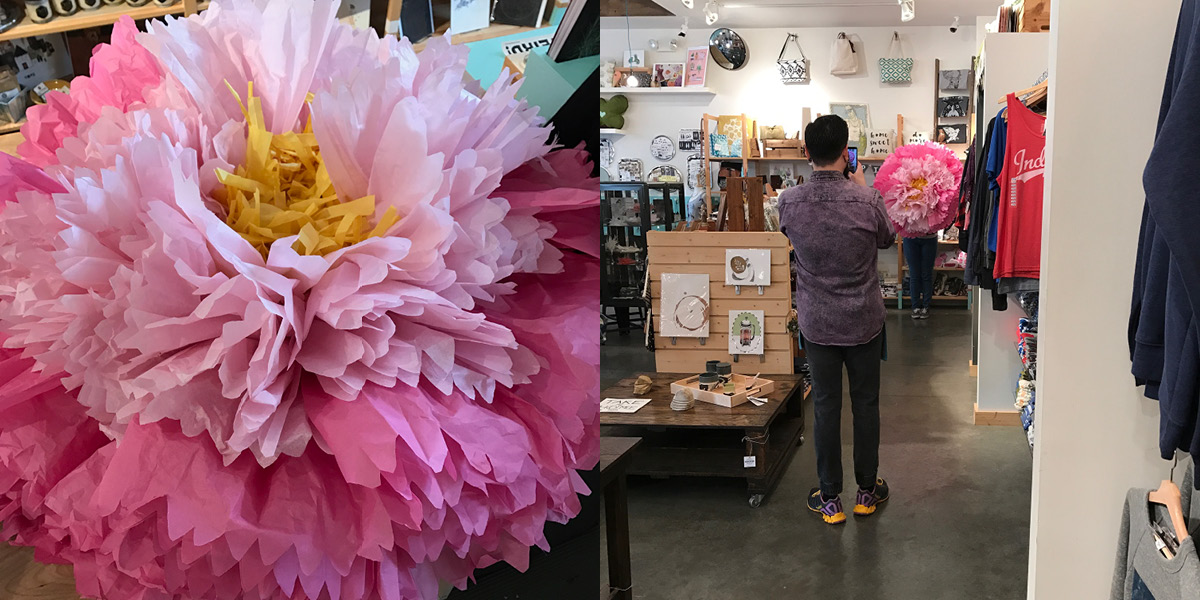
Mark made this amazing paper flower and we can’t get over it! Look how big!

Spring Bling

It’s a thing. Follow us on Instagram.

Sneak Peak

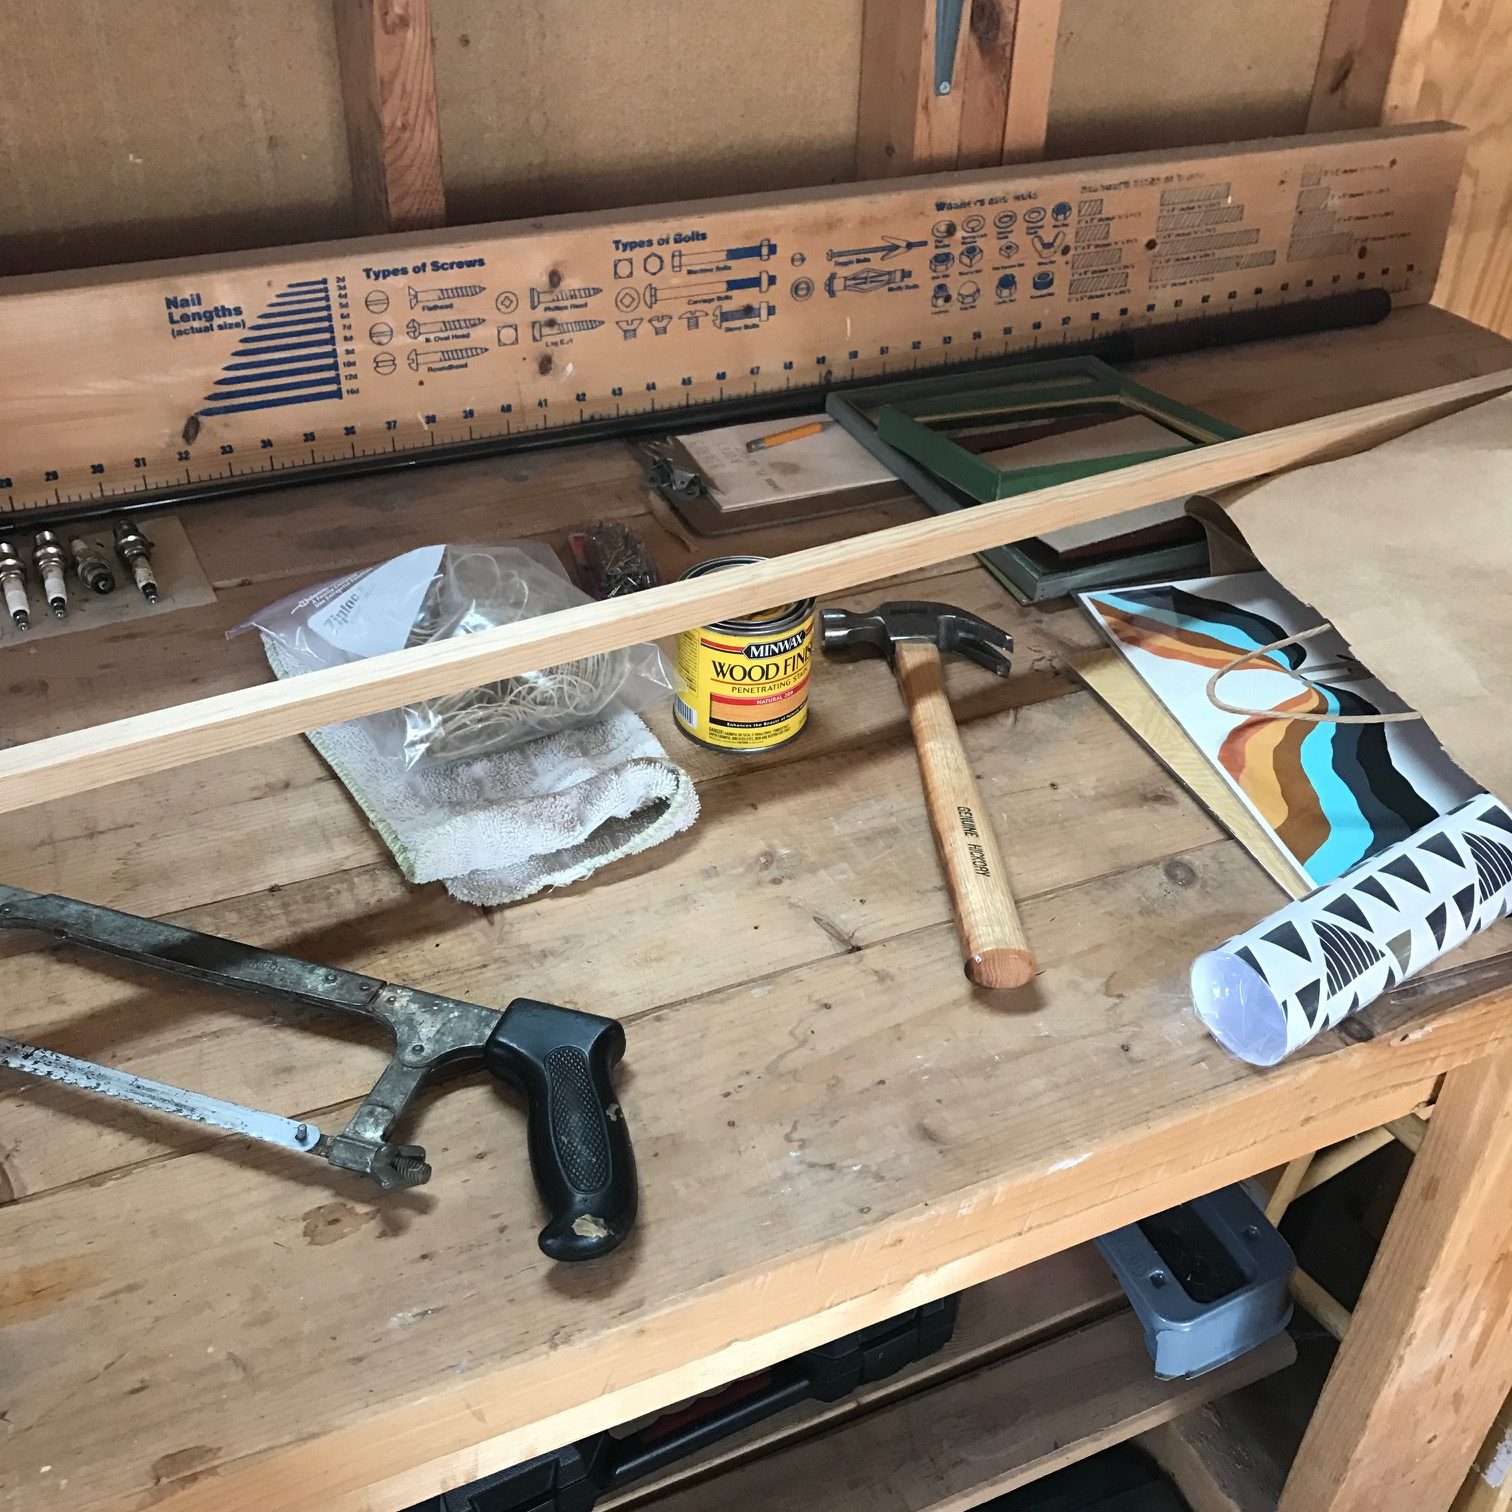
Stay tuned to see what I’m workin’ on for our next How-To post!


Coming Up

First Friday Gallery Exhibition ft. Robert Young: Friday, April 7th: 6-9pm: Join us for IDADA’s First Friday Gallery Walk in-store celebrating the work of local illustrator and comic artist, Robert Young. Graduating with a BFA in Illustration from Herron School of Art & Design, Robert later earned his MFA in Illustration at The Maryland Institute College of Art. Currently an Illustration Professor back at Herron School of Art & Design, Robert has had work featured in Time Out New York, Until Now Magazine, The Classical.org, The Travel Channel, and more.

Workshop: iPhoneography: Saturday, April 15th, 1-3pm: Learn how to utilize your iPhone’s camera features to their maximum potential in this iPhoneography workshop with local professional photographer, Rana Salame. Students will learn basic photography techniques like composition and lighting as well as how to use effects to enhance images. Participants will edit photos in the VSCO Cam app to make images more creative and visually appealing. Once skills have been covered, the group will hit the streets of Mass Ave to test out newly acquired techniques. A roundtable discussion will follow to study images and next steps to continue snapping like a pro.

Earth Day, Saturday, April 22nd, 10am-9pm: Come celebrate Earth Day with us on Saturday April 22nd! We’re asking customers to bring in reusable materials like tin cans, cereal boxes, water bottles, and egg cartons to make a recycled planter/seed starter in store! We’ll have paper and other fun things for you to decorate your planter – and we’ll be giving away a FREE seed bomb from local maker Department of Everyday! Bring your kiddos with you and teach them about Earth Day and the importance of reducing, reusing, and recycling with this fun project!

Macrame Wall Hanging Workshop, Sunday, April 30th, 2-5pm: The textile art trend is sweeping the world of interior design, and that means macrame is back baby! Have you always wanted to learn? We have the perfect class for you! Savannah Norris, local stylist, artist, and Jane of all trades, will help you craft a macrame wall hanging during this workshop. All supplies are included – you’ll just need to bring yourself and your crafty spirit!

Pampering Pop-Up: Saturday, May 13th, 11am-4pm: There’s no one that deserves more pampering, attention, and relexation than Mom. Bring her in store on this Mother’s Day Eve, for an indulgent experience featuring bath and body demo’s from 407 Botanicals and a jewelry trunk show from Sara B. Jewelry & Metalsmithing. You and Mom both will also enjoy 10% off your entire Homespun purchase today.

Macrame Hanging Planter Workshop, Saturday, May 13th, 1-4pm: Have some flowing greenery that needs hanging for full-effect? Always wanted to learn how to macrame? Then we’ve got the perfect class for you! Savannah Norris, local stylist, artist, and jane of all trades, will help you craft a hanging planter perfect for your growing green babies and your personal style! Bring yourself and your plant (in a small – medium pot or jar) and a sturdy stick (optional) if you’d like to make it a contemporary wall hanging – all other supplies will be provided. Discounted tickets worth 2 entries are available! – Perfect to bring MOM along with you on this Saturday before Mother’s Day!

INDIEana Handicraft Exchange, Saturday, June 17th, 12-8pm at the Harrison Center for the Arts: The INDIEana Handicraft Exchange is a contemporary craft fair that consciously celebrates modern handmade goods, the relationship between creator and consumer, and local, alternative economies. The IHE has become a notable stop on the Midwest indie craft fair circuit, which includes events such as the Renegade Craft Fair in Chicago, IL, Crafty Supermarket in Cincinnati, OH, Craftin’ Outlaws in Columbus, OH, Art vs. Craft (now defunct) in Milwaukee, WI and the Detroit Urban Craft Fair in Detroit, MI, among many others. The IHE began in 2007 as a way to highlight local crafters and artisans as well as to expose Indianapolis to some of the best vendors on the national indie craft fair map.

See ya next week, friends!


Comments (0)