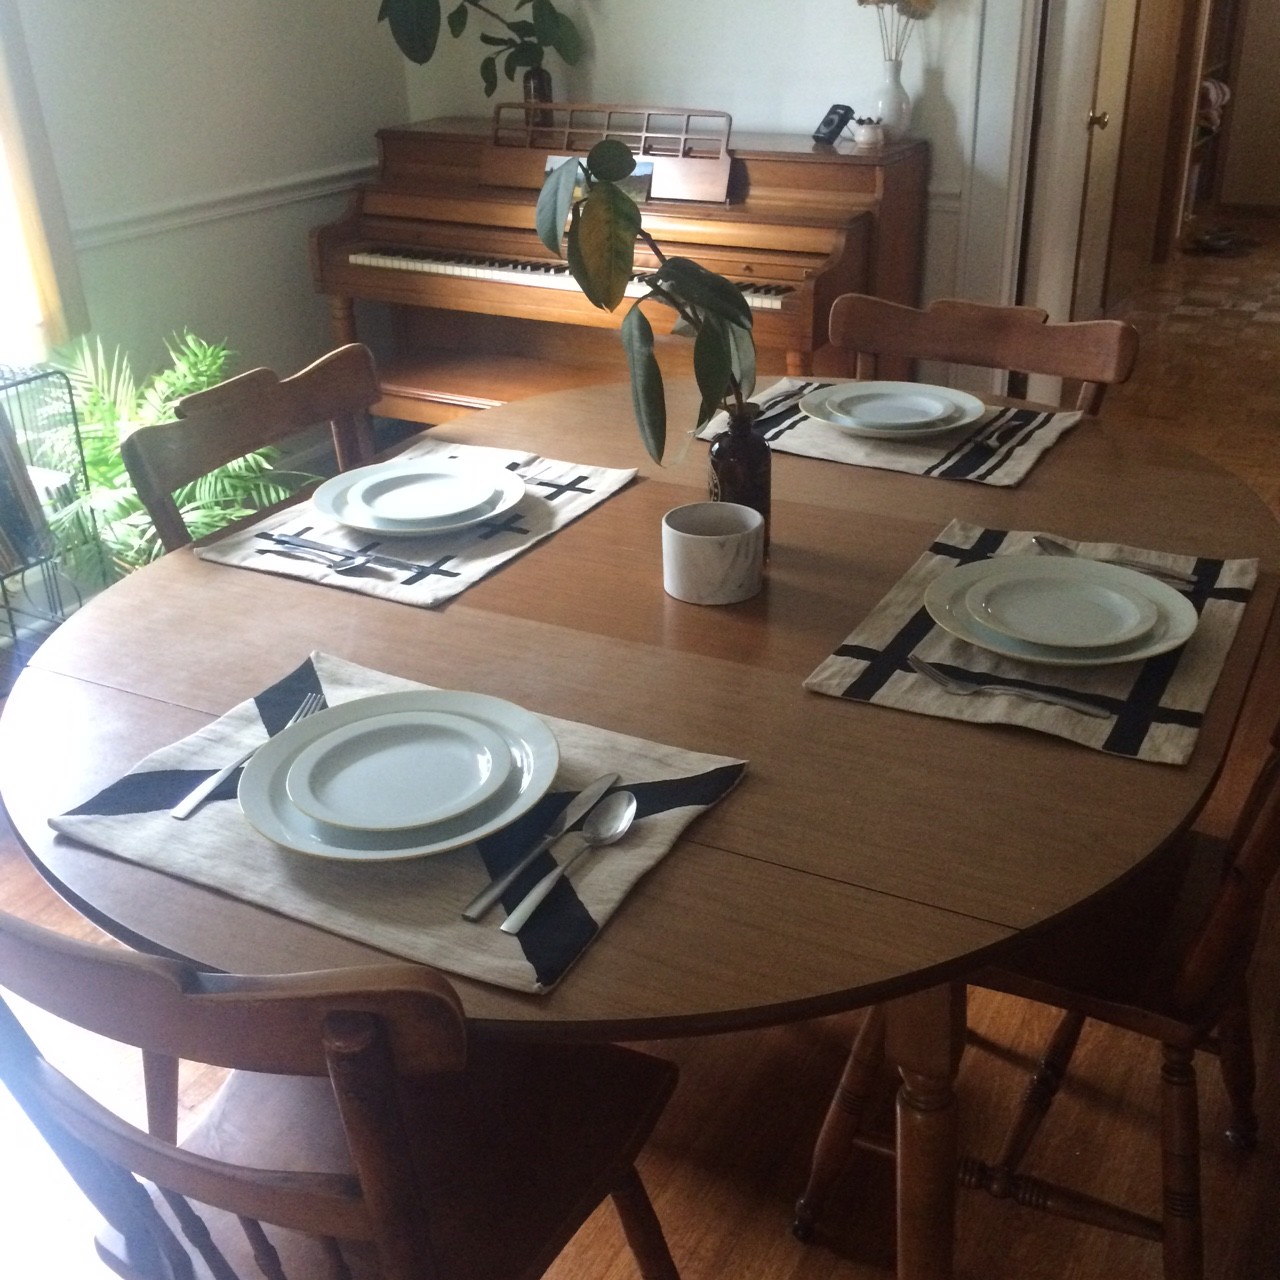
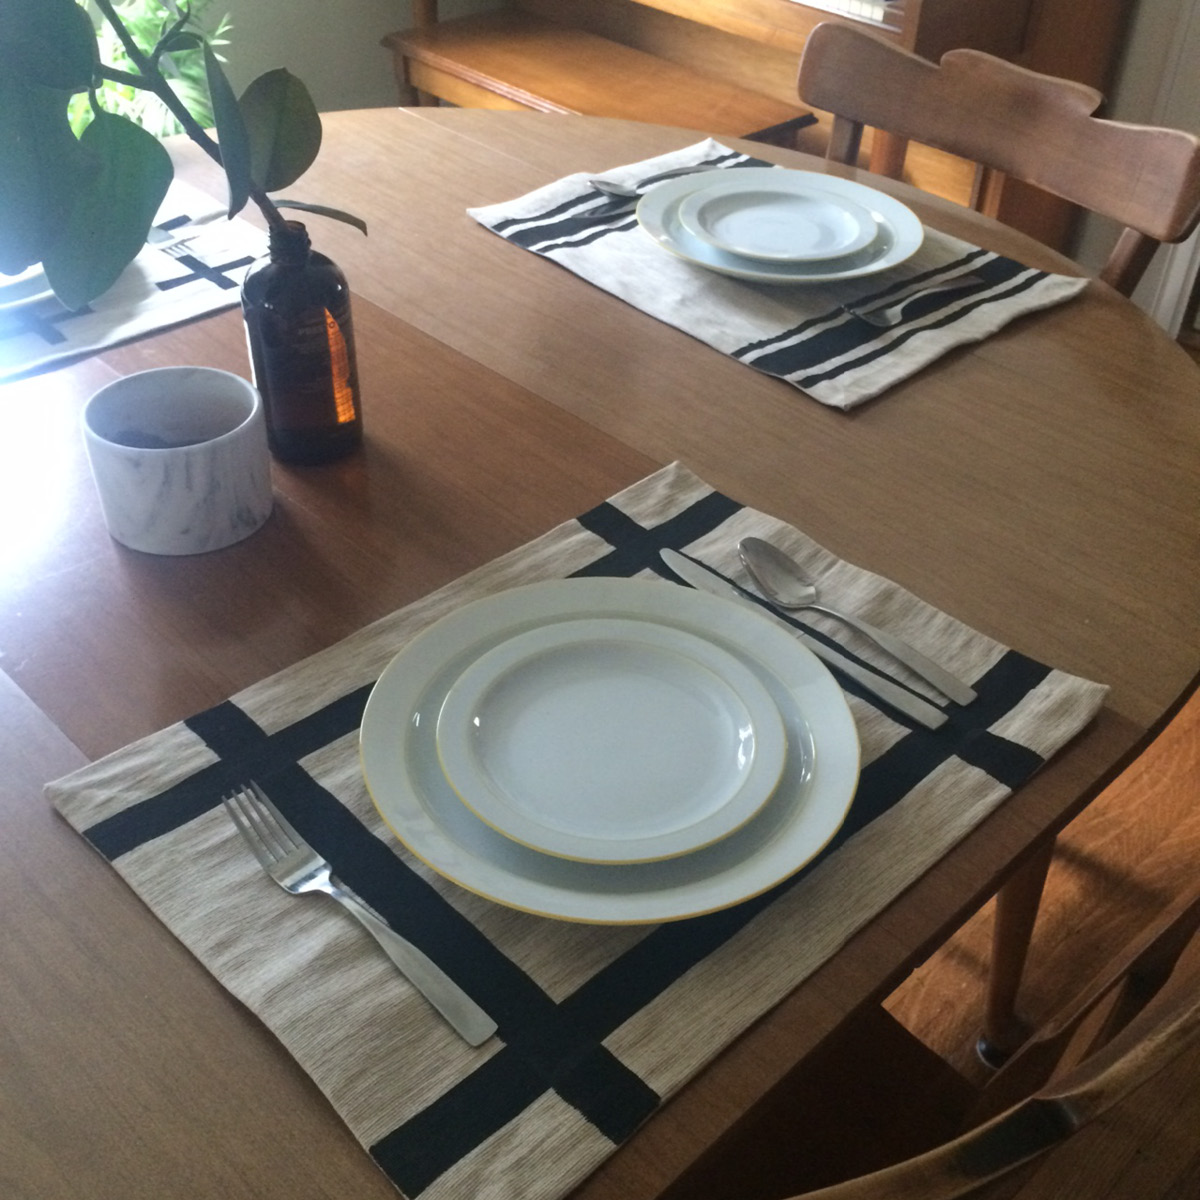
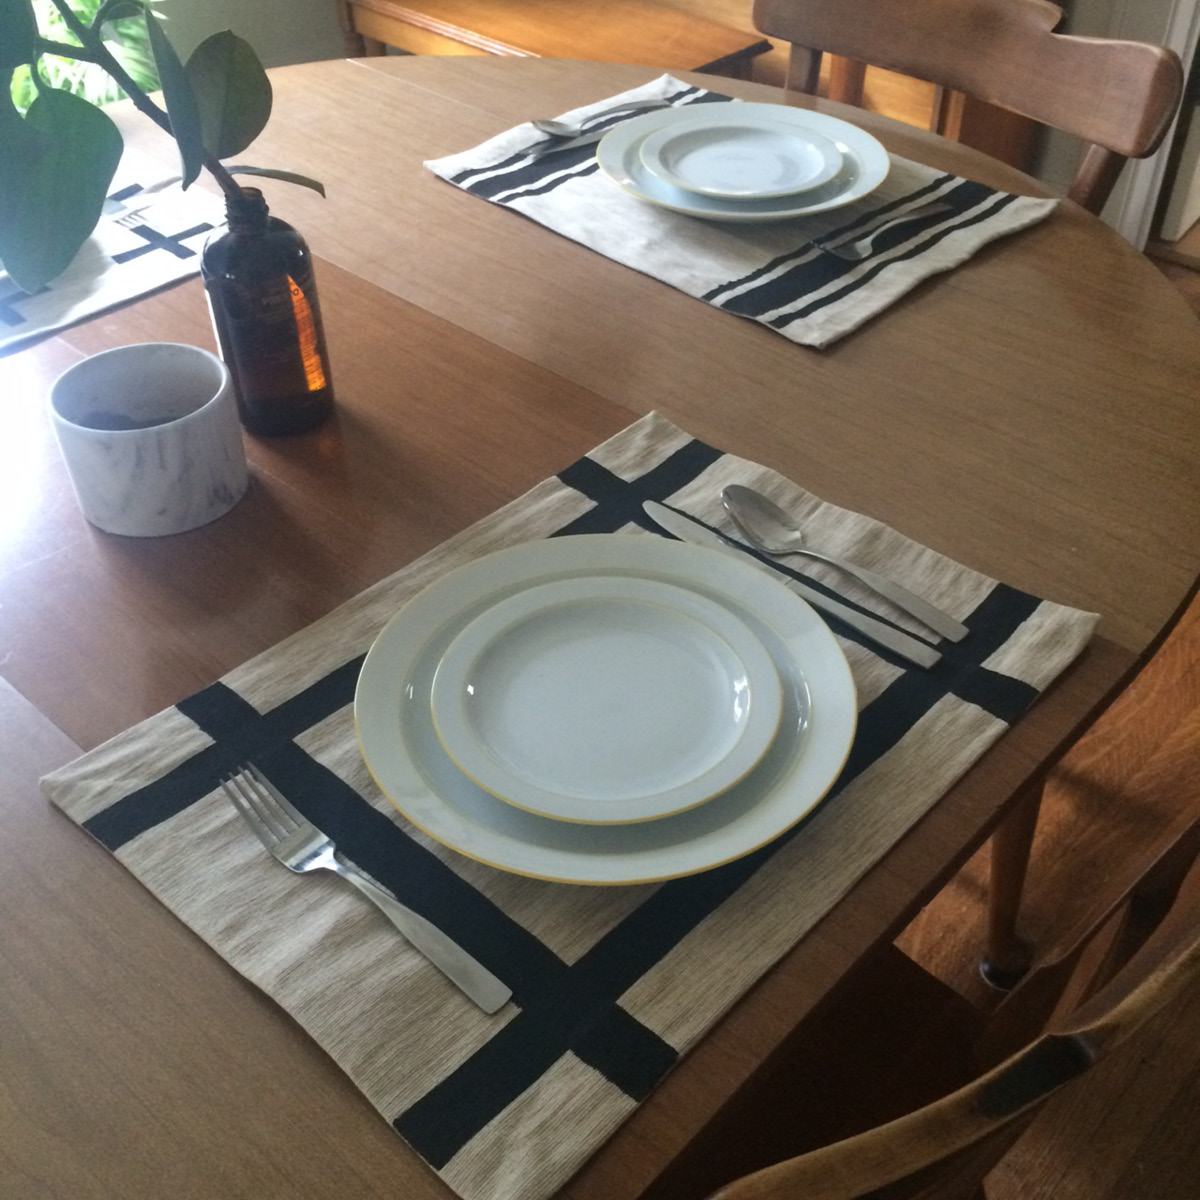
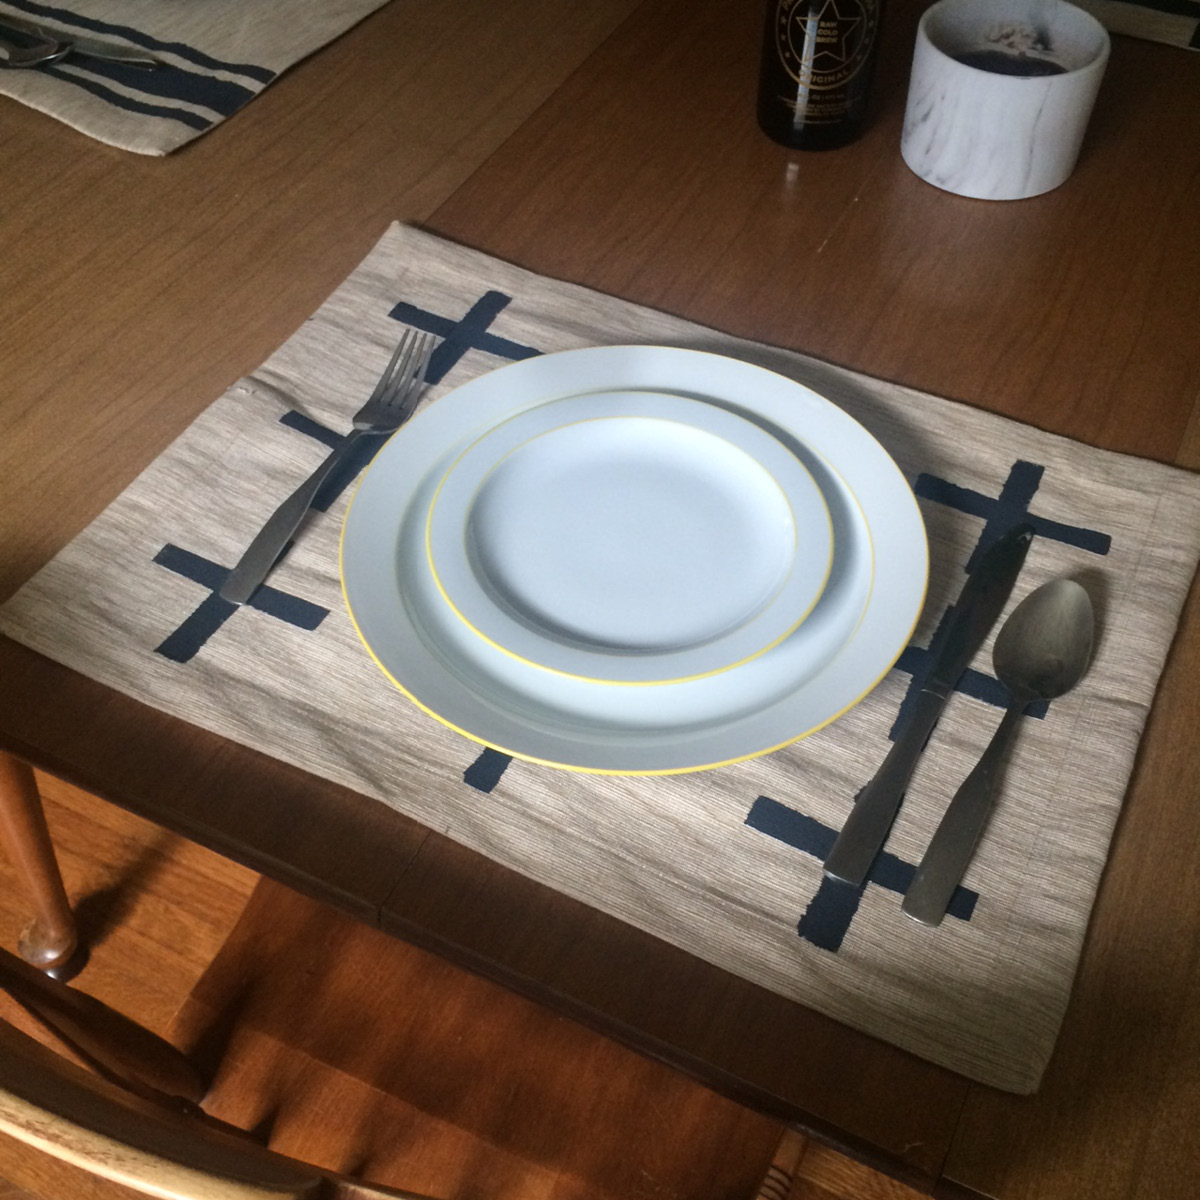
Having people over for Thanksgiving this year? Or, maybe your dining room table is a staging area for crap and you need some inspiration to clear it off and actually eat there…or is that just me? Either way these placemats were fast, easy, and look how cute! Read on as our Events Manager, Rachael, and I get together and make this cuteness happen.
What You Need
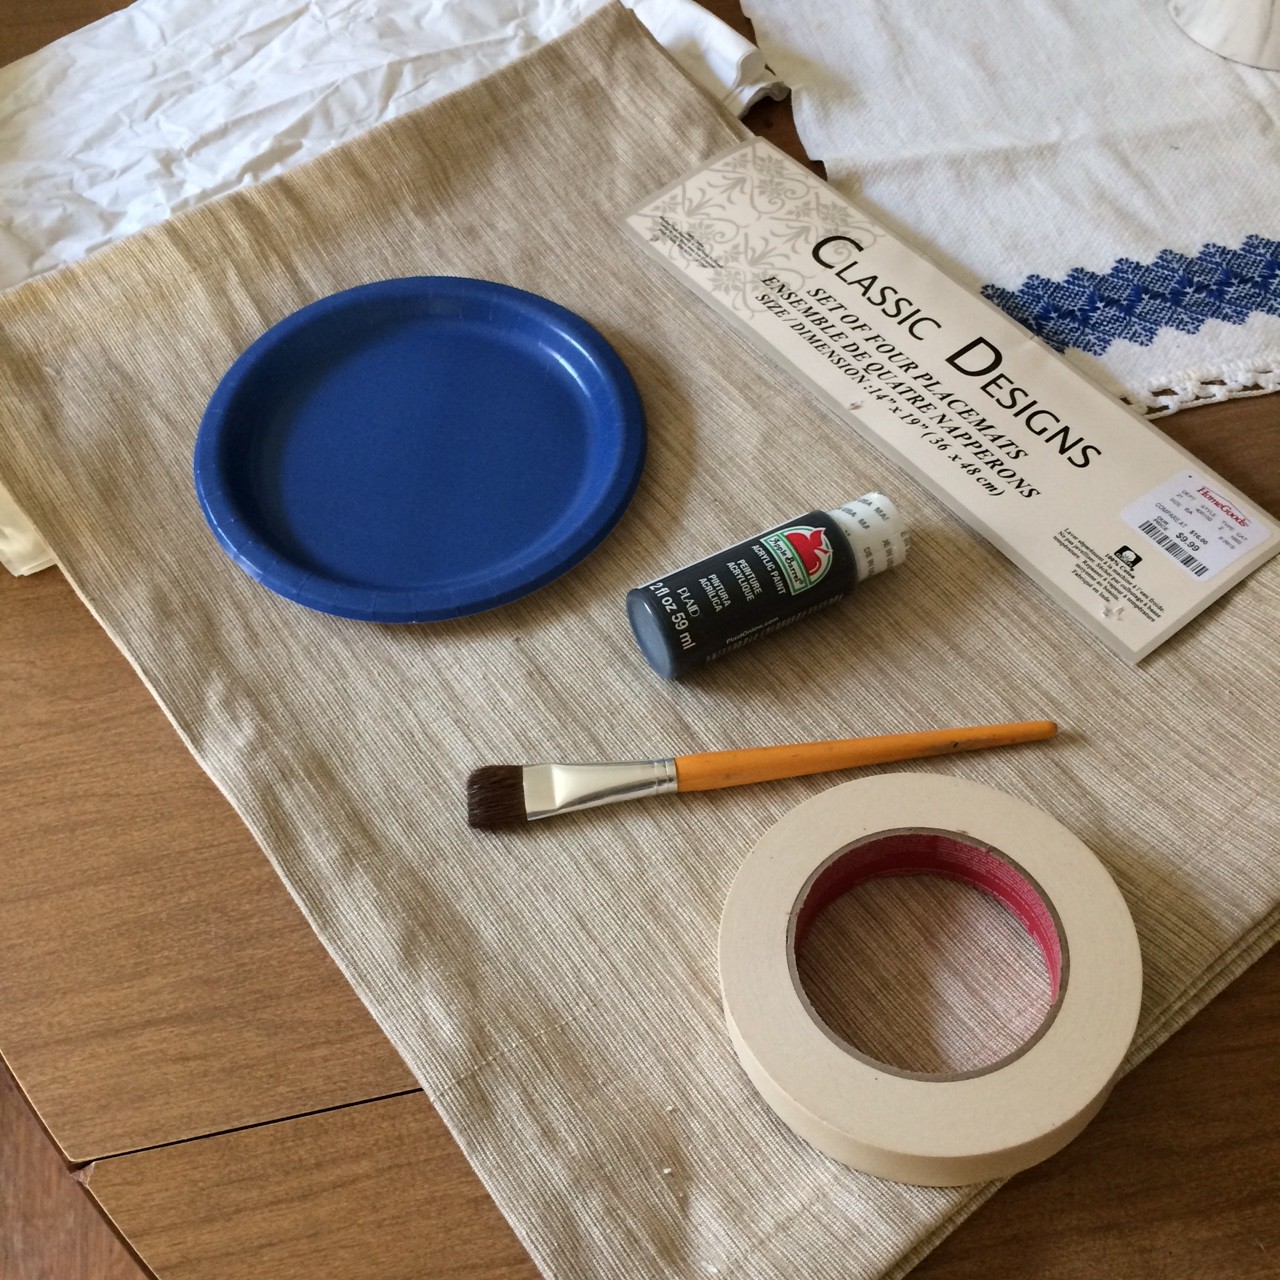
First, gather your materials. You’ll need the following.
-Acrylic Paint*
-Brush
-Masking Tape
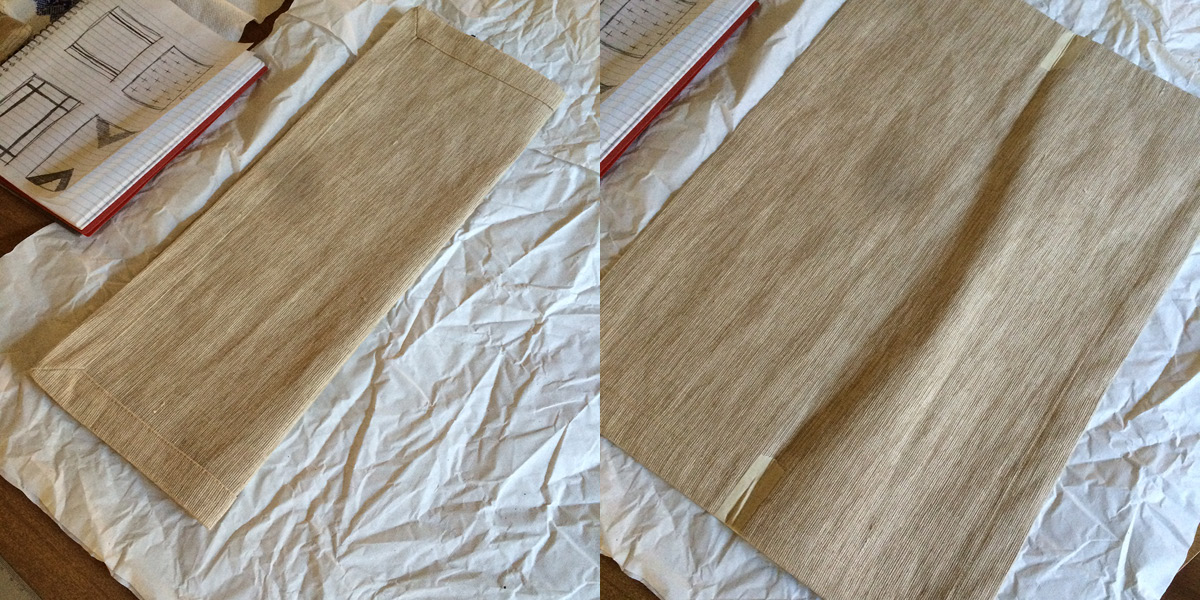
-Place Mats, Rachael found these at Home Goods, 4 for just $9.99. But, if you were just slightly less lazy than me you could cut some squares from any fabric and just hem the edges.
-Paper Plate
-Newspaper-like stuff to cover the table
-Rulers (not shown)
*Technically, you should either use fabric paint or you can add a medium to your acrylic paint to make it a fabric paint. Fabric paints are more flexible and less likely to crack in heat situations like the drier. Since place mats don’t need to be flowy and probably won’t be washed all that often unless you’re having toddlers over for dinner, it shouldn’t be that crucial for these. Besides, isn’t that what the kids’ table is for?
Getting Started
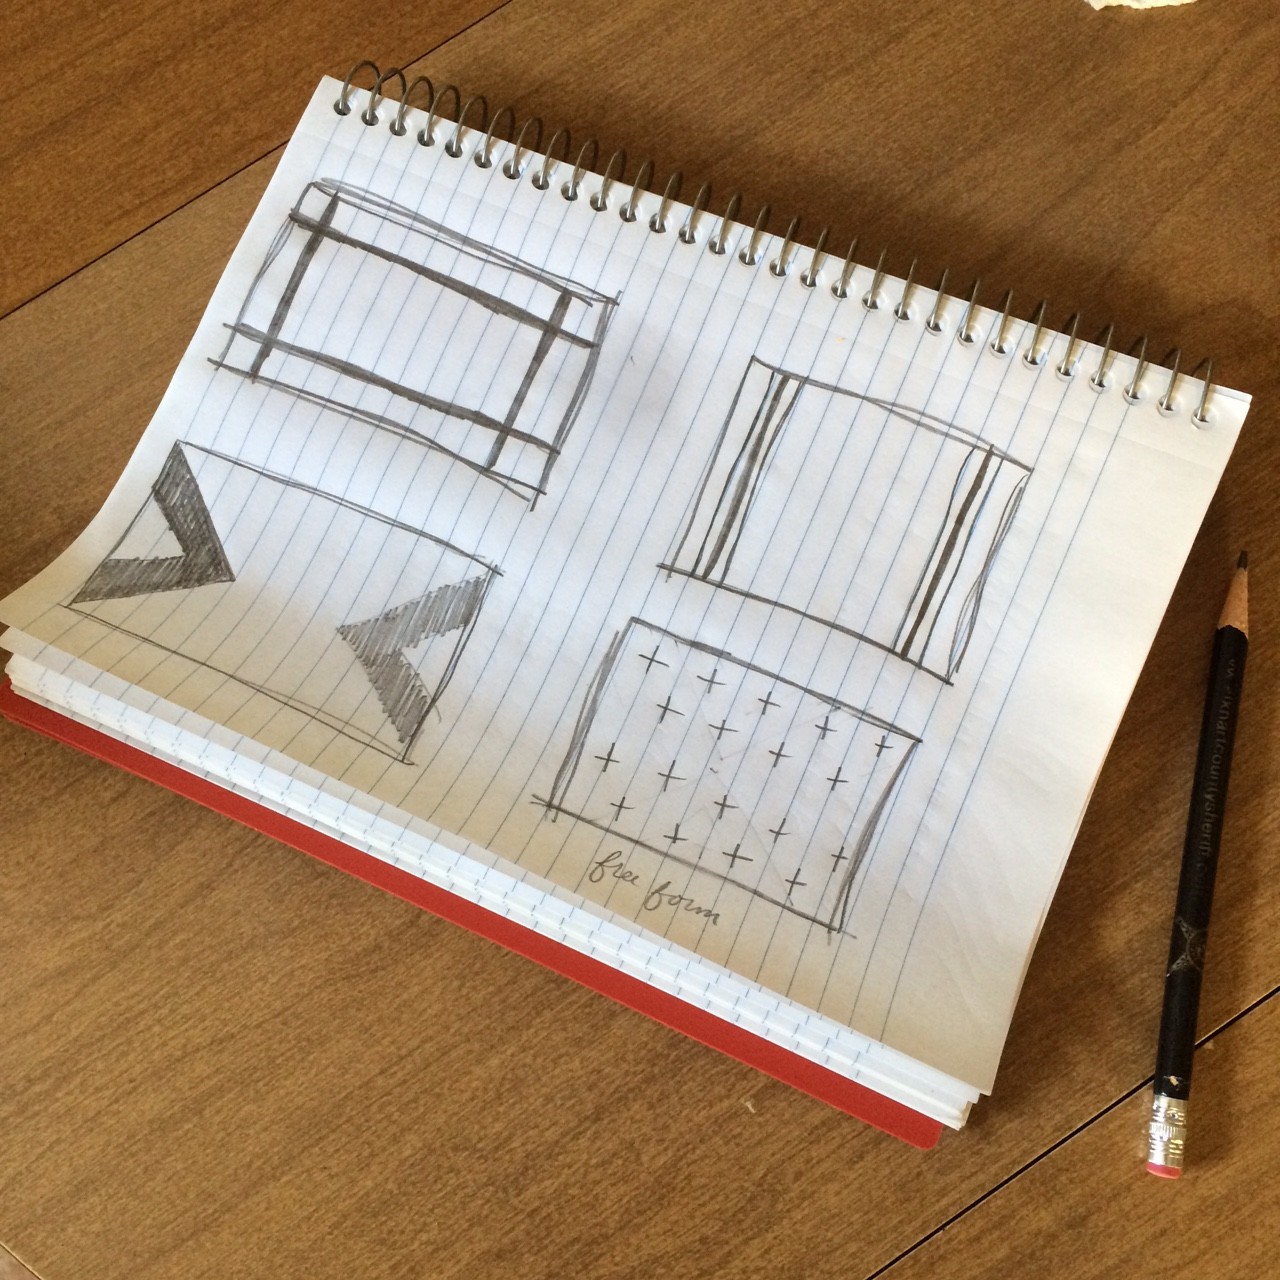
Sketch, baby sketch.
We’re testing out four different patterns here. You may or may not want yours matching.
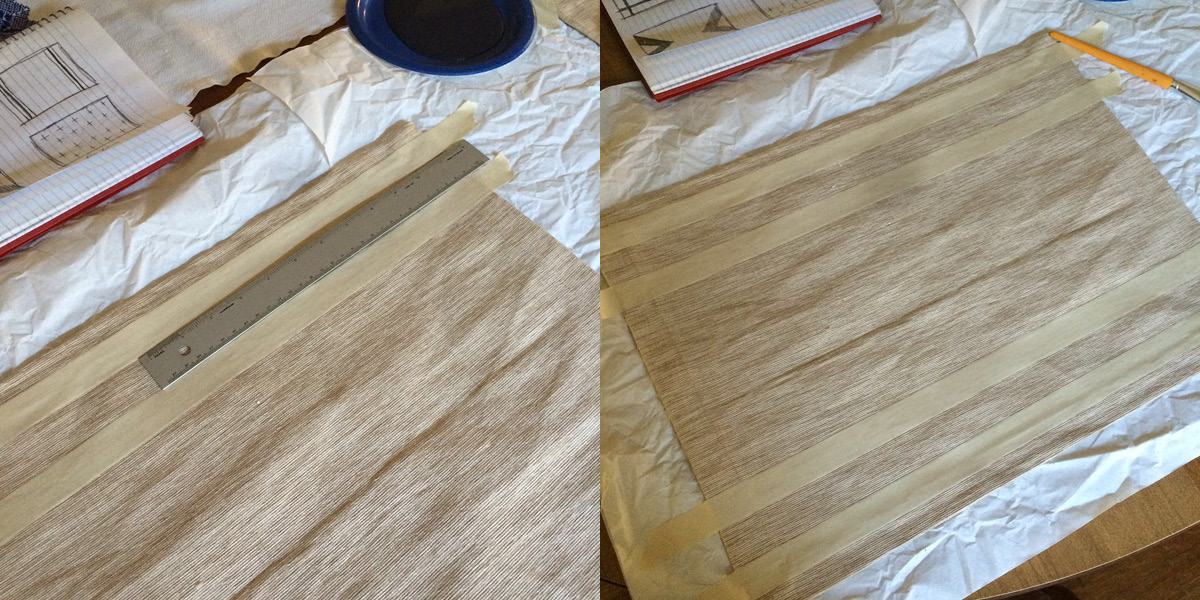
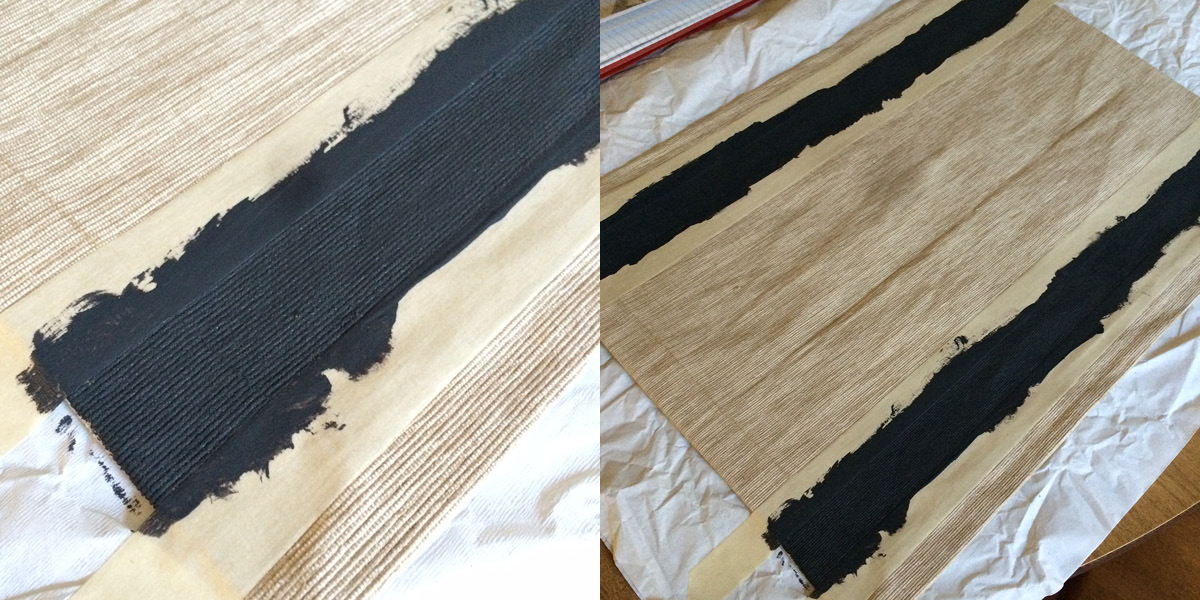
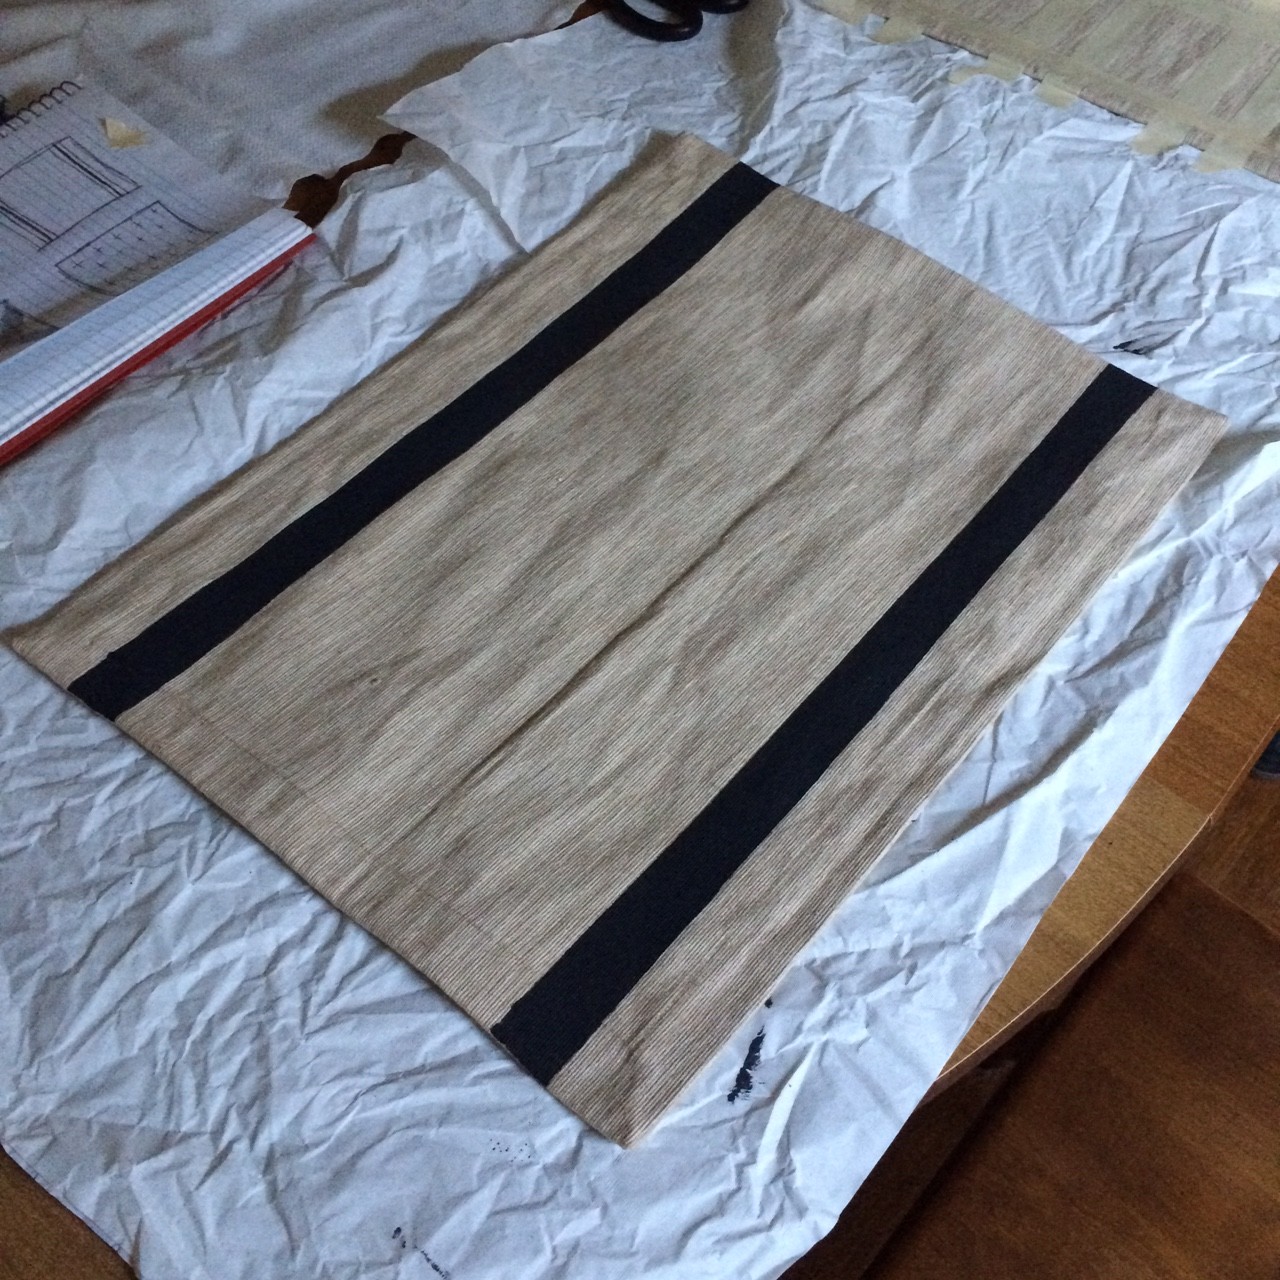
I’m starting with what I thought would be the easiest (sorry Rachael) which is the bordered pattern. I eyeballed the distance away from the edge of the placemat with help from the mat’s hem, then just used the width of the ruler to guide me.
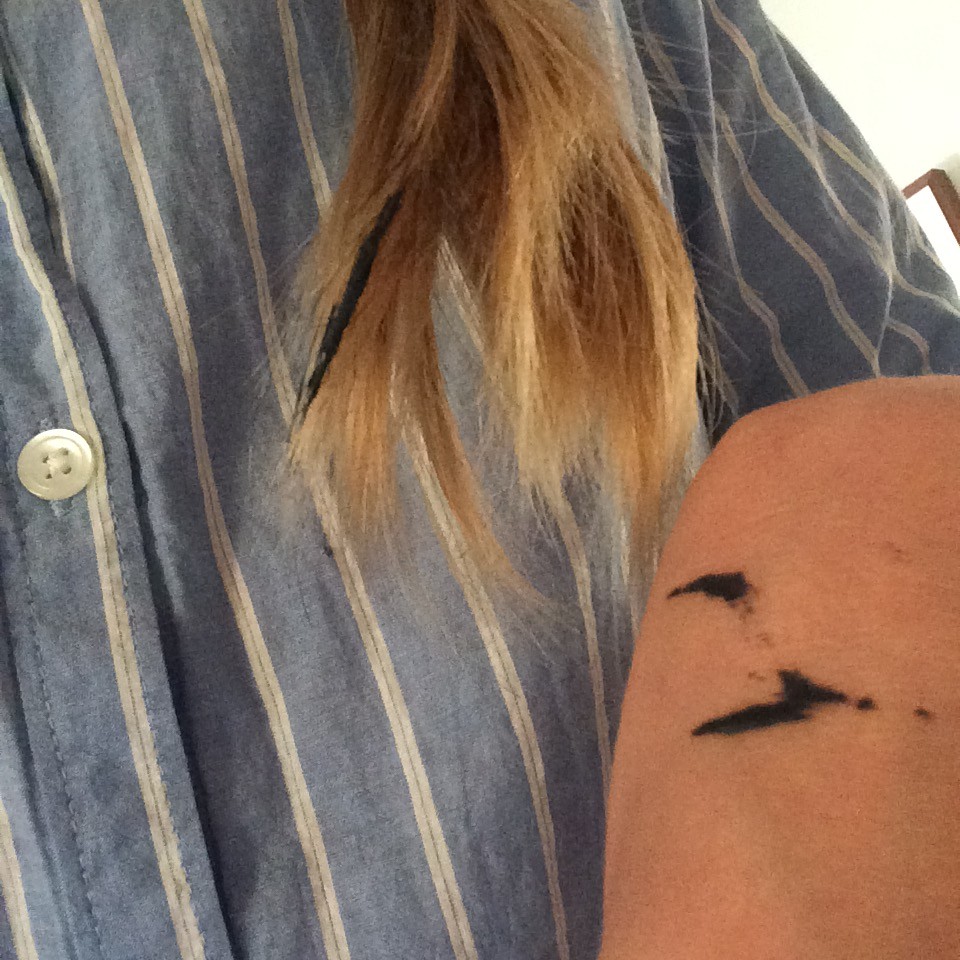
At this point in the project I have already dipped my hair in the paint and transferred it to my arm. Yes, this is the person who is writing a how-to blog. It’s okay. Stay with me.
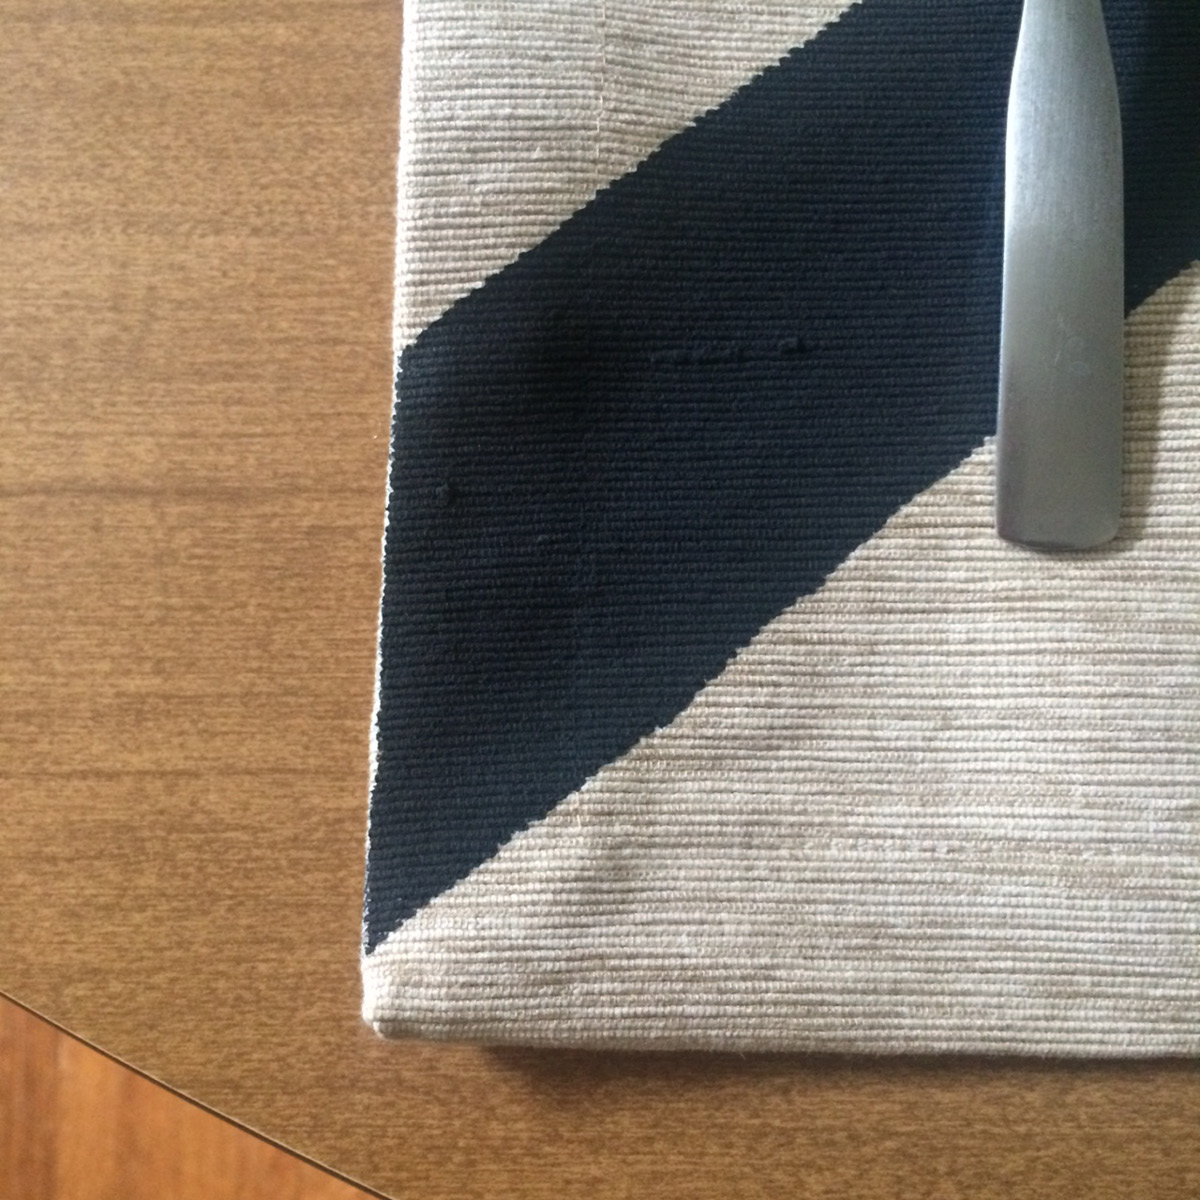
This fabric happens to have a pretty deep texture in it. So I really piled on the paint and pushed the brush into the fabric. Then, let it dry before adding the tape for the additional stripes. Really it only took 10 or 15 minutes for it to be dry to the touch.
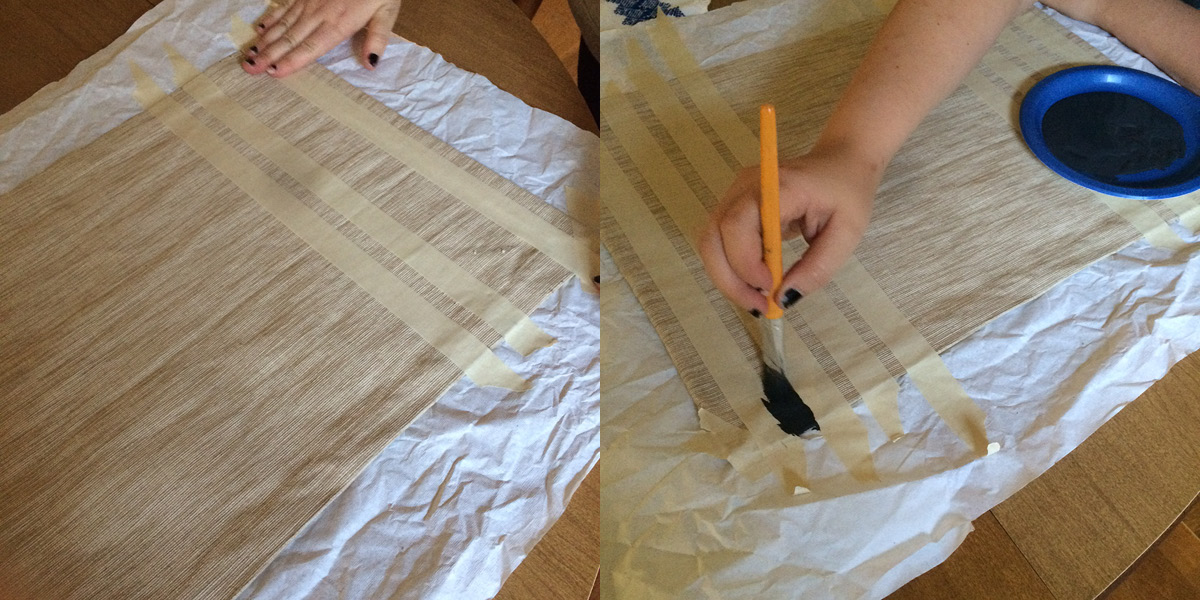
Rachael gets to work on the side-striped pattern. First she laid out the tape for the outer stripes, then let those dry and came back for the inner, thicker stripe.
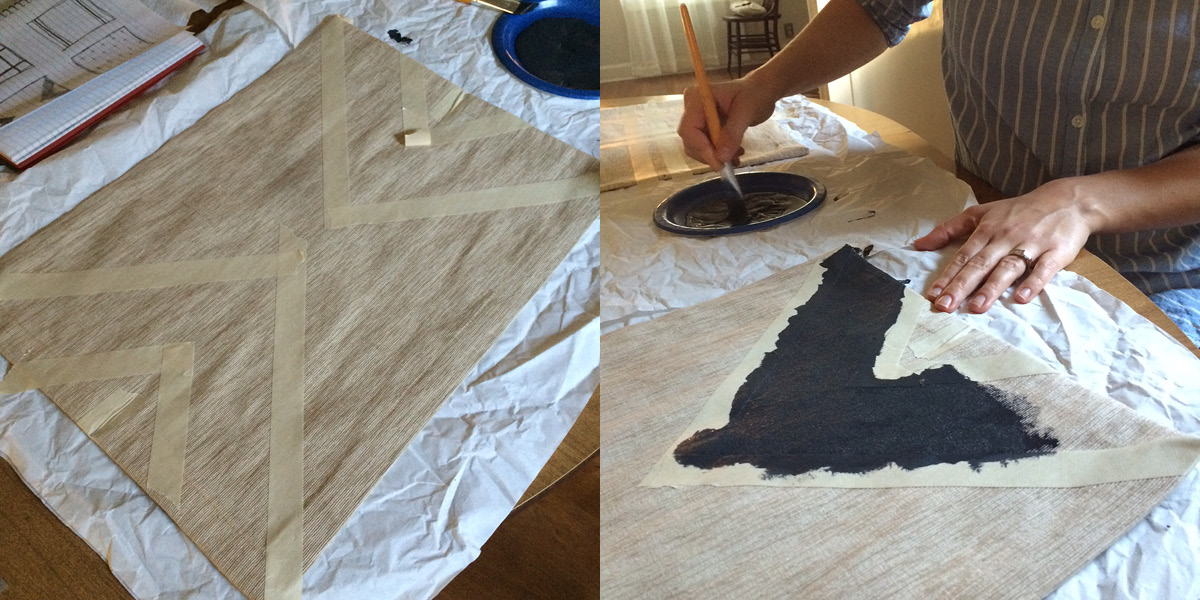
Here we have the beginning stages of the chevron pattern. I folded the mat in half to create a light crease in the fabric, then added tape where the crease was and folded it in half again to give a more distinct crease to the tape. Then I marked with pencil where the center was on the tape.
Using the center marks, I eyeballed the application of the tape for the chevrons. I am a consummate eyeballer. I am presented with measurements and plans and numbers and then I’m not having fun anymore. And that’s the point, having fun! Plus I’ve convinced myself that imperfections are just little indications of love and not of lack of effort. ‘Cause I’m positive.
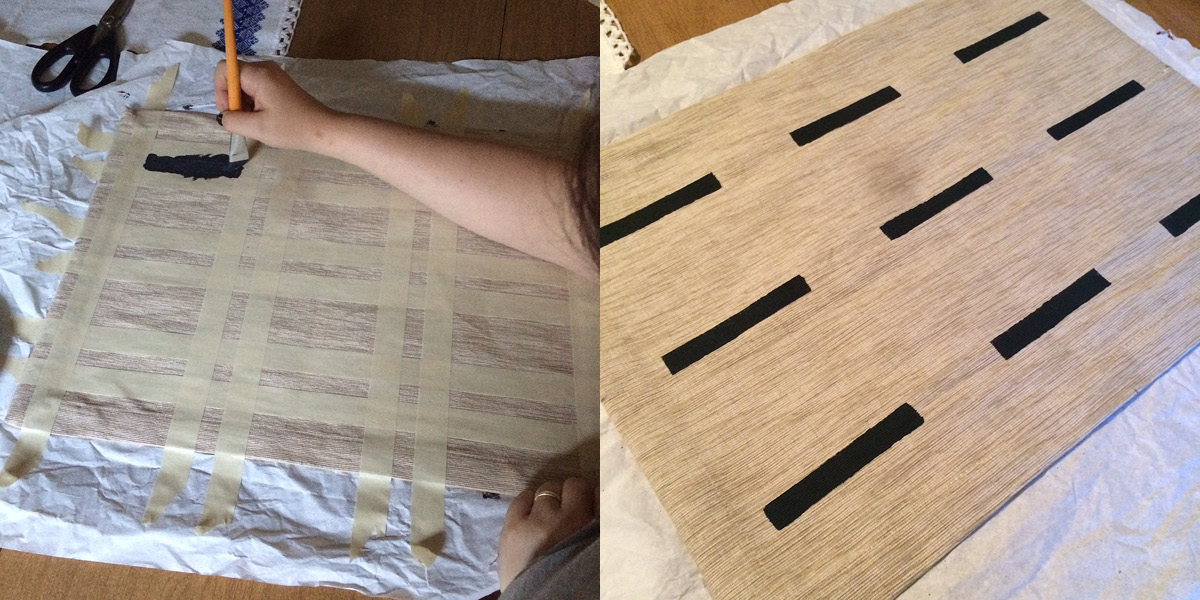
Above you will find the ingenious way Rachael has laid out the tape to create our plus sign pattern. First she paints all the horizontal lines, then re-tapes for the vertical. Originally, as you may have noticed, we planned on this being a free-hand pattern, with marks for the center of each plus-sign and then brushstrokes for the lines. As we began to paint the fabric, however, we decided the heavily textured nature of it was not conducive to a free hand brushstroke. However, this approach is highly encouraged!
Finish out the designs and let them dry overnight before staging on your table and insta-bragging, er, celebrating your industrious handmade efforts of love and style.
If you make these, please share your efforts with us on Facebook, Instagram or Twitter @homespunindy. We’d love to see your handiwork!


